All coupons, tax, shipping, store credit and gift cards will be applied during checkout.
In high-resolution astrophotography, the L-series filters from Astronomik are indispensable for regulating the light spectrum and avoiding chromatic aberrations and star bloating. They provide varying degrees of UV-IR reduction while keeping visible-band transmission high. Pairing such accurate spectral control with a compact, fast imaging scope like the Sky-Watcher HAC125DX Mini Astrograph results in optimized sharpness, tight stars, and balanced broadband performance across every exposure.
×
![]()
Highlighted Products

Astronomik L-3 UV-IR Blocking Filter - 2" Round Mounted
The Astronomik L-3 UV-IR Blocking Filter effectively blocks ultraviolet and infrared light, passing visible wavelengths to enhance sharp, high-fidelity color astrophotographs. Its 2-inch round mount precisely cuts unwanted reflections across a broad spectrum, clarifying images of celestial wonders.

Astronomik L-2 UV-IR Blocking Filter - 50 mm Square
The Astronomik L-2 UV-IR Blocking Filter (50 mm Square) effectively eliminates ultraviolet and infrared light, ensuring only visible wavelengths reach your sensor. This filter enhances color accuracy and clarity in astrophotography, making it essential for capturing vibrant images of celestial objects while reducing the effects of light pollution and atmospheric distortion.

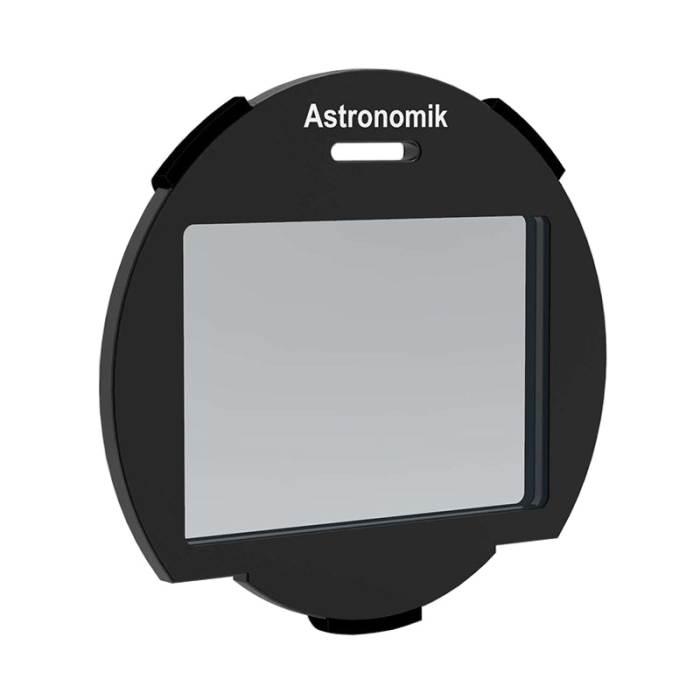
Astronomik L-2 UV-IR Blocking EOS Clip Filter
The Astronomik L-2 UV-IR Blocking EOS Clip Filter was designed exceptionally for Canon EOS cameras, dauntingly blocking ultraviolet and infrared wavelengths while judiciously allowing visible light to transmit through. This filter heightens image calibre by bettering chromatic correctness and keenness, fabricating it an indispensable apparatus for astrophotography and broad photography equally.
Astronomik L-3 UV-IR Blocking Filter - Canon EOS R XL Clip
Astronomik L-3 UV-IR Blocking Filter - Canon EOS R XL Clip has enhanced its Luminance filter line, which is essential for optimal image creation in astrophotography. These filters feature a wide spectral bandpass for maximum light transmission, improving signal sensitivity and photon counts.. To address this, Astronomik offers three filters: L1 (wide spectral window), L2 (medium), and L3 (narrow), catering to various optical systems. The L1 is ideal for systems free of chromatic aberration, while L2 suits most setups with correctors. The L3 is best for refractors with imperfect color correction and can reduce halo effects.
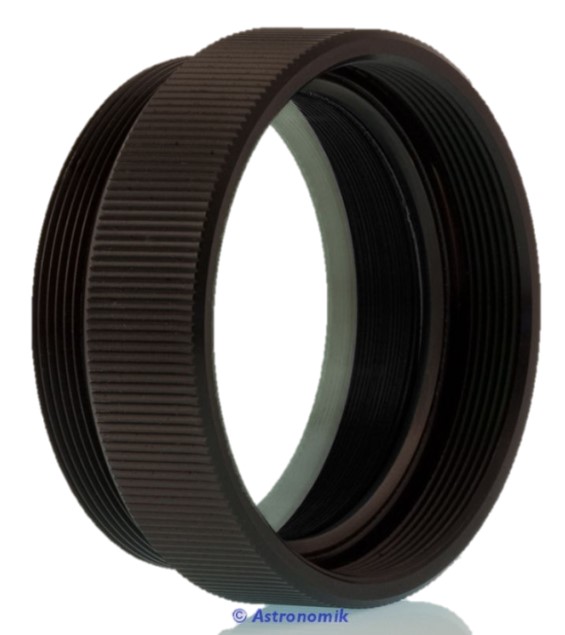
Astronomik L-2 UV-IR Blocking Filter - SCT Rear Cell
For Schmidt-Cassegrain telescopes, the Astronomik L-2 UV-IR Blocking Filter is an optical filter that improves picture quality by removing undesirable wavelengths. Its ultra-low reflection multi-coatings preserve fine detail and prevent star bloat by ensuring 99% transmission over the visible spectrum and drastically cutting UV/IR beyond it.
More About This Category
Astronomik Luminance filters are very popular with astrophotographers who use Cooled Monochrome Astronomy Cameras for Deep Sky Imaging. IR cut filters can be helpful for those who use Uncooled Astronomy Cameras for planetary imaging. UV-IR and Luminance filters are essential for digital astrophotography, as blurred or bloated images of stars might be encountered when allowing transmission in the UV and IR portions of the spectrum. Blocking this unwanted light can allow for sharper, better-looking stars. Learn more about the Astronomik Luminance and UV-IR filters below.
The primary purpose of the Astronomik UV-IR Block Filter is to selectively block ultraviolet and infrared light, allowing only the visible spectrum to pass through. The quality of an observation can be affected by the introduction of distortions and artifacts in astronomical pictures caused by ultraviolet and infrared radiation. Astronomers may remove these unwanted wavelengths from their optical equipment and produce photographs that accurately depict the celestial objects they see by integrating the UV-IR Block Filter into their setup. This filter is an essential tool to maintain the accuracy of analysis and safeguard the integrity of astronomical data.
On the other hand, the Luminance Filter is specifically designed to enhance the luminance channel of astro-images. It filters out undesirable light while allowing a broader spectrum of wavelengths linked to brightness to flow through. This filter helps to catch subtle brightness changes and tiny features, which is very useful for capturing deep-sky objects. Astronomers may create photos with better contrast and clarity by separating the luminance information, exposing complex elements that could otherwise go undetected.
A single manufacturer designed it, yet it has different uses. To get the most out of the Astronomik UV-IR Block and Luminance Filters, use them with caution and purpose. The instructions listed below offer a thorough tutorial on how to use these filters appropriately when doing telescopic observations:
Selecting the Right Filters
The first step is to start with the right Astronomik UV-IR Block and Luminance Filters according to the particular needs of your observation. Consider variables including the kind of telescope, the target object, and the sky's general conditions.
Filter Placement
The UV-IR Block Filter should be installed at the proper optical path point, usually ahead of the image sensor. Doing this ensures that undesired infrared and ultraviolet radiation is stopped before it reaches the camera, avoiding potential picture distortions. Similarly, adjust the Luminance Filter to brighten the luminance channel and raise the observation's general quality.
Adjustment and Focus
Calibrate your camera and telescope before taking any pictures to get the best focus. Taking this step is essential to getting clear, detailed images. To ensure the telescope is correctly focused on the target object, take test shots and make any required changes.
Exposure Configurations
Modify the exposure settings depending on the celestial object's features and the current sky conditions. Try different exposure periods to ensure you have enough light without going overboard. Longer exposure times without sacrificing image quality are possible when the signal-to-noise ratio is significantly increased by employing a luminance filter.
Image Acquisition
Start capturing images by taking several frames that will be stacked and integrated later. As a result, the final image has finer features due to the reduction of noise and improvement of the overall output signal. Post-processing and image stacking should be done to improve the observation using the proper software tools.
Observation and Modifications
During the observation, monitor the image quality and correct any tracking or alignment issues with the telescope. Check often for any disruptions or aberrations that might need to be updated.

Here are our highly rated Astronomik UV-IR Block and Luminance Filters, which come in three levels to help you achieve the results you wish to achieve during celestial exploration.
Level 1 - Helpful in reflecting telescopes or very well-corrected APO Triplet refractors that do not exhibit any chromatic aberrations. An example is the Astronomik L-1 UV-IR Blocking 2" Mounted Filter.
Level 2 - Filters like the Astronomik L-2 UV-IR Blocking 2" Mounted Filter would be better suited for telescopes like ED doublets that are relatively well corrected but exhibit subtle amounts of chromatic aberration
Level 3 - Includes the Astronomik L-3 Luminance UV-IR Block T-Mount Filter, which would be great for a doublet refractor that displays chromatic aberration in the blue and violet region.
IR cut filters, like the Astronomik IR Blocking 1.25” Filter, are extremely useful for planetary imaging cameras. This filter easily threads onto the end of the camera’s 1.25” nose piece before being inserted into a Barlow Lens. The Astronomik UV-IR Block and Luminance Filters are crucial for observing celestial objects, as they improve image quality and accuracy. Without them, distortions can occur, especially in faint celestial objects or scientific research.