All coupons, tax, shipping, store credit and gift cards will be applied during checkout.

Light pollution and unwanted spectral lines can be effectively blocked with Astronomik UHC (Ultra High Contrast) filters, which are highly regarded in astrophotography for their ability to selectively transmit key wavelengths. As a result, emission nebula contrast is substantially enhanced. Thanks to their typical 95% transmission rates for targeted wavelengths, these filters allow deep-sky imaging even in the center of a suburban sky. Pairing a high-contrast filter like the Astronomik UHC with a high-resolution optical system such as the Apertura Classical Cassegrain Telescope offers a powerful combination for deep-sky work. This scope’s long focal length and excellent mirror quality make it perfect for capturing fine detail in nebulae and galaxies when combined with contrast-enhancing filters.
×
![]()
Highlighted Products
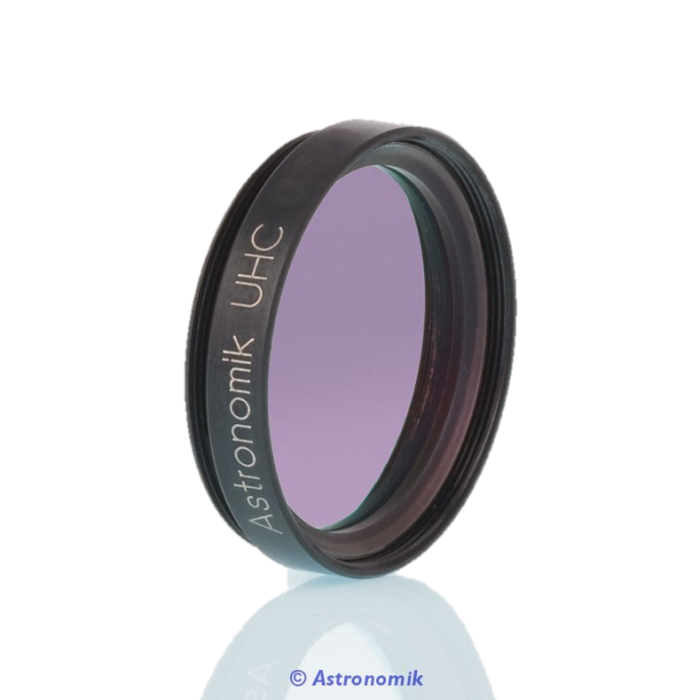
Astronomik UHC Filter - 1.25" Round Mounted
The Astronomik UHC 1.25" Round Mounted Filter enhances deep-sky observation by blocking unwanted light pollution while transmitting critical wavelengths like hydrogen-alpha and oxygen-III. Ideal for nebulae and galaxies, it significantly improves contrast and detail in urban and suburban skies, offering clearer and more vibrant views of celestial objects.
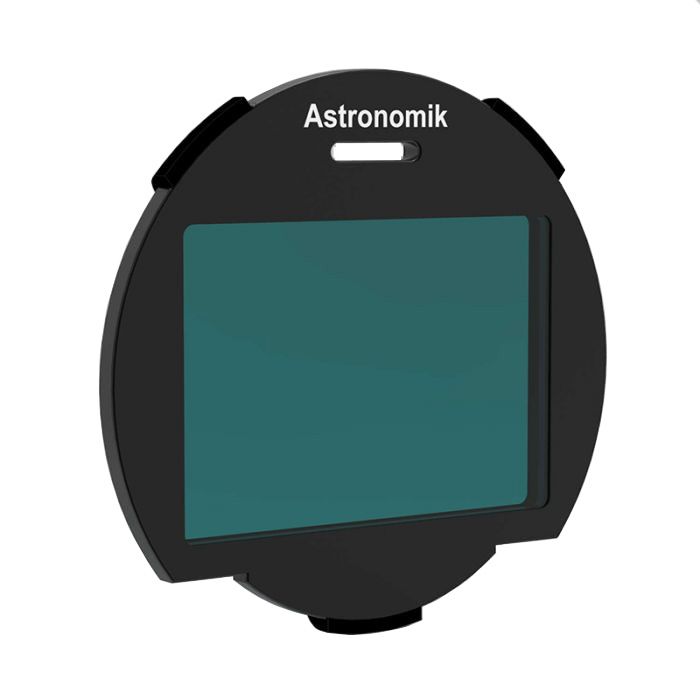
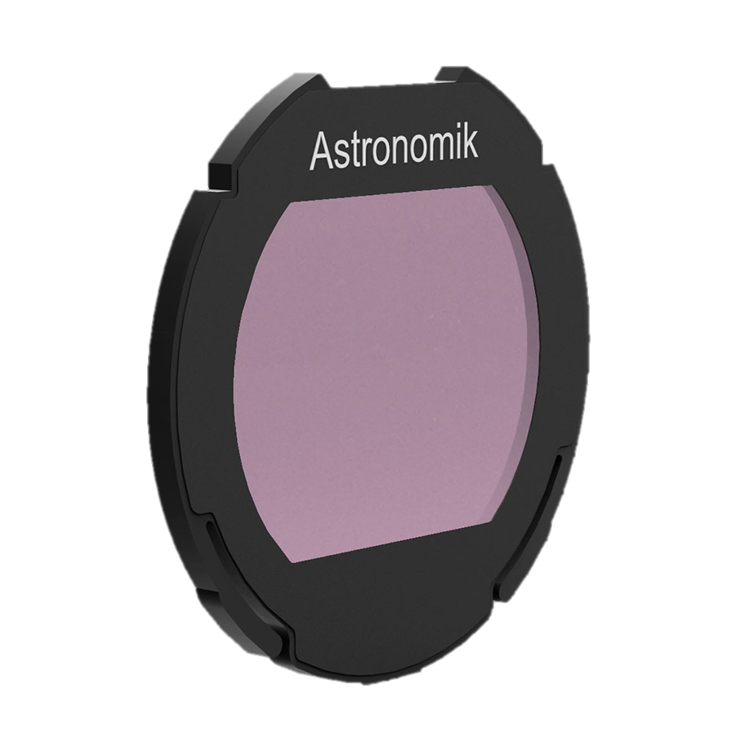
Astronomik UHC Canon EOS R XL Clip Filter
The Astronomik UHC Canon EOS R XL Clip Filter is designed to enhance astrophotography by blocking light pollution while transmitting key wavelengths like hydrogen-alpha and oxygen-III. Custom-made for Canon EOS R cameras, this clip filter significantly improves contrast and detail, allowing clearer, more vibrant images of nebulae and deep-sky objects.

Astronomik UHC-E Filter - 1.25" Round Mounted
While enhancing fainter celestial sights proves tricky amid urban atmospheres, the Astronomik UHC-E effectively transmits targeted frequencies exemplified by hydrogen-alpha and oxygen-III, simultaneously obstructing artificial illumination. Its 1.25" round design ably assists keen-eyed astronomers and astrophotographers alike in discerning finer astronomical aspects within ethereal emissions of gas and dust, unlocking enhanced clarity and richness of detail to visions of nebulae and galaxies beyond the light-polluted veil.

Astronomik UHC-E Filter, M49
For comet and deep sky emission nebula viewing in extremely bright environments, the Astronomik UHC-E Filter, M49, is an affordable choice. It blocks off skylight and street lamps while enhancing contrast. Its 45 nm FWHM makes the night sky and the target object stand out more clearly, making it best for 5-inch aperture telescopes. With this Astronomik filter, you can say goodbye to scratches, age, and excessive humidity—all while maintaining parfocal vision.

Astronomik UHC-E XT Clip-Filter for Canon EOS (APS-C) Cameras - Extra Thin
If the UHC-E filter is ideal for telescope viewing, the Astronomik XT clip-filter takes things further by giving astrophotographers an affordable and powerful tool for capturing nebulae and comets with Canon EOS APS-C cameras. Obstructing the sodium and mercury emission lines makes astronomical objects stand out more. The filter achieves a transmission efficiency of over 90% on the range of wavelengths from 465 nm to 530 nm, which includes those exceeding 645 nm. The Astronomik clip-filter system allows the attachment of different filter types without tools or adjustments, and it is compatible with all lens types except Canon EF-S lenses.
More About This Category
The Astronomik UHC or Ultra High Contrast filters combine advanced optical technology and human fascination with the cosmos. They enhance the viewing experience for astronomers and amateur stargazers by selectively transmitting specific wavelengths of light while blocking others, optimizing the observation of deep-sky objects. This is especially important in urban or light-polluted areas where artificial lighting can hinder the visibility of faint nebulae, galaxies, and other distant cosmic phenomena.
The capacity of the Astronomik UHC filters to separate nebula emission lines, such as doubly ionized oxygen and hydrogen-beta lines, sets them apart from other filters and improves the contrast between nebulous formations and the background sky. This increased contrast makes fine details visible and gives us a better understanding of the universe. Furthermore, the filters maintain their original hues, guaranteeing that astrophotography accurately portrays celestial objects. Their careful planning avoids undesirable color changes, producing breathtaking photos resembling nature's color scheme.
Astronomik UHC filters stand out from the competition due to their ability to work with various telescopes, including reflectors and refractors. Because of their adaptability, astronomers may easily include these filters in their current setups without making any complicated adjustments or adaptors. Because of their versatility, astronomers with different experience and telescope configurations can benefit significantly from having the Astronomik UHC filters in their setup.
By reducing light pollution and isolating particular wavelengths, this ground-breaking add-on improves the imaging experience and makes elusive features in deep-sky objects visible. High Point is not only here to provide the tools and accessories needed in astronomy or astrophotography. We also intend to provide all the answers that will help enhance the journey. This step-by-step tutorial will explore the imaging process using Astronomik UHC filters, revealing the techniques that lead to fantastic astrophotography outcomes.
Understand the Fundamentals of Astronomik UHC Filters - Astronomik UHC filters are essential in addressing light pollution by selectively transmitting nebulae-generated light, focusing on emission lines like OIII and H&alpha, which illuminate nebular structures' fine features.
Select the Appropriate Telescope and Camera Configuration - Your imaging objectives will determine the best telescope and camera combo. Ensure that your telescope's aperture and focal length are enough for taking detailed pictures of deep-sky objects. Combine it with a specialized long-exposure image astronomy camera to collect additional light and reveal subtle features in the night sky.
Set Up Your Telescope and Camera - Choose a spot for your telescope that has steady air conditions and no light pollution. To start filtering out undesirable light, mount the Astronomik UHC filter in front of your camera's sensor. To guarantee a steady and well-balanced configuration, fasten the camera to the telescope. Here’s a comprehensive setup guide.
Frame your Target - Utilize an astronomy program or star chart to locate and frame your objective object, ensure focus, and take test images to confirm composition and framing before starting the photographic process.
Determine the Exposure Settings - To capture enough light without overexposure or saturation, especially for dim objects, optimize exposure settings based on the qualities and circumstances of the target, including time, aperture, and ISO.
Capture Light Frame Images - Start imaging by capturing numerous pictures of light sources. Longer exposure times with the Astronomik UHC filter may allow the camera to capture enough signal from the target object to see fine details in nebulae or other deep-sky formations. Regularly monitor the imaging process and make adjustments as needed.
Final Processing - Utilize stacking, calibration, and specialist software to enhance the signal-to-noise ratio and detail of your high-quality light frame collection. To inspire others, share your astrophotography masterpiece on social media, astronomy forums, or in your exhibits.
Make use of the potential of this innovative filter to minimize light pollution and uncover the hidden gems sprinkled throughout the night sky. Say yes to the challenge of astronomy as both an art and a science, and use the Astronomik UHC filter as a key to the mysteries of space.
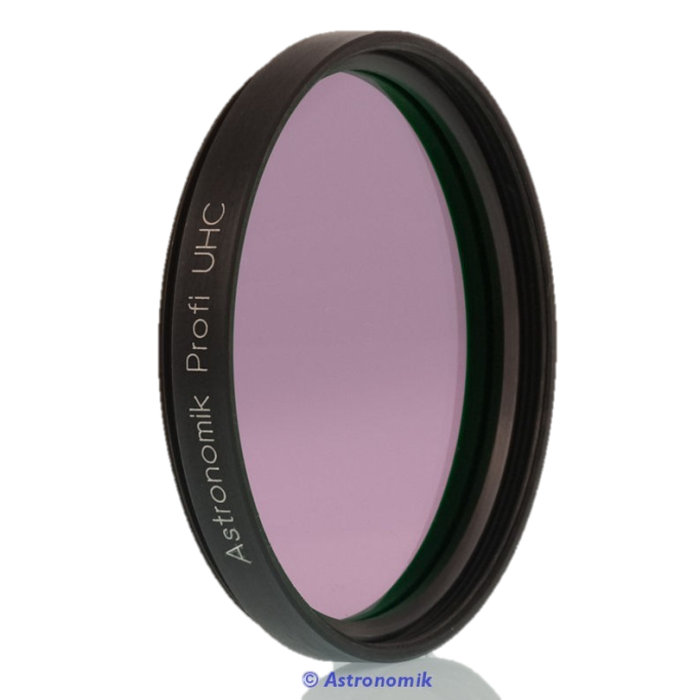
Check out the Astronomik UHC 2” Mounted filter if you're looking for something that works best with telescopes with focal ratios between f/4 and f/15. It is particularly effective with 5" apertures and larger instruments.
If you have a Canon camera and want to add a thin filter that allows you to enjoy profound sky observation, then the Astronomik's UHC Canon EOS XT Clip Filter is for you. It will enable nearly 100% of H-Beta and O-III emissions to pass, enhancing gas and planetary nebulae detail.
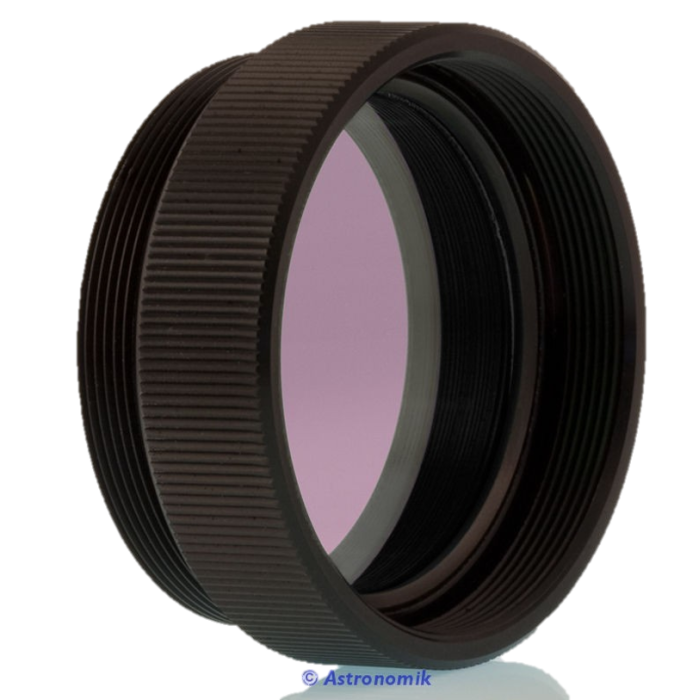
We also have the highly popular Astronomik UHC Filter - SC Rear Cell, which is highly reviewed a designated UHC filter with SC threaded cell for Schmidt-Cassegrain telescopes. By placing this filter in front of your camera, you may eliminate IR-related issues, such as dazzling haloes surrounding all objects and a generally soft image.
These filters are a tribute to the continuous innovation in the search for a more precise and detailed vision of the cosmos, which is necessary to comprehend and appreciate the beauty of the universe. Check out more filters from Astronomik today!