


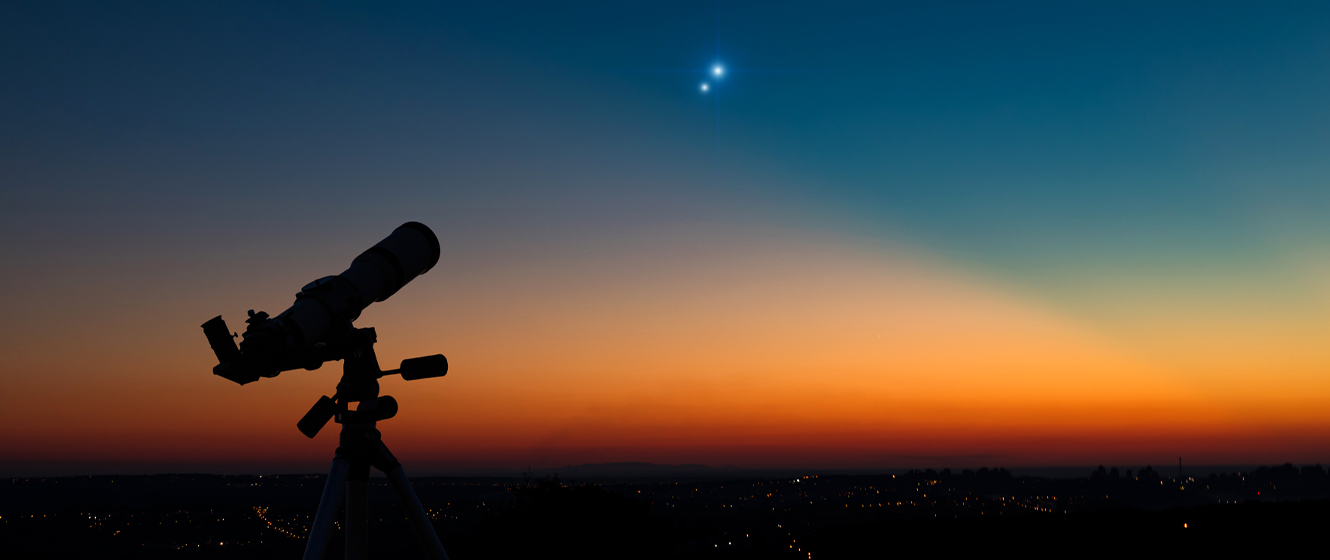
The most daunting part of any new, big purchase is getting everything set up. Buying a telescope is a thrill, but once you lay out all the parts, you might feel a little lost. The setup process is a great way to get to know your telescope, and with some help, you’ll be up and running in no time! This article will cover every aspect of the setup, from putting your telescope together to taking it outside for the first time.
Getting Started
First, read through the instructions. It might seem obvious, but some people are tempted to skip this part and wing it. When it comes to telescopes, every single model has its own nuances and quirks, so it’s best to turn to the user’s manual. You should lay everything out and check to ensure you have all the parts before getting started. Read about each piece and what it does, then give the assembly instructions a once-over. Make sure you have all the tools you’ll need (most specialty tools will be included) and plenty of room to work. It’s best to set up your telescope indoors on soft carpeting so none of your new equipment is damaged or scratched. Now that you have everything in front of you, it’s time to get to know some of the most important parts and how they work.
The Different Mounts
There are two different types of telescope mounts. These are alt-azimuth (also known as alt-az), and equatorial. Your user manual should tell you which type you have, but you can also tell by the way they look and the tools they have.
Alt-azimuth Mount
Alt-azimuth mounts are essentially telescope-grade camera tripods. The head (where you mount the telescope) moves like a standard tripod, up/down and left/right. These mounts don’t quite have the intuitive motion that equatorial mounts have (which you’ll learn about below), but they’re fairly simple to manually operate and can also be incorporated into computerized telescopes.
The real beauty of alt-az mounts is how easy they are to set up. They’ll typically have a metal mount on top of the tripod legs where you place the optical tube, and a couple of screws to secure the tube to the mount.
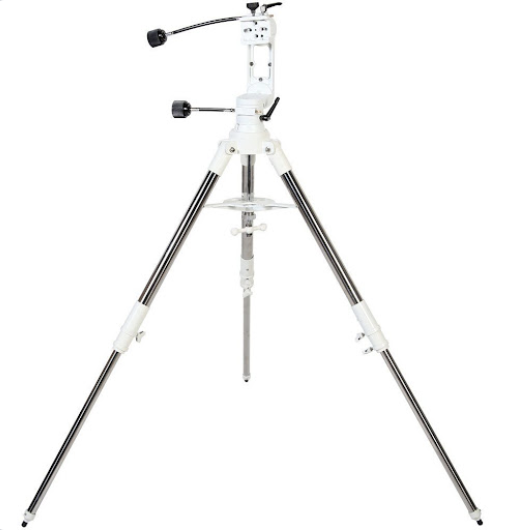
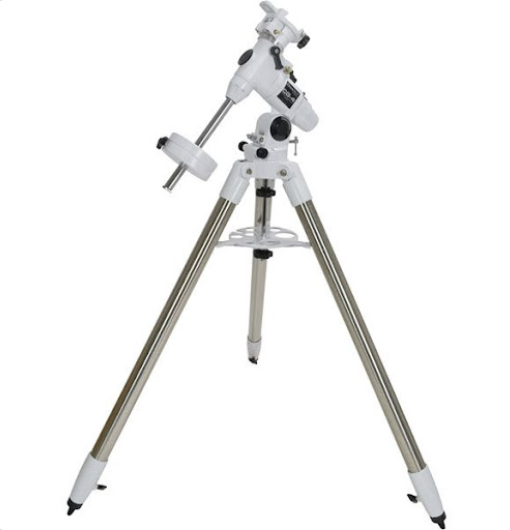
Equatorial Mount
The tell-tale sign of an equatorial mount is the counterweights. There will typically be one or two counterweights, depending on the weight of your telescope. Counterweights are used to balance your telescope in order to achieve smoother motion when you’re moving the tube. Aside from the weights, the biggest difference between alt-az and equatorial mounts is the way the latter move. Instead of moving up/down and left/right, equatorial mounts move in an arc.
Equatorial mounts take a little bit more work to set up than alt-az mounts. You’ll typically have two main pieces aside from the tripod: the mount head, and the counterweight(s). The mount head goes on first and is typically secured with a bolt that’s on the underside of the top portion of the tripod. The next step is to add the counterweight bar to the mount head, then slide on the counterweight(s).
Attaching the Optics
Once your telescope’s mount is all set up, you’ll be ready to add the most important part: the optical tube. We won’t get into the specifics of the different optics designs, since those differences are internal and won’t affect how you attach the tube. Depending on the type of telescope you have, you’ll either attach the tube directly to the mount, or you’ll need to attach a set of rings that allow you to balance the telescope by sliding it forward and backward.
The process of attaching the optics will be very specific to your model of telescope, so follow the manufacturer’s instructions for this part. Remember that inside the tube there are lenses or mirrors that make observation possible, so be gentle!
A Note on Finderscopes
After you attach the optical tube to the mount, the next step is to put the finderscope on top of the tube. Now, this seems like a simple step, but you do want to take some things into consideration. A finderscope is an important tool that, as the name suggests, helps you find things. If all you had to locate objects in the sky with was the eyepiece, you’d struggle considerably! With a finderscope, you can line up the object you want to look at and it will be centered in your optics when you look through the eyepiece. To accomplish this purpose, it’s essential that your finderscope is lined up correctly. You’ll learn how to do this in a later section, so for now, just attach the finderscope bracket as well as the finderscope itself to your telescope. Don’t tighten the knobs or screws too much, since you’ll be adjusting them later.
Get Used to the Controls
Before you take your assembled telescope outside, it’s a good idea to get to know the controls. You don’t want to be fumbling around when it’s dark outside and you’re trying to track a fast-moving star across the sky. Move the tube around, test out the slow-motion controls, and just get to know the feel of the telescope. Knowing how to adjust the tube is probably the most important part, and how to do so will differ depending on the type of mount you have.
To move your telescope when it’s on an alt-az mount, you need to loosen the lock knobs (your user’s manual should tell you where these are) and manually manipulate your optical tube in the direction you want to observe (or use the handle if your mount comes with one), remembering to tighten the lock knobs when you’re done. You should only use the lock knobs for large movements. If you need to make small adjustments, that’s what your slow-motion (also called precision) controls or cables are for. These usually look like long tubes or cables with turning knobs on the end. You’ll have two different slow-motion controls: one is for the up/down motion, and the other is for left/right.
Equatorial mounts move in an arc shape that follows the natural motion of the stars, making it easier to track an object across the sky without making large movements. You’ll rely on the slow-motion controls more than anything else. When you do need to make a larger adjustment, you’ll want to loosen the right ascension and declination axes and manually move the tube.
Alternatively, if you have a computerized GoTo telescope, you won’t need to worry about manual controls so much as the remote. Play with the different buttons, figure out how fast and slow the tube moves, and see if you can start to memorize where the controls are on the remote so you can operate in the dark.
Head Outside
After all that work, you’re finally ready to take your telescope outside! The final part of the setup process is testing everything out and making sure the controls work, the finderscope is aligned, and you know how to locate objects in the sky.
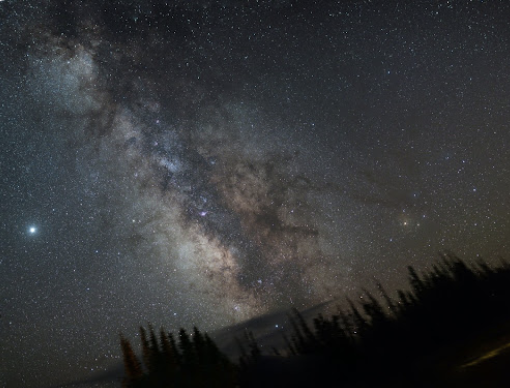
First, pick the right spot to place your telescope. You want as flat and level an area as possible with a wide-open view of the sky. Look around and see if there are any sources of light nearby, like a neighbor’s porch light or a street lamp. As much as possible, keep your telescope away from these areas and light sources. If you’re going to be stargazing often, you might even want to put together a cozy space with chairs, cushions, etc.
Before you start observing, it’s essential to make sure your finderscope and optical tube are both lined up. To adjust the finderscope, pick a stationary object close by (not something in the sky) that you can easily find through your scope. Once you have it centered in your scope, take a look through the eyepiece and see if the object is centered there as well. If it isn’t, you’ll need to loosen the bolts on your finderscope and move it around until the object is centered both in the scope and the eyepiece.
If you have an alt-az mount, you’re done! You can now begin observing to your heart’s content.
If you have an equatorial mount, there will be a few extra steps you’ll need to perform to finalize the setup. One of these steps is adjusting the altitude setting. Loosen the bolts on the mount head so that you’re able to tilt the telescope’s tube up and down. You should see a ring with latitude numbers on it, and what you need to do is line up the arrow or pointer with the latitude for your location (you can use GPS to find this). Make sure to tighten the bolts when you’re done so the tube doesn’t slip out of place.
The final step is polar alignment. This will allow you to move your equatorial mount in an arc that will follow stars across the sky without having to make any major adjustments. To do this, you’ll need your telescope’s polar axis to be aligned with the north celestial pole, which is the fixed point in the sky that the stars appear to rotate around. If you’re in the northern hemisphere, the north celestial pole will be the star Polaris. Pick up your whole telescope and move it so that the front of the tube points north. If you have your latitude setting correct, you should be able to see Polaris in your finderscope. If you can’t, make small adjustments using the slow-motion controls or move the latitude slightly. Once you have Polaris lined up in the finderscope, you should be able to effortlessly follow the arc motion of the stars. For more information on polar alignment check out our article here.
And that’s it! Of course, there are small things here and there that we didn’t touch on, but those are unique to your telescope and will be covered in the instructions. Believe it or not, you’ve done the most complicated bit, so now it’s time to sit back and enjoy the stars with your brand-new telescope.


