


When it comes to processing any astrophotography image, there is no one “right” way of doing things. There are many different ways, different techniques, and different software programs you can use to achieve the same results. In this tutorial, I'll show you how to process your SeeStar photos in Photoshop, using a few astrophotography specific plug-ins.
Processing Steps Overview for Deep Sky Objects:
1. Download the stacked file from your SeeStar.
2. Remove the gradient with GradientXTerminator.
3. Remove the stars with StarXTerminator.
4. Stretch the starless image.
5. Add the stars back in.
6. Remove the noise with NoiseXterminator.
7. Correct any elongated stars with the deconvolution tool, BlurXTerminator.
Download the Stacked File from the SeeStar
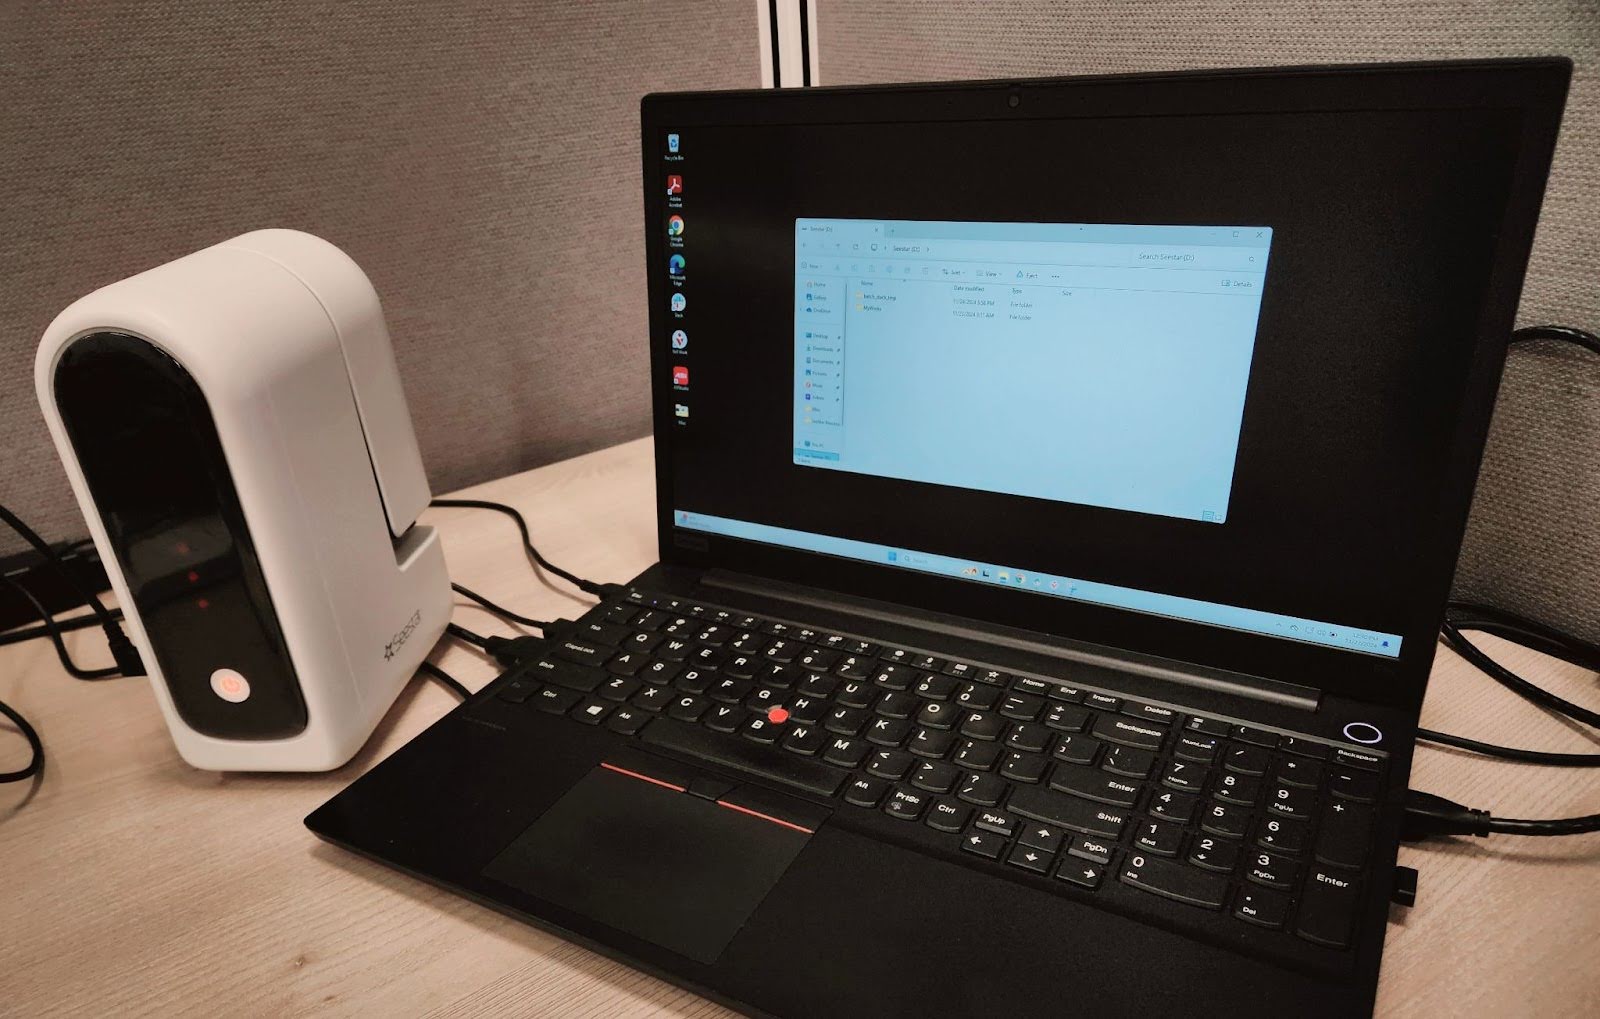
First, connect the SeeStar to your computer or laptop with the same USB charging cable included with the telescope. Power on the SeeStar by holding down the power button for two seconds until you hear two beeps. After the SeeStar says, “Powering on. Ready to connect,” a drive will automatically pop up on your computer with all your saved files titled “My Works.”
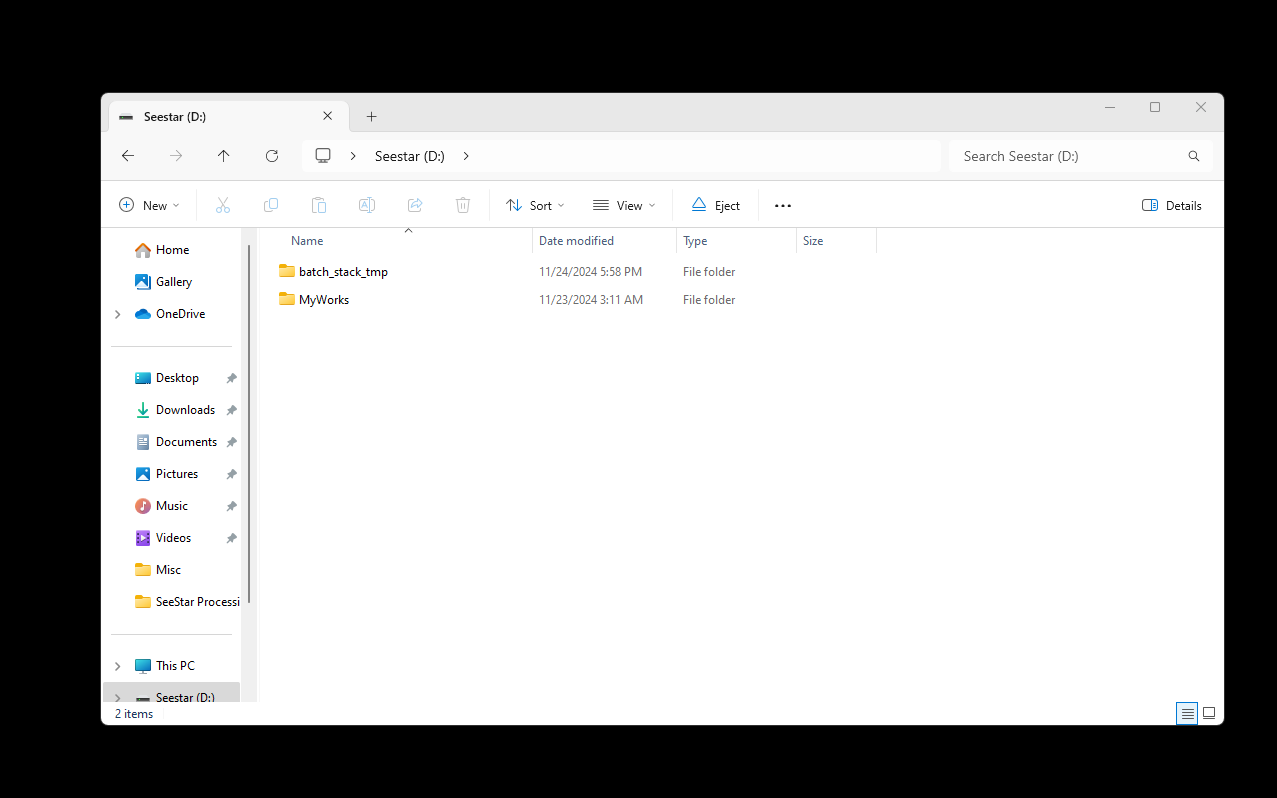
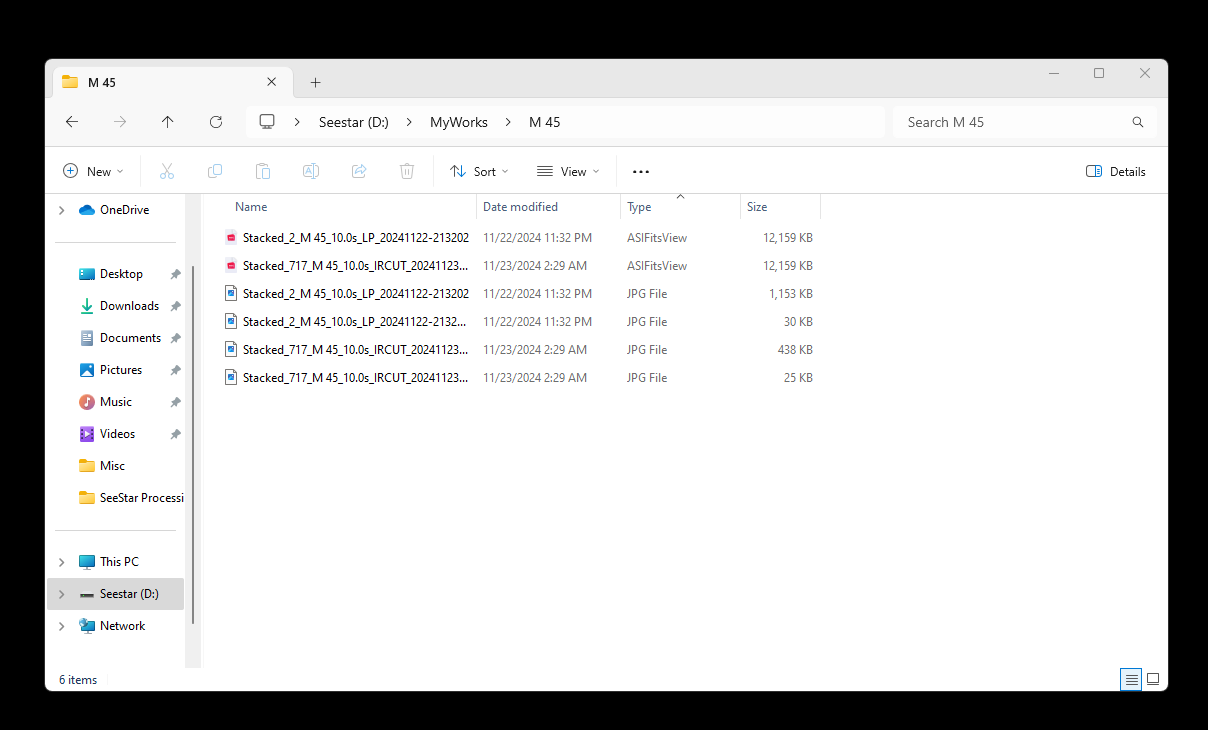
In the "My Works" folder, select the folder for the object you’d like to process.

In that object’s folder, open the RAW, stacked file that ends in .FIT. The FIT file is the raw file we need for processing.
To work with this file in Photoshop, open the FIT file using the ASIFitsView tool in ASIStudio, a free software offered by ZWO. After you open the FIT file in ASIFitsView, click on the icon that looks like a floppy disk, which is your “Save As” button. Then save the file as a TIFF file.


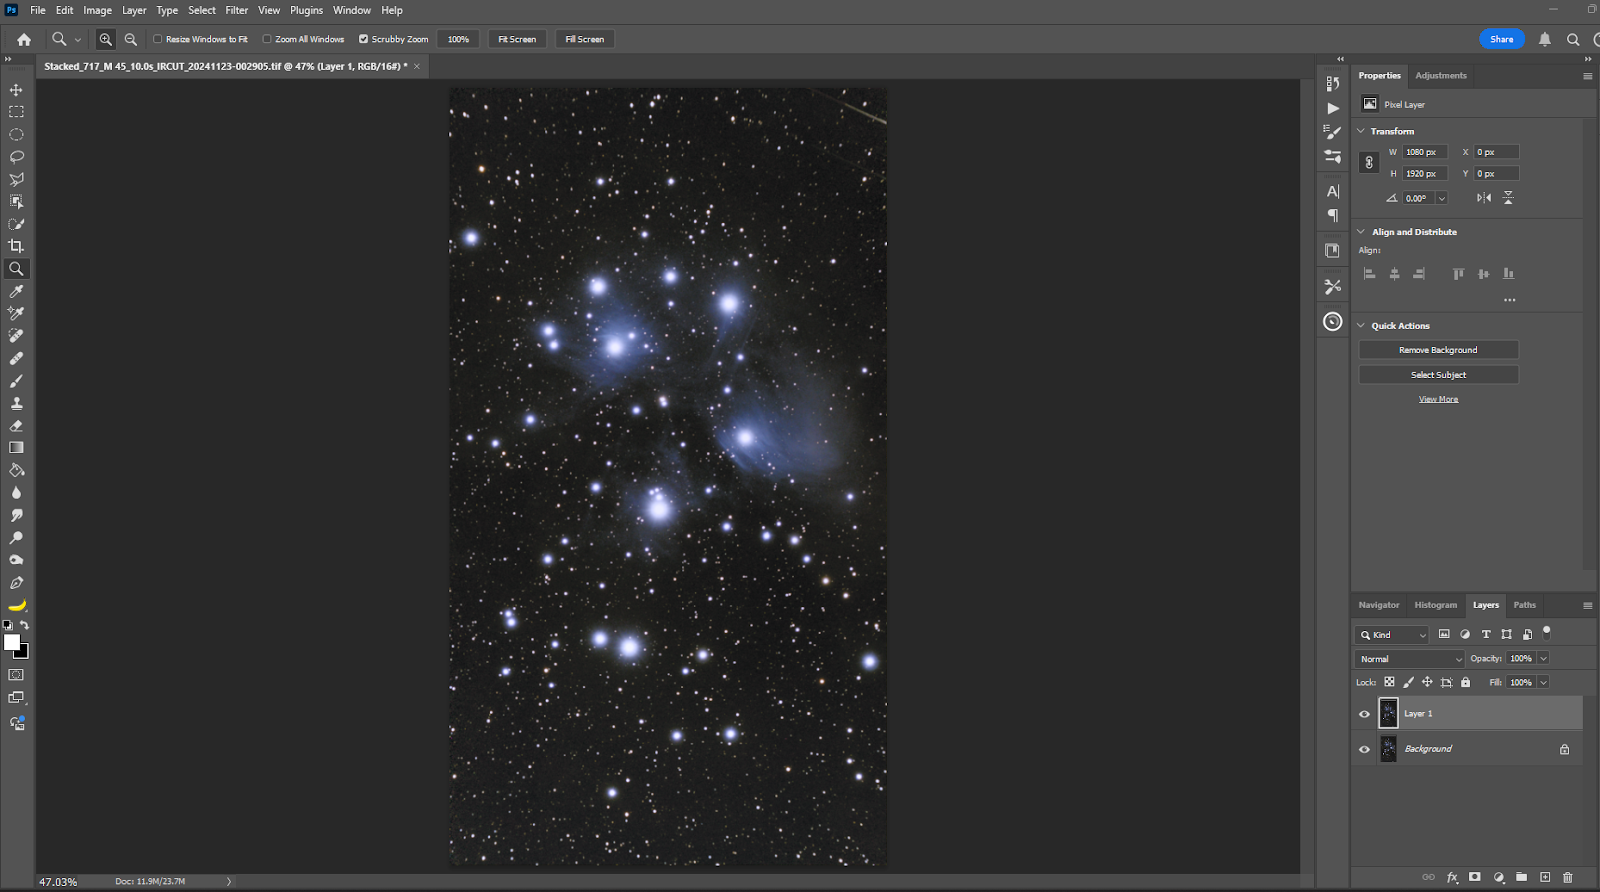
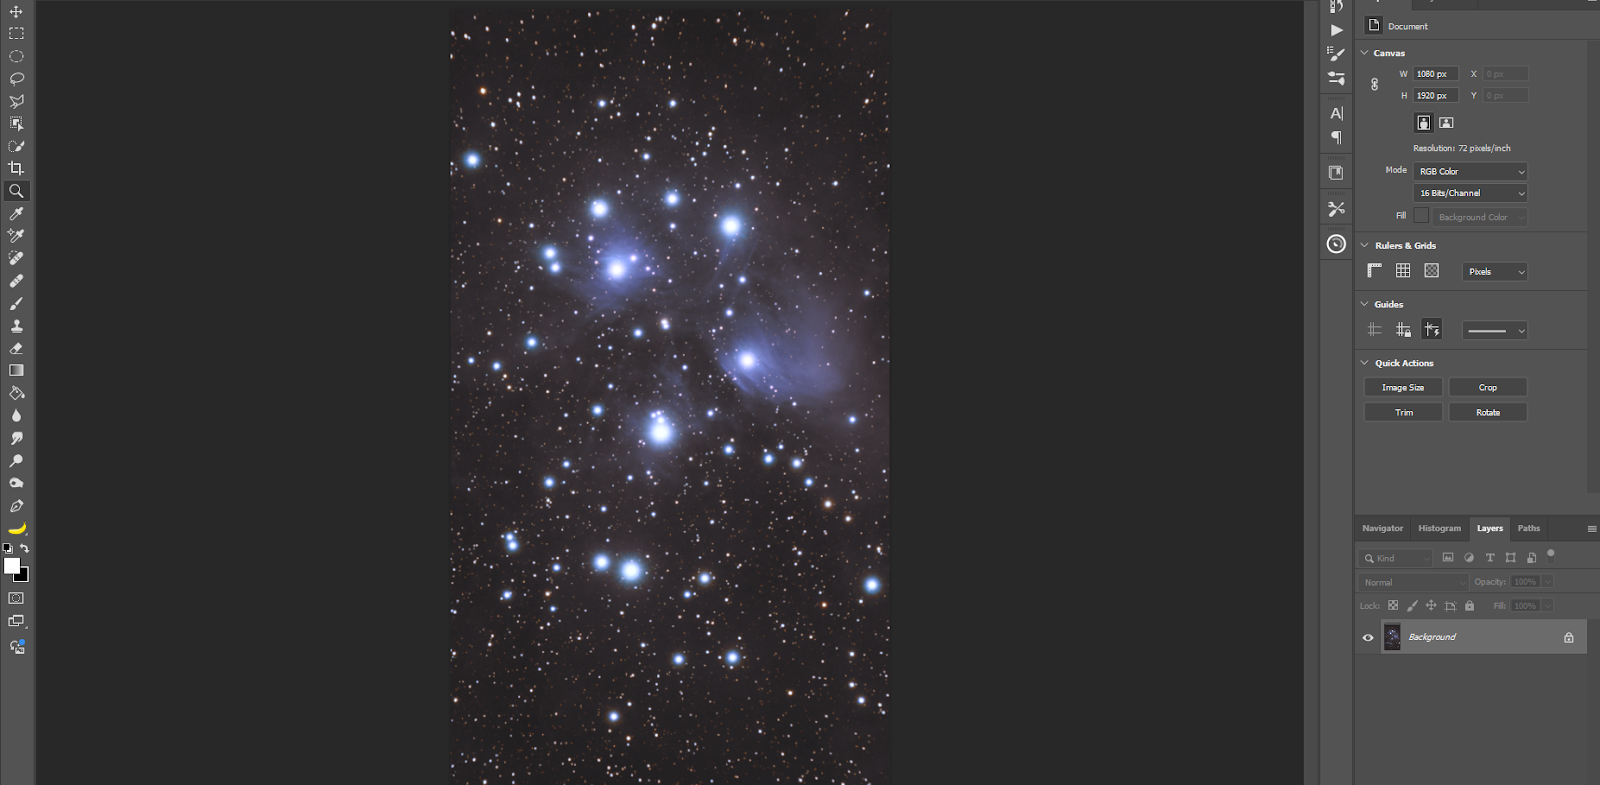
Now, open your newly saved TIFF file in Photoshop.

I use the following plug-ins by RC Astro in Photoshop to process astrophotos: GradientXTerminator, NoiseXTerminator, StarXTerminator. For this example, we’ll use all three of these plug-in tools. You’ll need to purchase and install them before getting started.
Remove the Gradient with GradientXTerminator
Once the plug-ins are installed, first apply Gradient Xterminator to the image. You’ll immediately notice a big change in the image since it will remove the green and correct the background color. In Photoshop, create a Layer Via Copy by hitting CTRL + J. Then select the GradientXterminator from Filter > RC-Astro> GradientXTerminator.
Select Medium for the Detail, and Low for Aggressiveness. After the gradient is removed, right click on Layer 1 and select Flatten Image, then Save it.


Remove the Stars with StarXTerminator
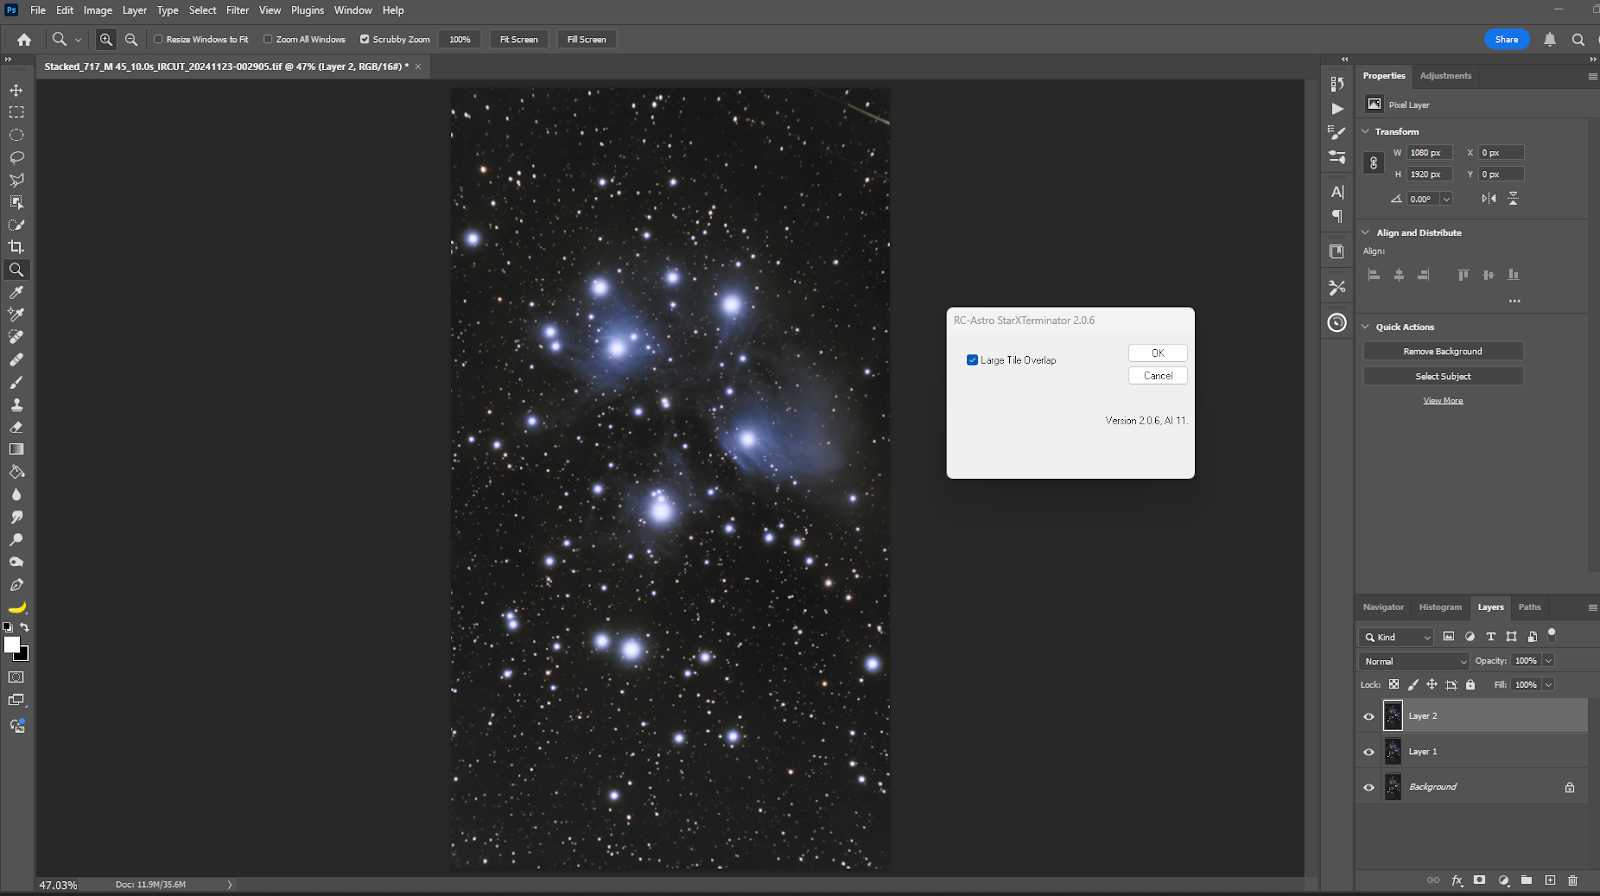
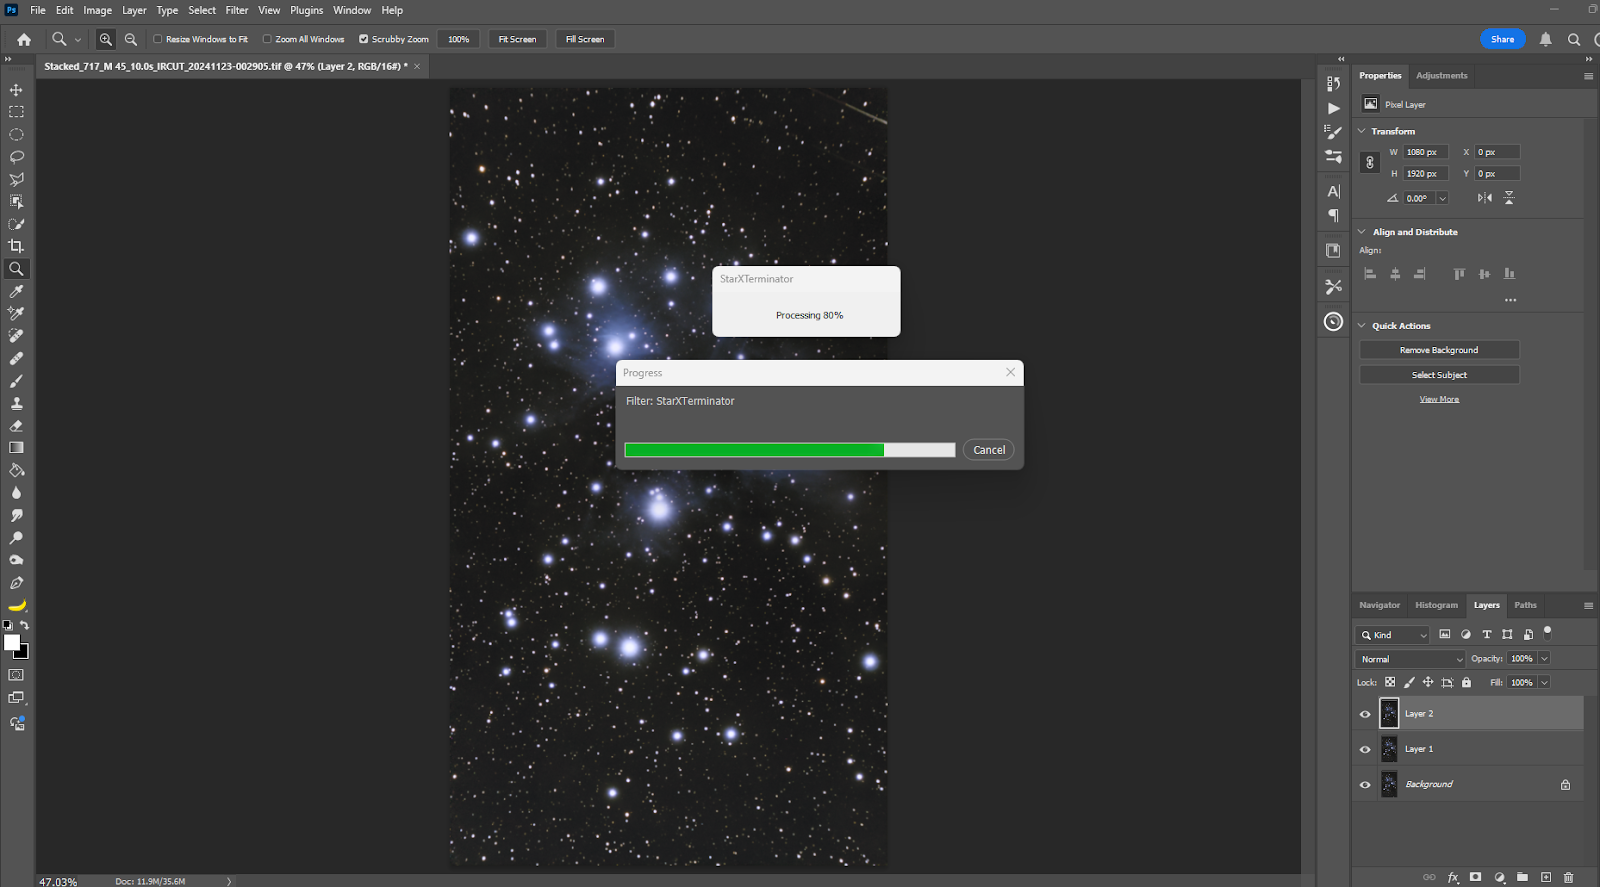
Before processing the image any further, we need to remove the stars. This will allow us to process the nebula without impacting the stars. Create a Layer via Copy by hitting CTRL + J. Then we’ll need another layer. Do this by hitting CTRL + ALT + SHIFT + E. You’ll now see “Layer 1” and “Layer 2” above “Background.” With Layer 2 selected, run StarXterminator from Filter > RC-Astro > StarXTerminator.
Check the box for the option “Large Tile Overlap.” Then press OK to run StarXTerminator. It can take several minutes or longer for StarXTerminator to remove the stars. This is normal. When it’s done, double-click on “Layer 2” and rename this layer “Starless.”

Now, we’ll create a layer with the stars, so we can add the stars back later. Turn the “Starless” layer off. Then select Layer 1, right-click on it, and select “Duplicate Layer.” That will create a new “Layer 1 Copy.” Double-click on Layer 1 Copy and rename it "Stars Only."

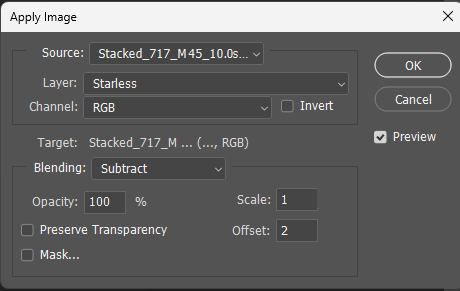
With the Stars Only layer selected, go to the top menu bar to Image > Apply Image. In the Apply Image pop-up window, change the Layer from Merged to Starless, change the Blending to Subtract, and set the Offset to 2. Then click OK.
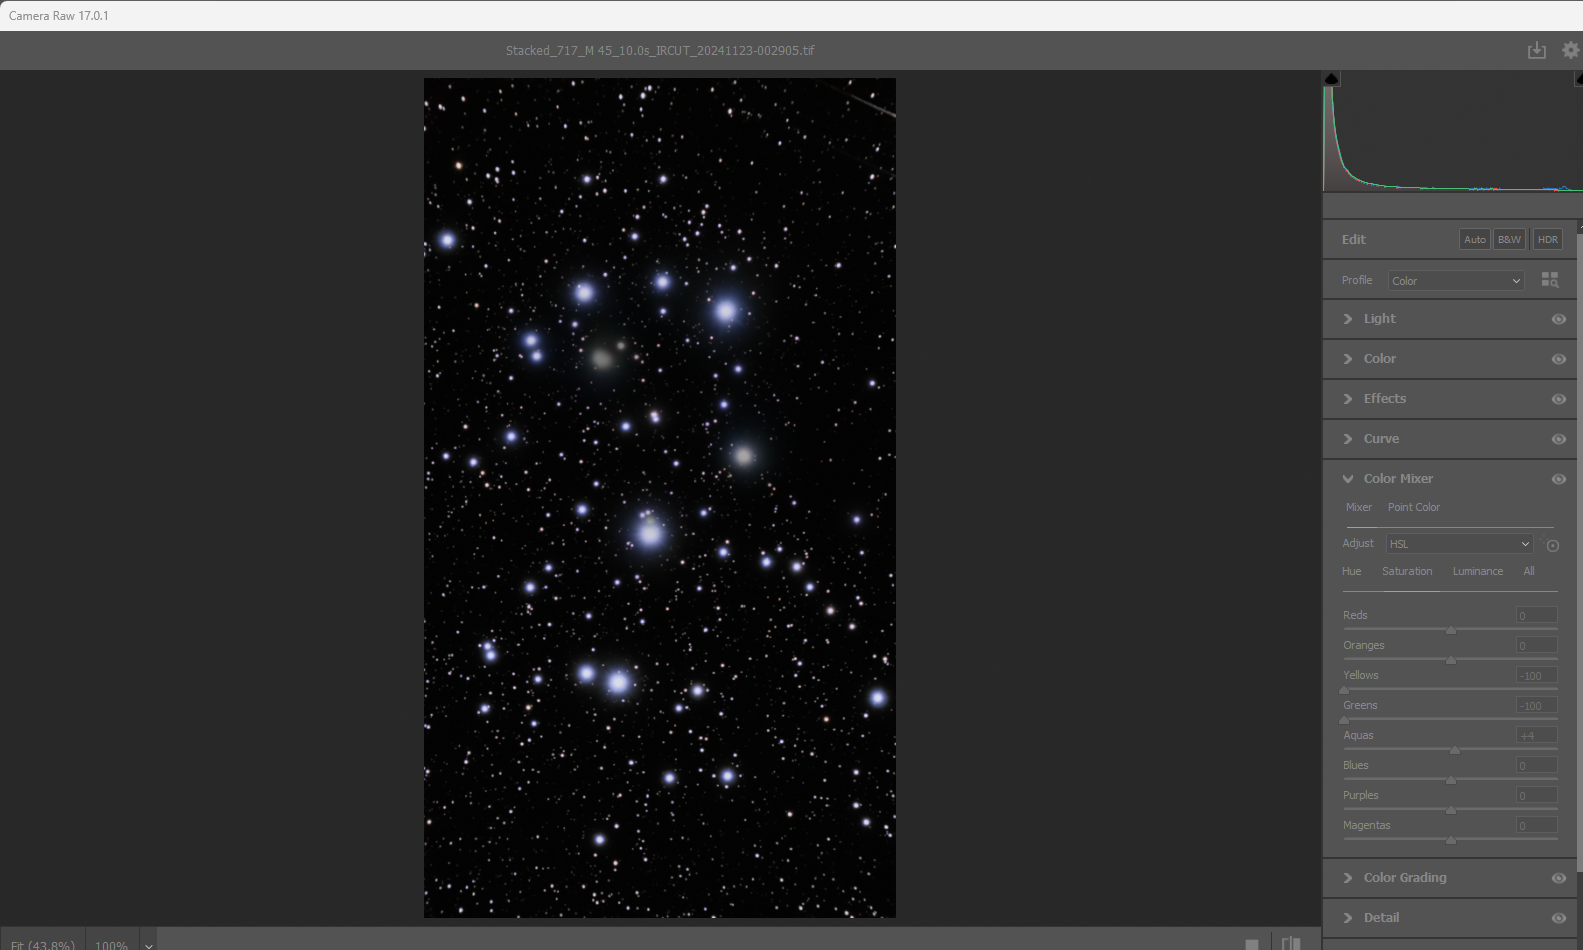
If some of the stars look green, we can correct that by going to Filter > Camera Raw Filter. Under the Color Mixer, move the Yellow and Green slider all the way to the left.
Stretch the Starless Nebula Image
Now that we have one Starless Image and one Stars Only image, we save each image individually. We’ll add the stars back in a later step. With just the Starless image open, we can apply a simple stretch to bring out more nebulosity in the nebula.
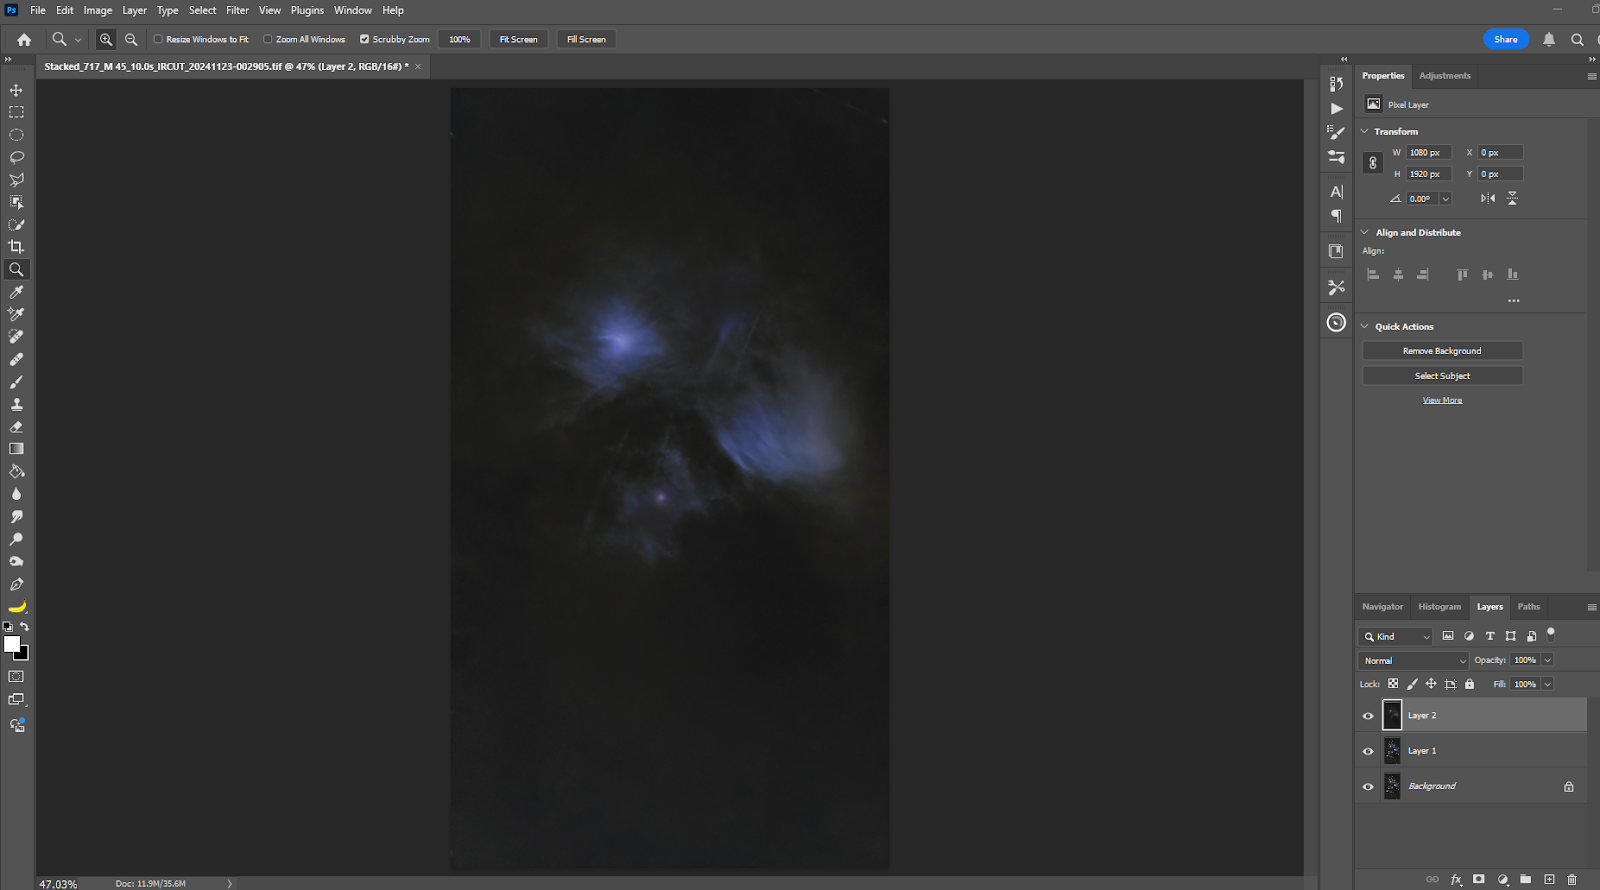
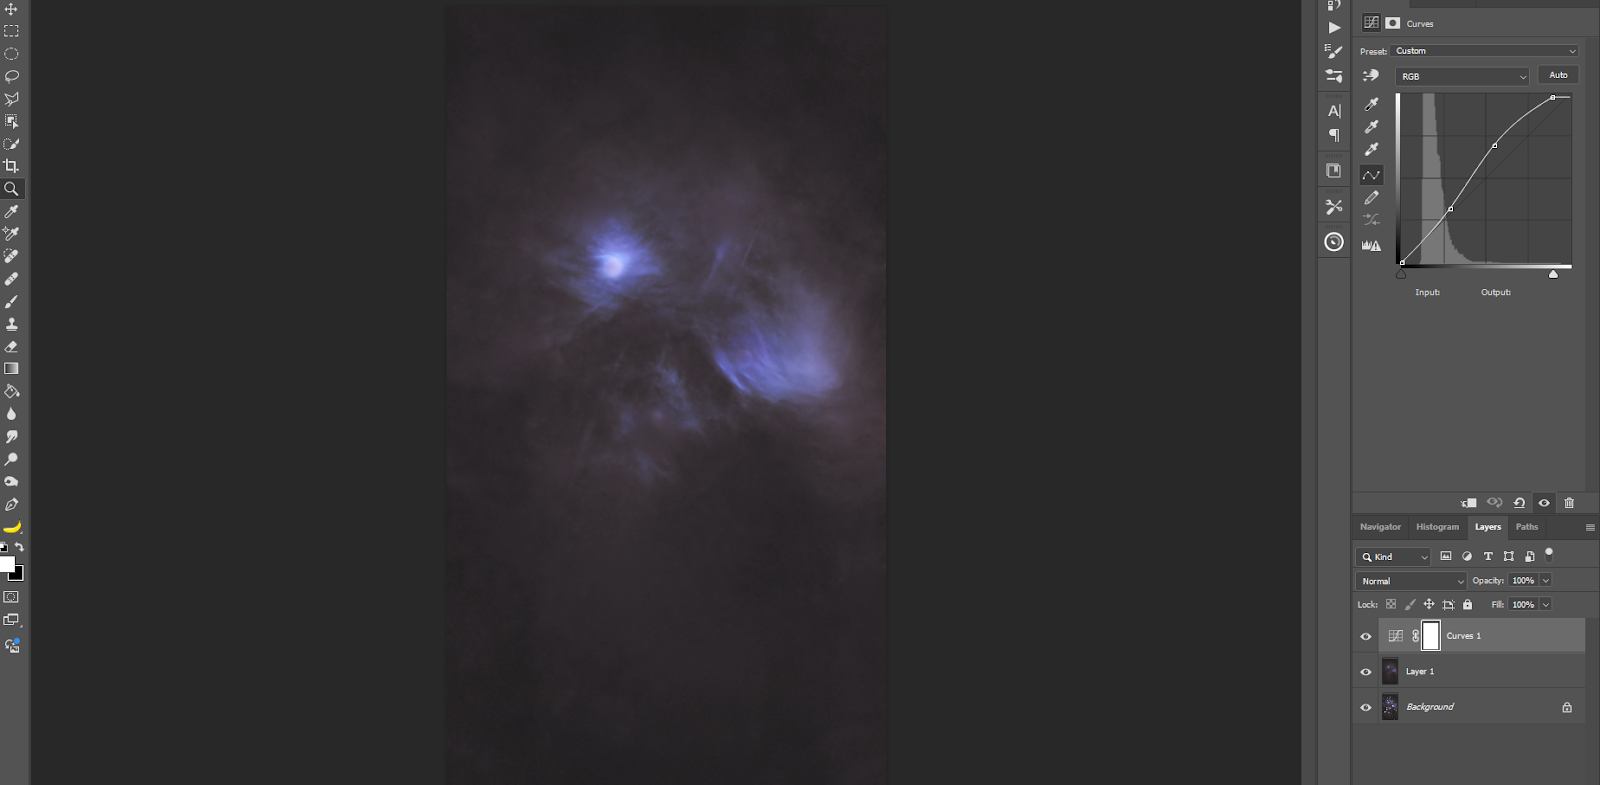
Here is the Starless image after a stretch in the Curves Adjustment tool. I usually start by selecting “Auto” for an auto stretch. Then, I make slight adjustments to my liking, usually creating a slight "S" curve. After the stretch is complete, you can save this Starless image.
Add the Stars Back In
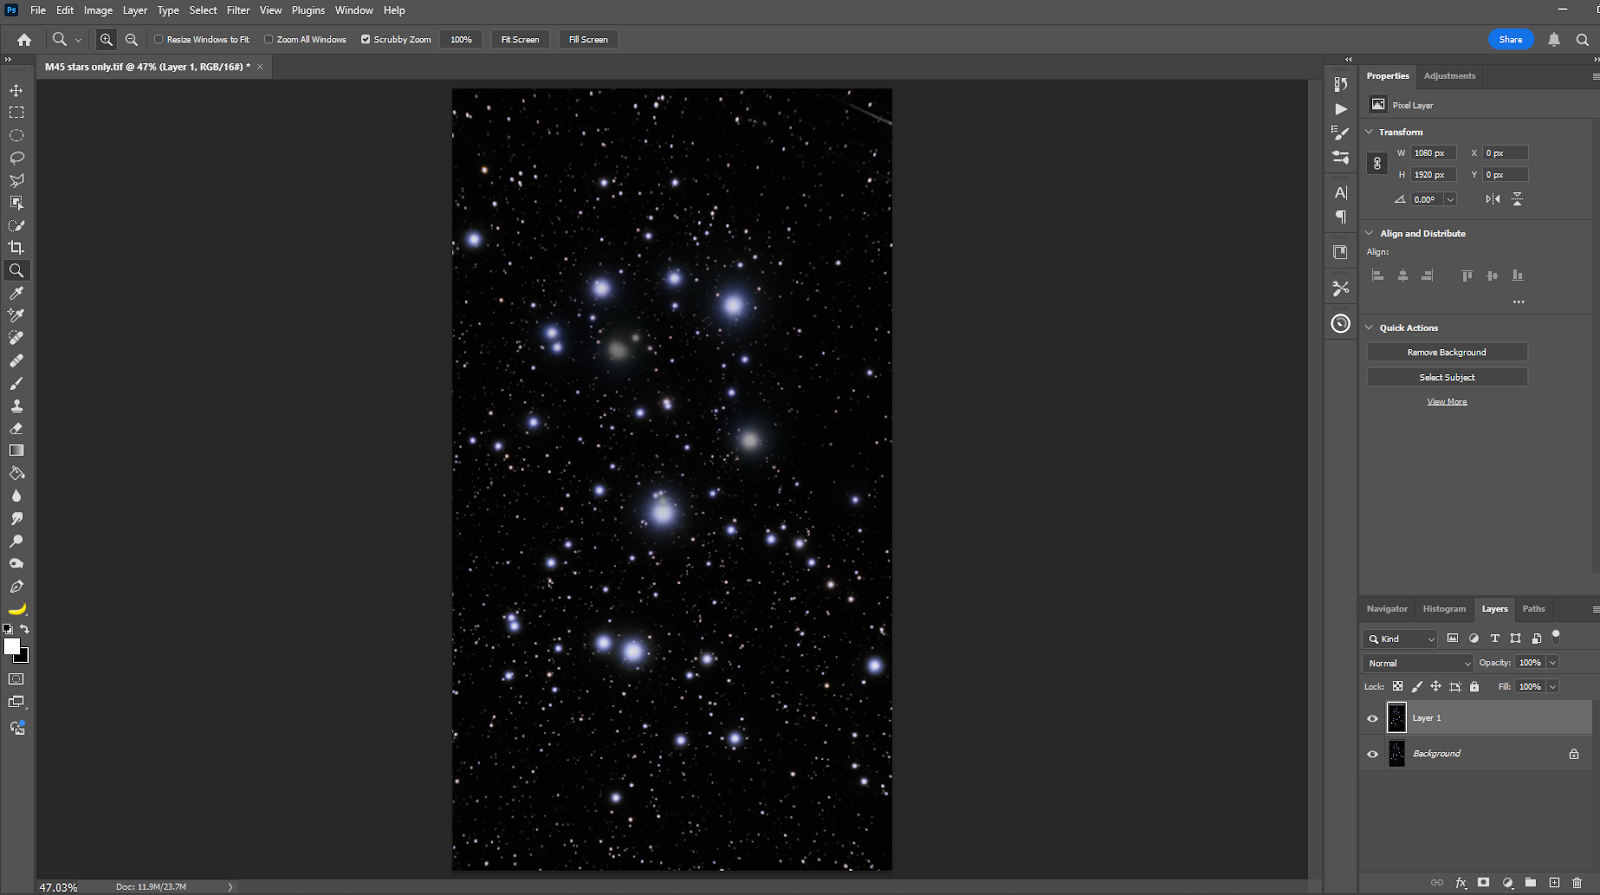
Now, we can add the stars back in. To do this, open the Starless image in one tab in Photoshop, and open the Stars Only image in another tab. In the Stars Only image, create a New Layer Via Copy by hitting CTRL + J. Then go to Edit in the top menu bar and select Copy.
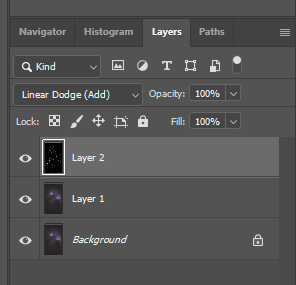
Then in the Starless image, again, create a New Layer Via Copy by hitting CTRL + J. Now, go to Edit in the top menu bar and select Paste. This will paste our Stars Only image as a Layer with the Starless Image. Next, change the blending mode to “Linear Dodge (Add)” with the Layer 2 Stars Only selected. This will add our stars back. At this point, we can Flatten the image and Save it.
Remove the Noise with NoiseXterminator
The next step is to apply the Noise Xterminator. This will greatly reduce the noise present in the image and will produce a nice, smoother image while still maintaining the details of the nebula. Again, create a Layer Via Copy by hitting CTRL + J. Then select Noise Xterminator from Filter > RC-Astro > NoiseExterminator. I use 70% Denoise and Detail 10 for my settings. But feel free to play around with these settings for a result to your liking.
When the NoiseXTerminator is done, right click on Layer 1 and select Flatten Image.

Here’s a closer look at the difference between before and after NoiseXTerminator:

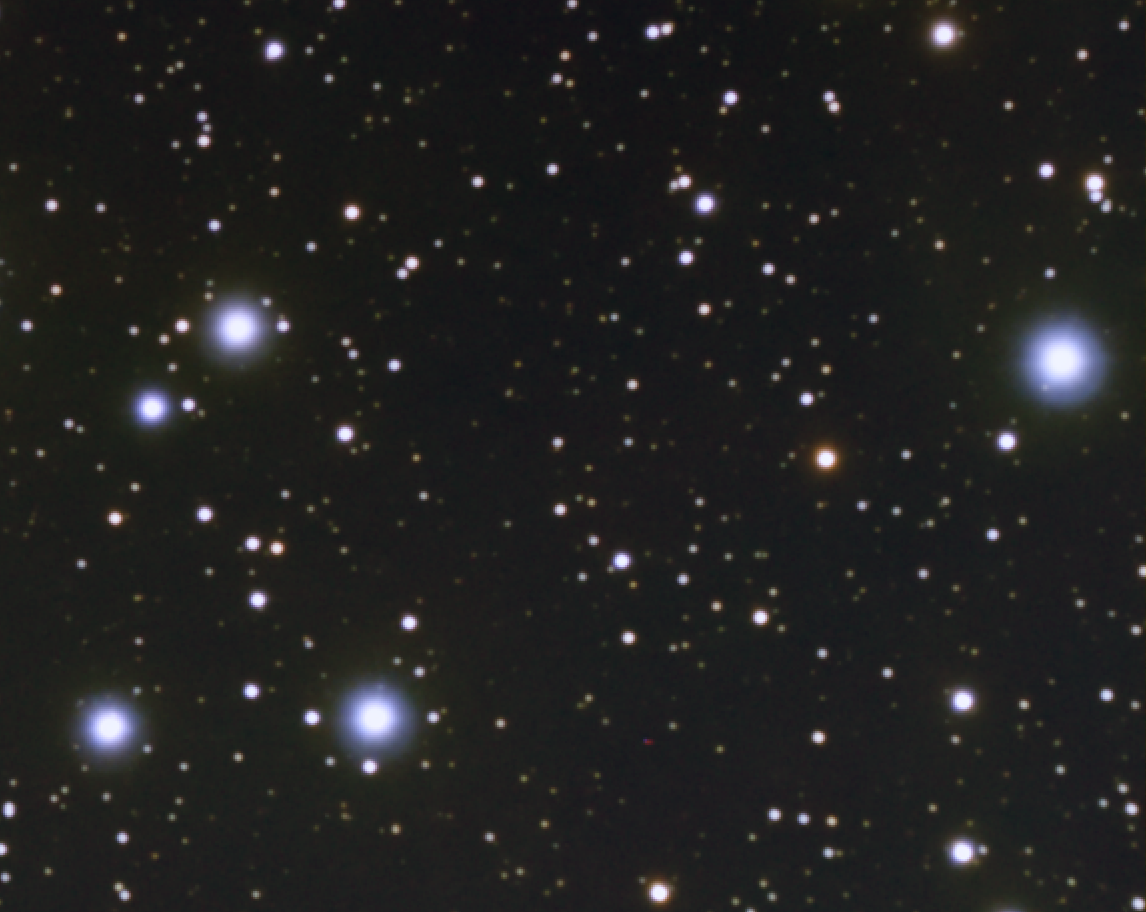
Here’s the image after we remove the gradient, remove the stars, stretch the starless image, add the stars back in, and, finally, remove the noise. This can be your final image and it’s a big difference from where we started with the image directly from the SeeStar!
Correct Any Elongated Stars with the Deconvolution Tool, BlurXTerminator
There is one last advanced processing tool you can use to get an even better image. If you notice some stars are elongated or have an odd shape, we can correct this with an advanced astrophotography software called PixInsight. To correct the stars, we can use a powerful deconvolution tool called BlurXTerminator, also by RC Astro. Here’s how the tool looks in PixInsight:
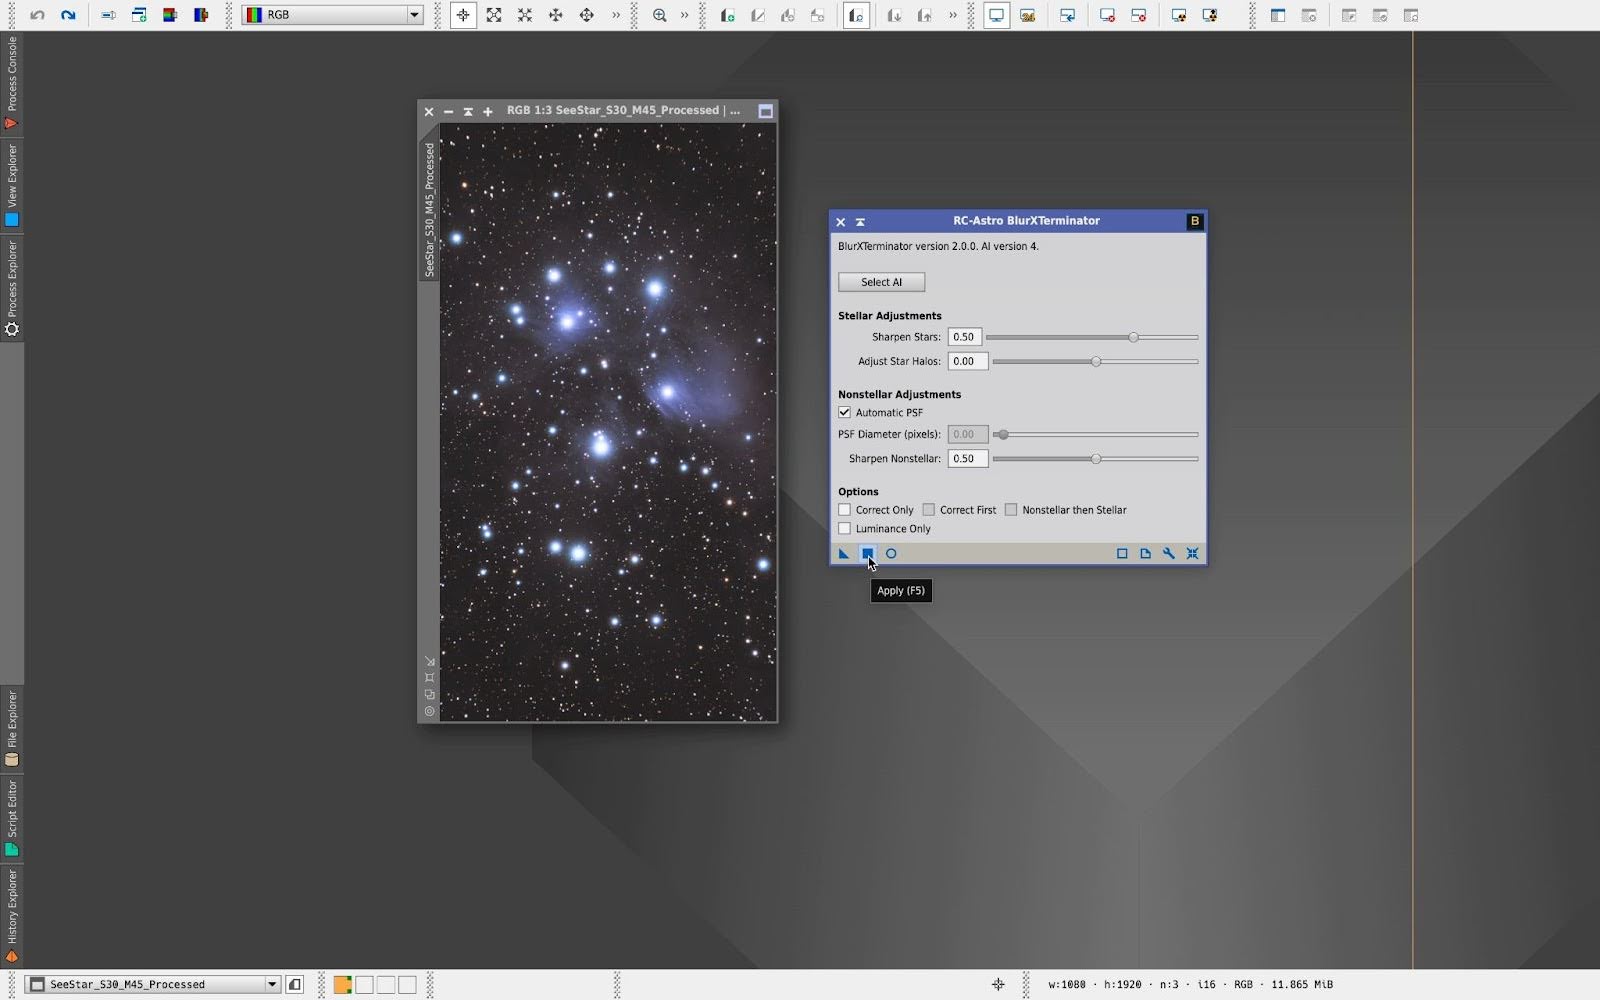
In PixInsight, simply open our final Photoshop image, then open RC-Astro BlurXTerminator. You can play around with these settings to get a result to your liking. To run BlurXTerminator, click the square (Apply) button. In this case, here are my results from just using the BlurXTerminator’s default settings:


Below is our final before and after processing images from the SeeStar. You're all done! Congratulations on processing your first SeeStar image! Clear skies!

Click the arrow above to see MLA, APA, and Chicago Manual of Style citations.
MLA:
Polloni, Diana. "How To Process Seestar Smart Telescope Images," AstronomyHub, High Point Scientific, 20 Dec. 2024, https://www.highpointscientific.com/astronomy-hub/post/how-to-process-seestar-images.
APA:
Polloni, D. (2024, December 20). How To Process Seestar Smart Telescope Images. High Point Scientific. https://www.highpointscientific.com/astronomy-hub/post/how-to-process-seestar-images
Chicago Manual of Style:
Bibliography:
Diana Polloni. "How To Process Seestar Smart Telescope Images," AstronomyHub (blog), High Point Scientific, December 20th, 2024. https://www.highpointscientific.com/astronomy-hub/post/how-to-process-seestar-images
Footnote:
Diana Polloni, "How To Process Seestar Smart Telescope Images," AstronomyHub, High Point Scientific, December 13th, 2024, https://www.highpointscientific.com/astronomy-hub/post/how-to-process-seestar-images.

Learn More
Interested in diving deeper into the world of astronomy and astrophotography? Not sure where to begin? Check out our Astronomy Hub!


