


When you are considering the importance of a tripod, you are really asking how valuable do you deem the equipment it carries. Personally, I had not thought too much about this until my gear ungracefully collided with the tripod leg during a slew, causing my USB connector to bend and nearly snap off! As if I didn’t learn my lesson, I had another collision where the filter wheel collided and began to unthread itself from the imaging train. Your tracking mount does not know or care what it is sitting on, and without careful slew limits set in software or a solution like the one I discuss in this review, long imaging trains are not safe from these disasters. Thankfully, I came to my senses and solved my problem with a portable, sturdy, pier-style tripod that gives plenty of clearance: the Apertura Anchor.
Unboxing
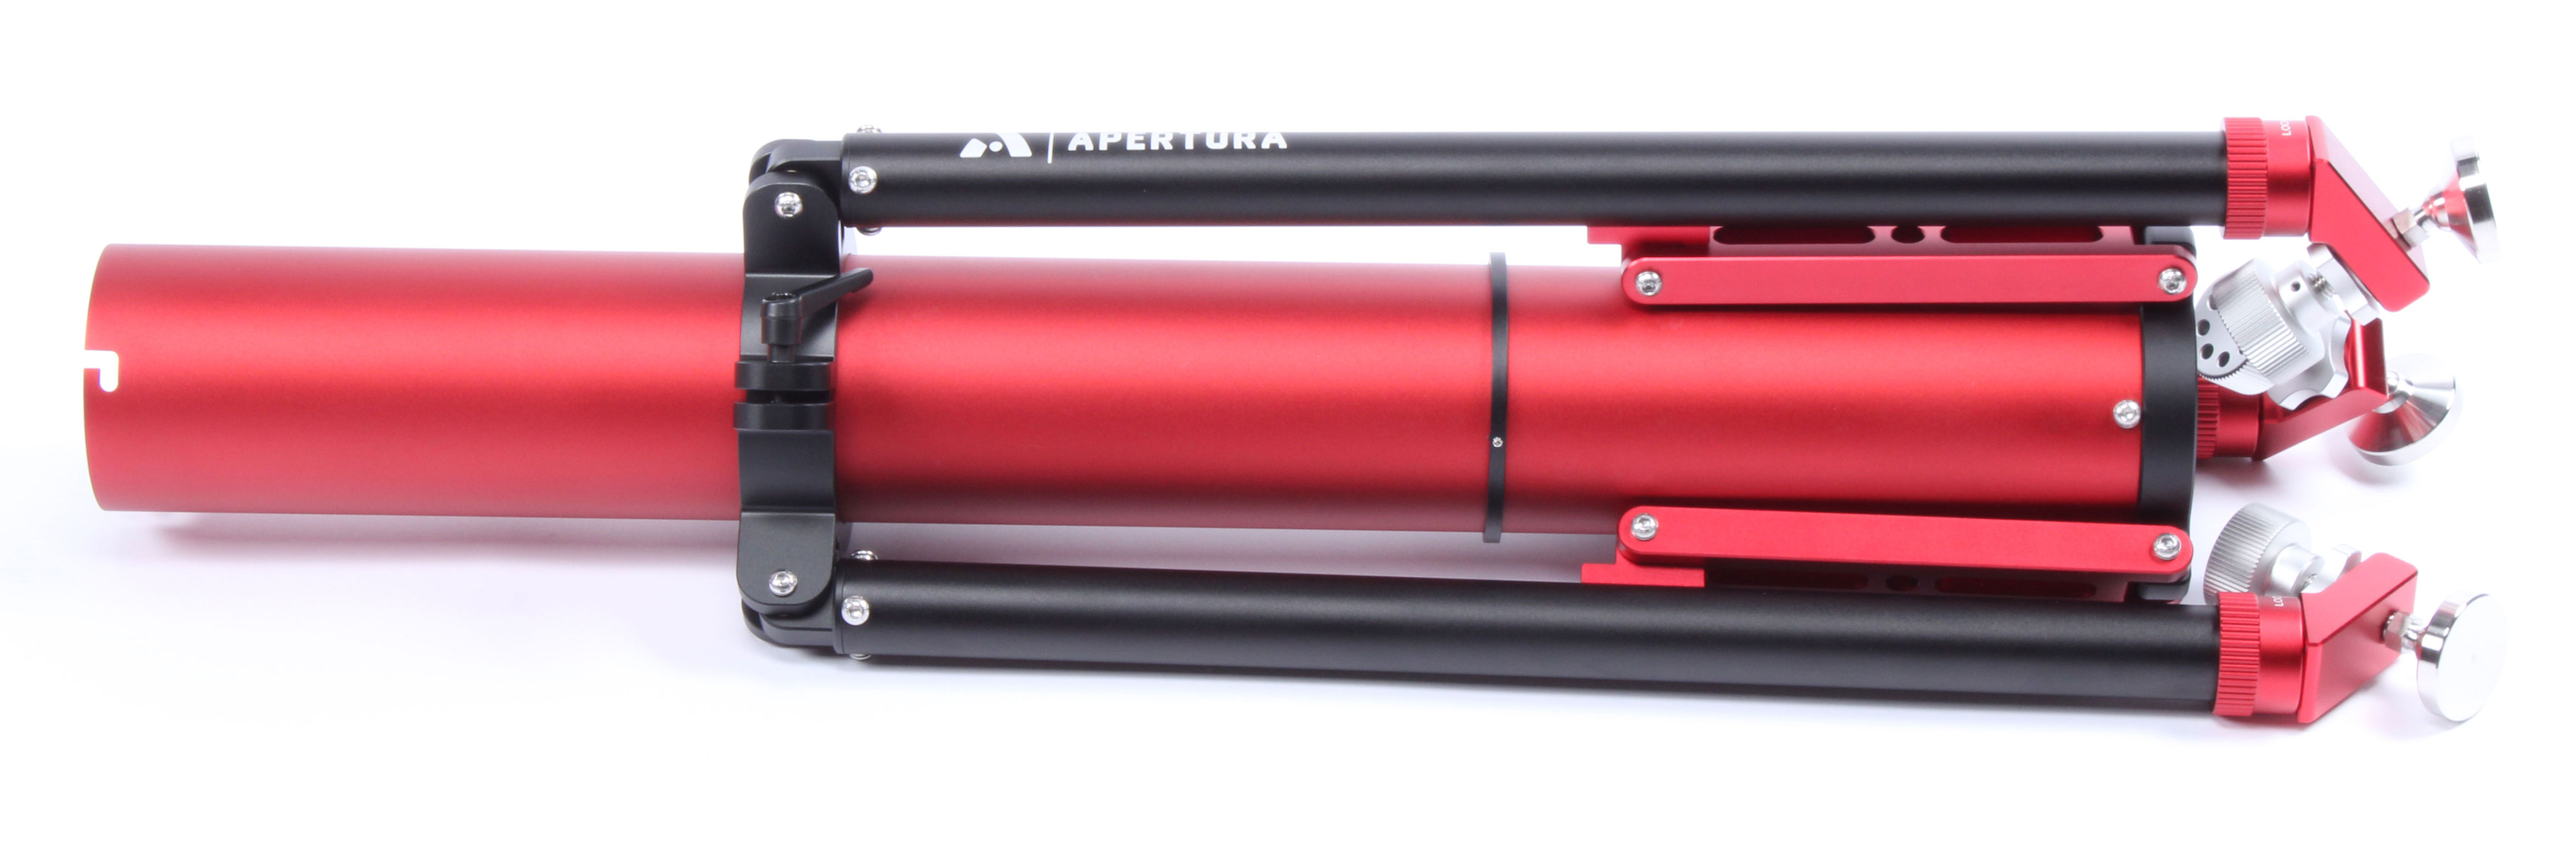
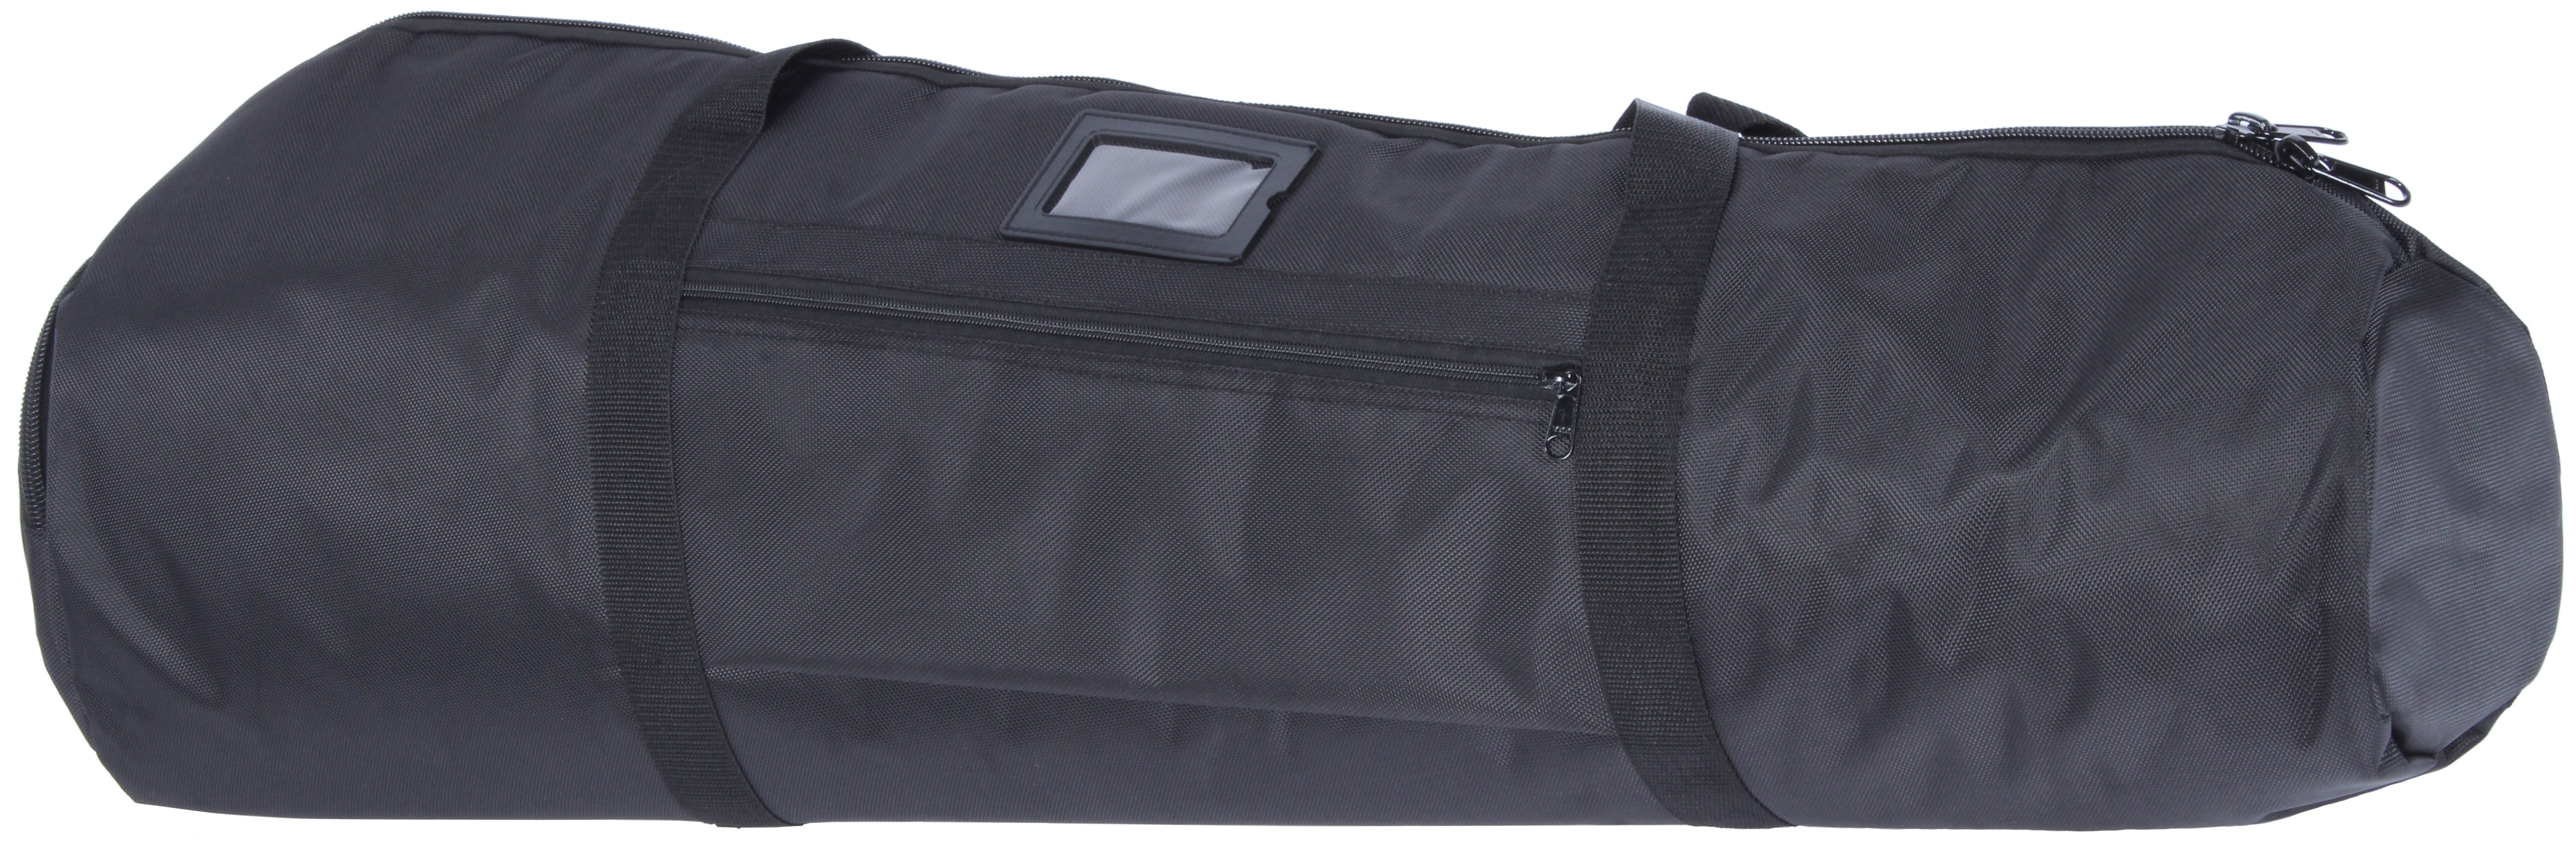
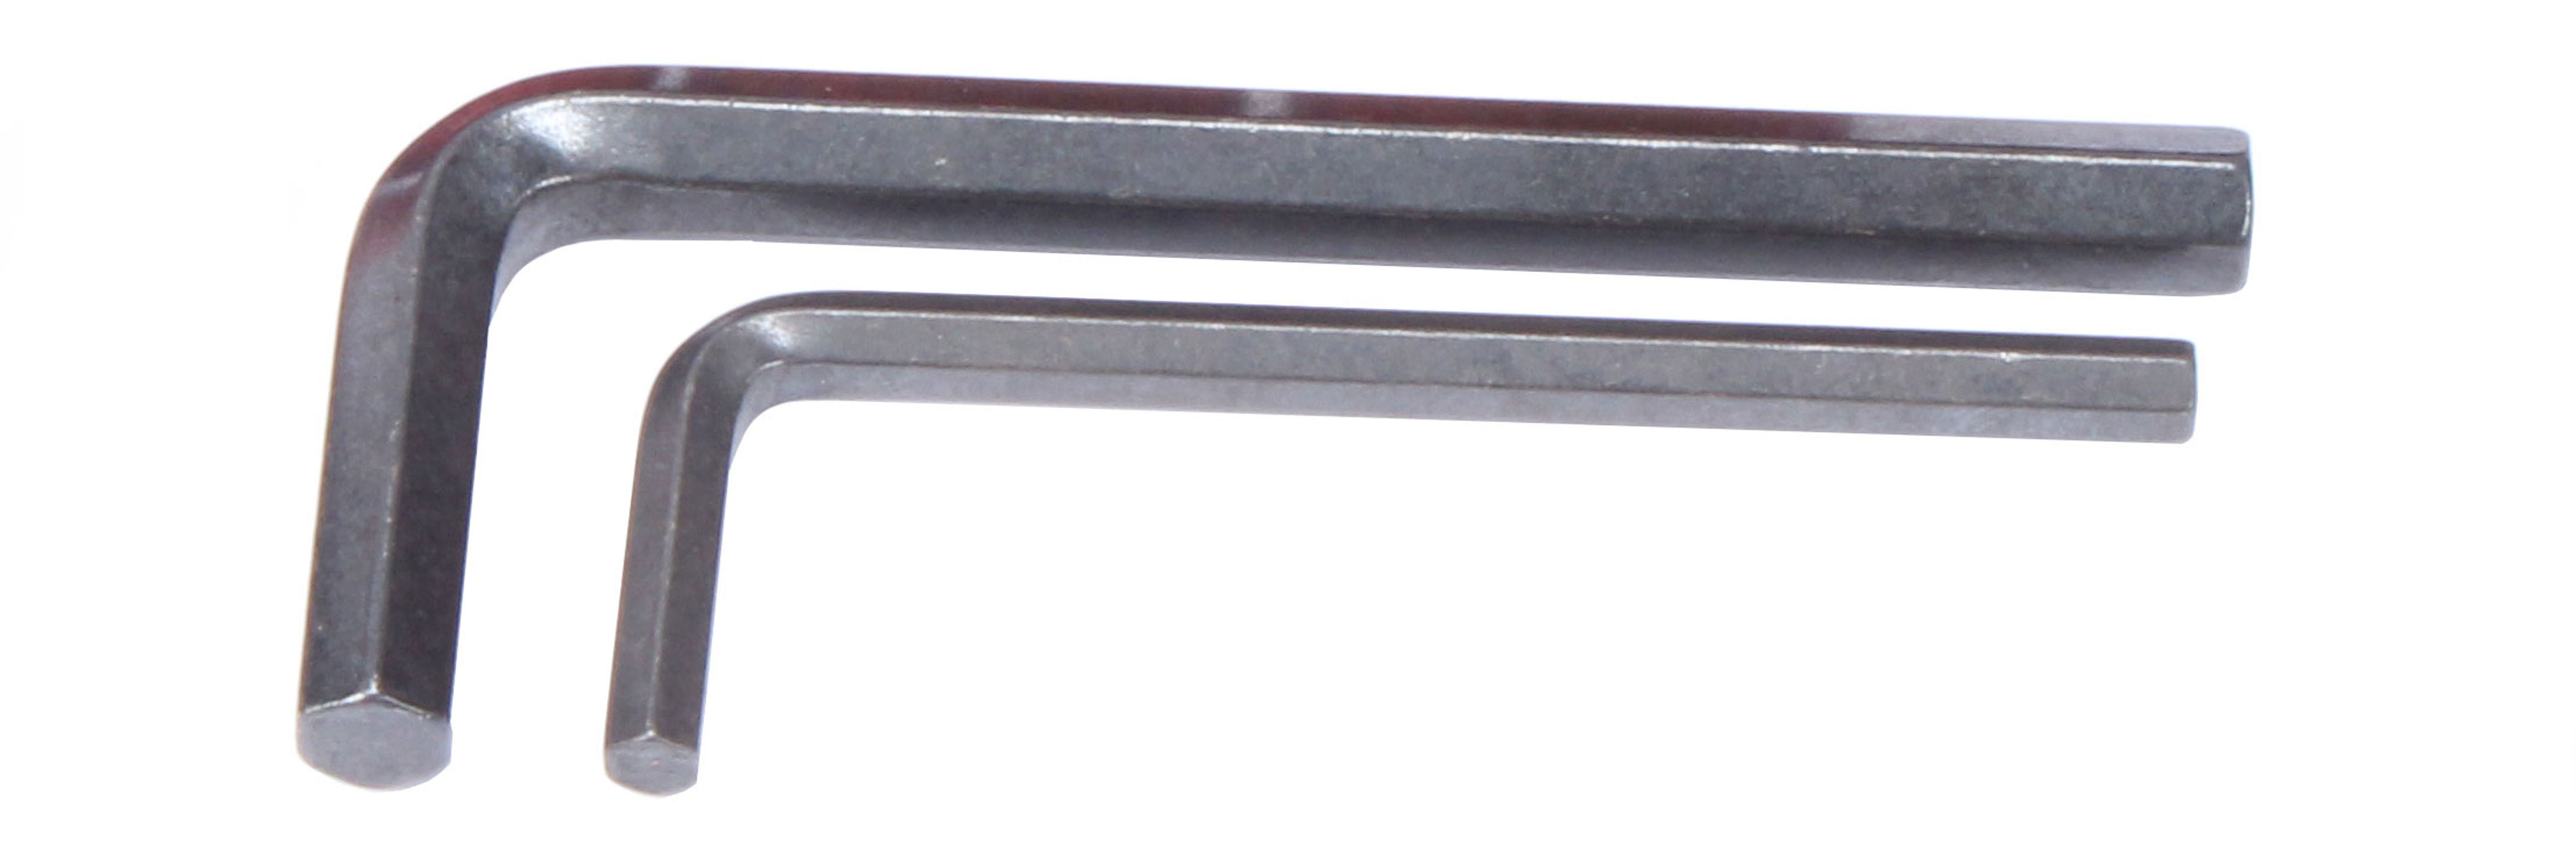
Once I received my Apertura Anchor, I started the unboxing process. Inside, I found the following:

Setting Up
My first impression of the Anchor was of its impressive build quality. Pictures simply do not do it justice! The pier is hefty, and the machined parts felt very robust and easy to manipulate. With the pier and tripod legs pre-assembled upon unboxing, I worked at installing the rest of my gear onto the Anchor.
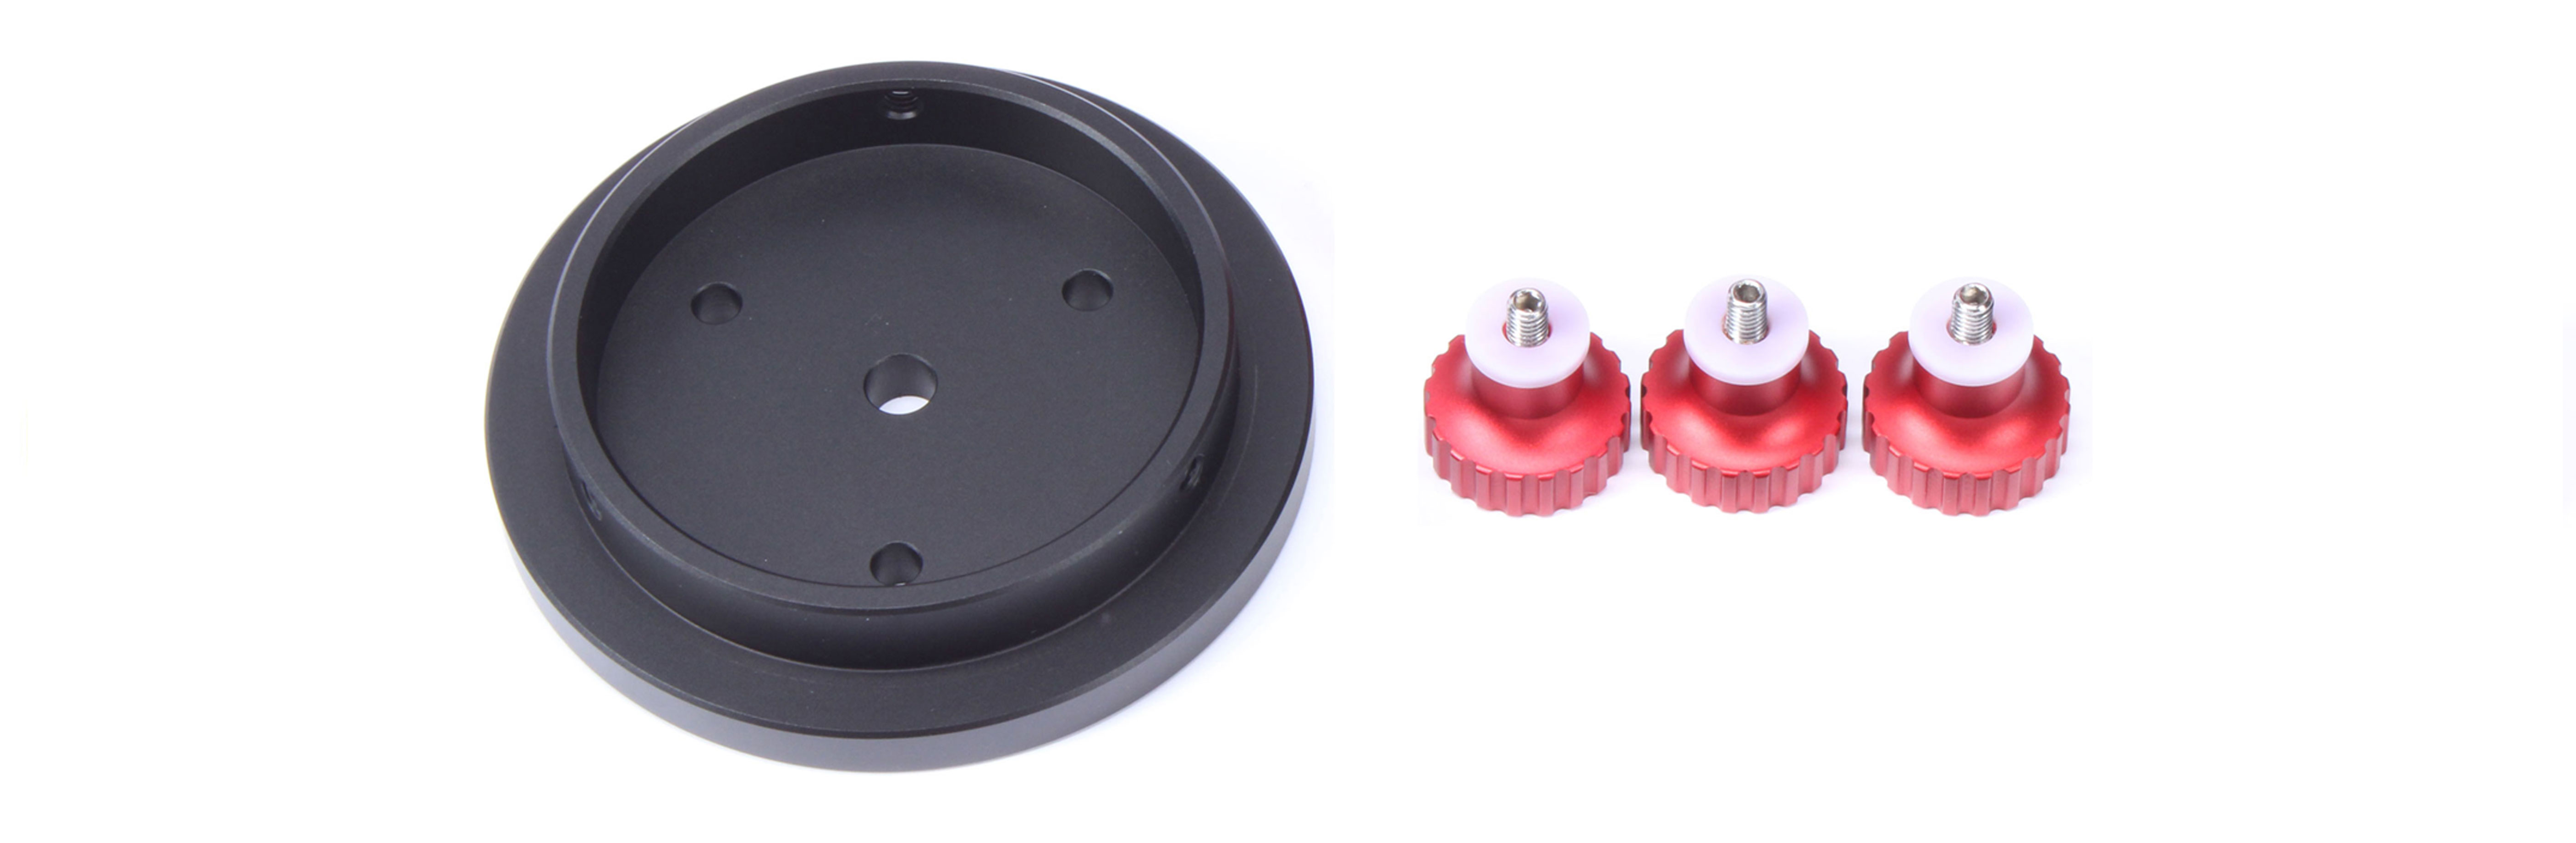
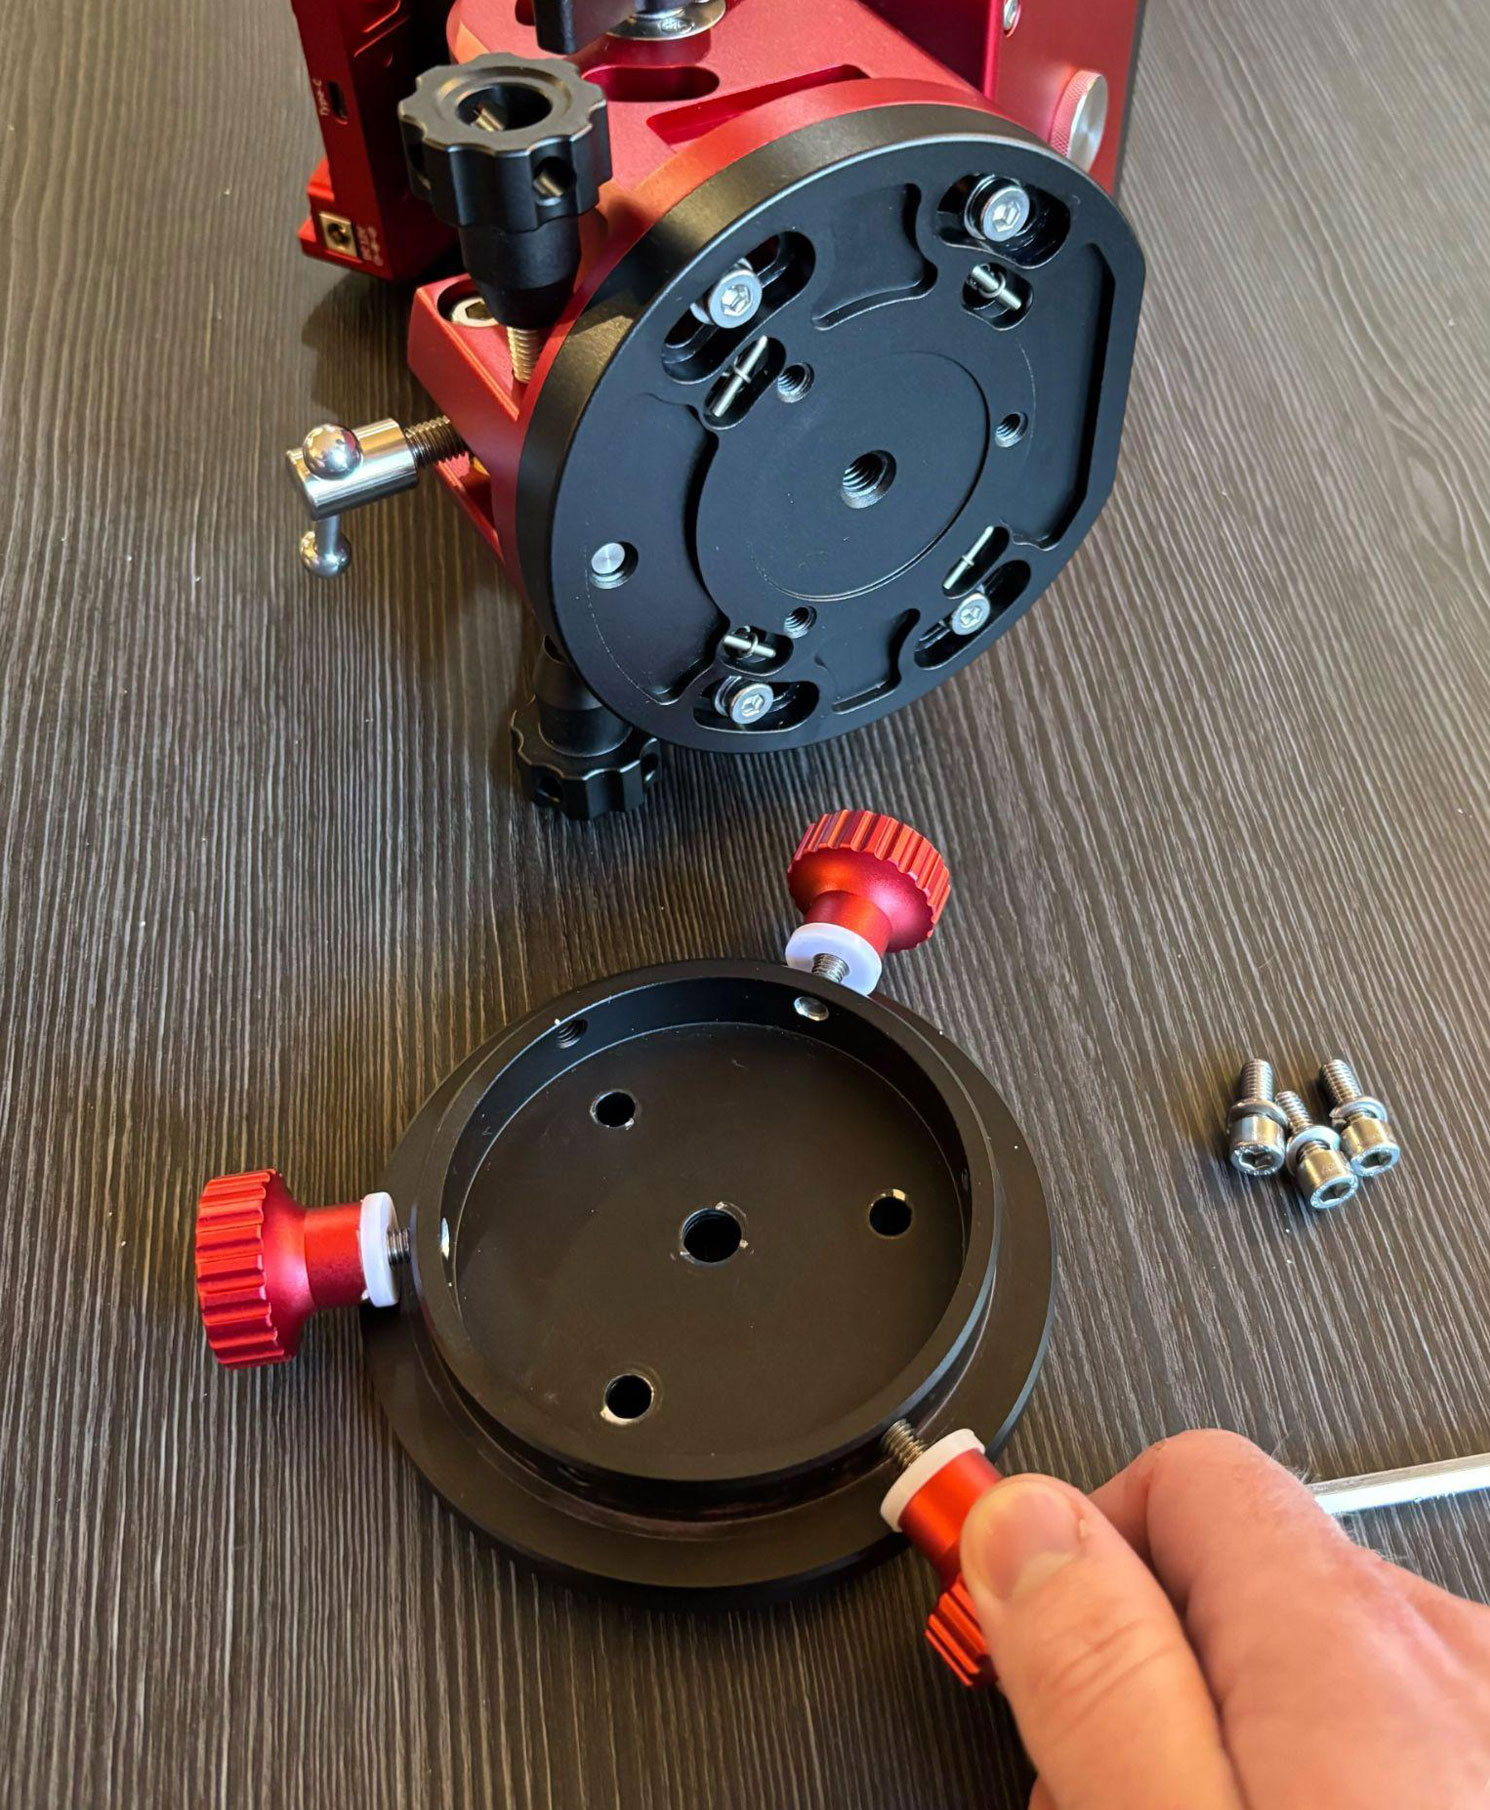
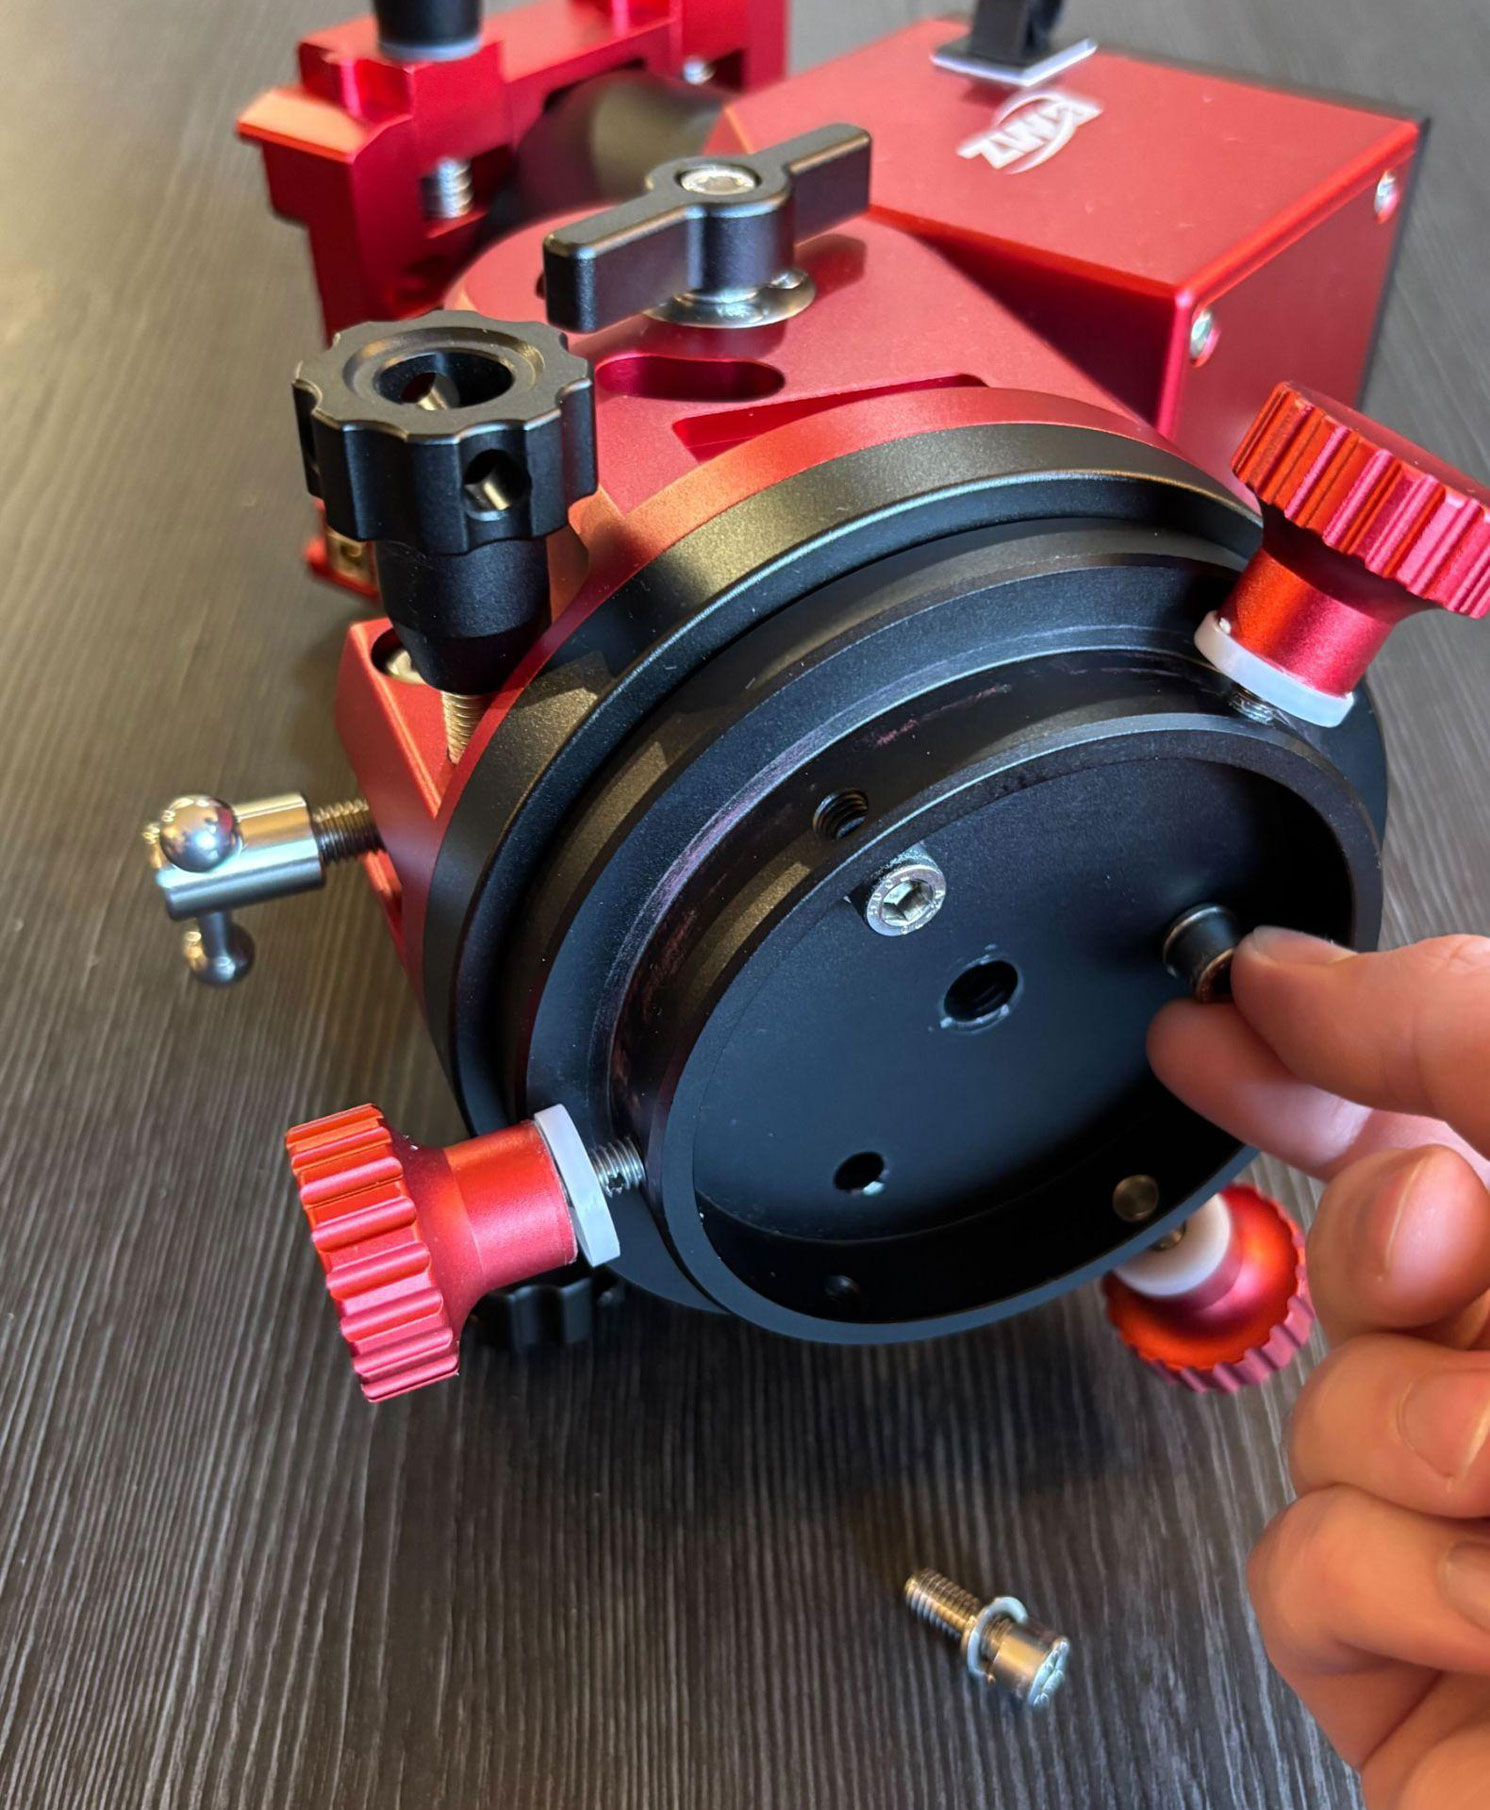
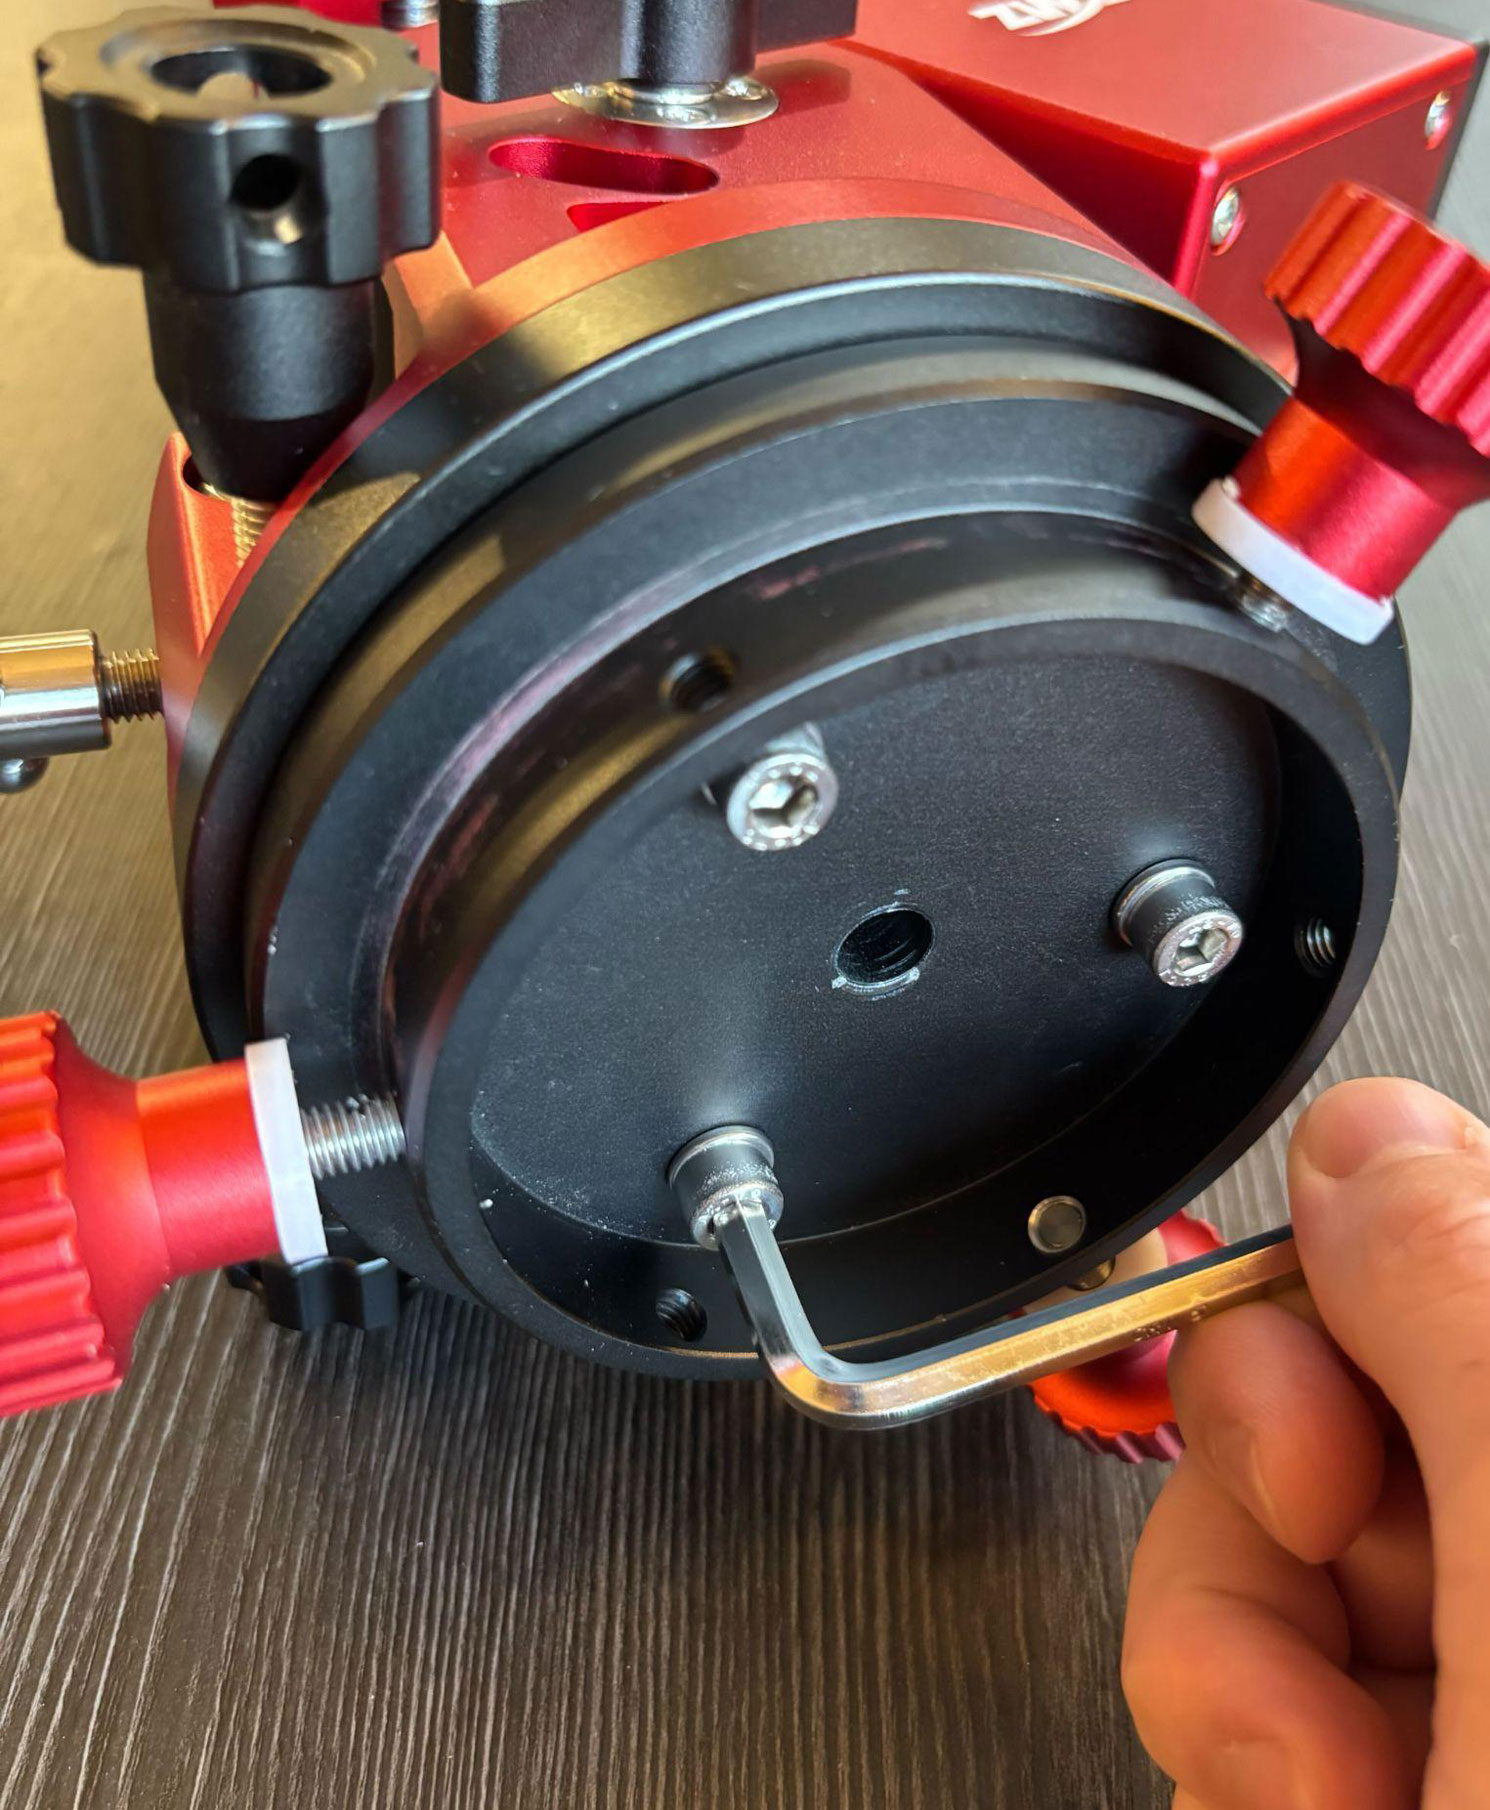
So, as far as setup goes, you only need to secure the included adapter plate to the bottom of your strainwave mount head. This was extremely straightforward, and I was able to fit my ZWO AM5N to the adapter plate within a minute by using the three included M6 bolts and hex key.
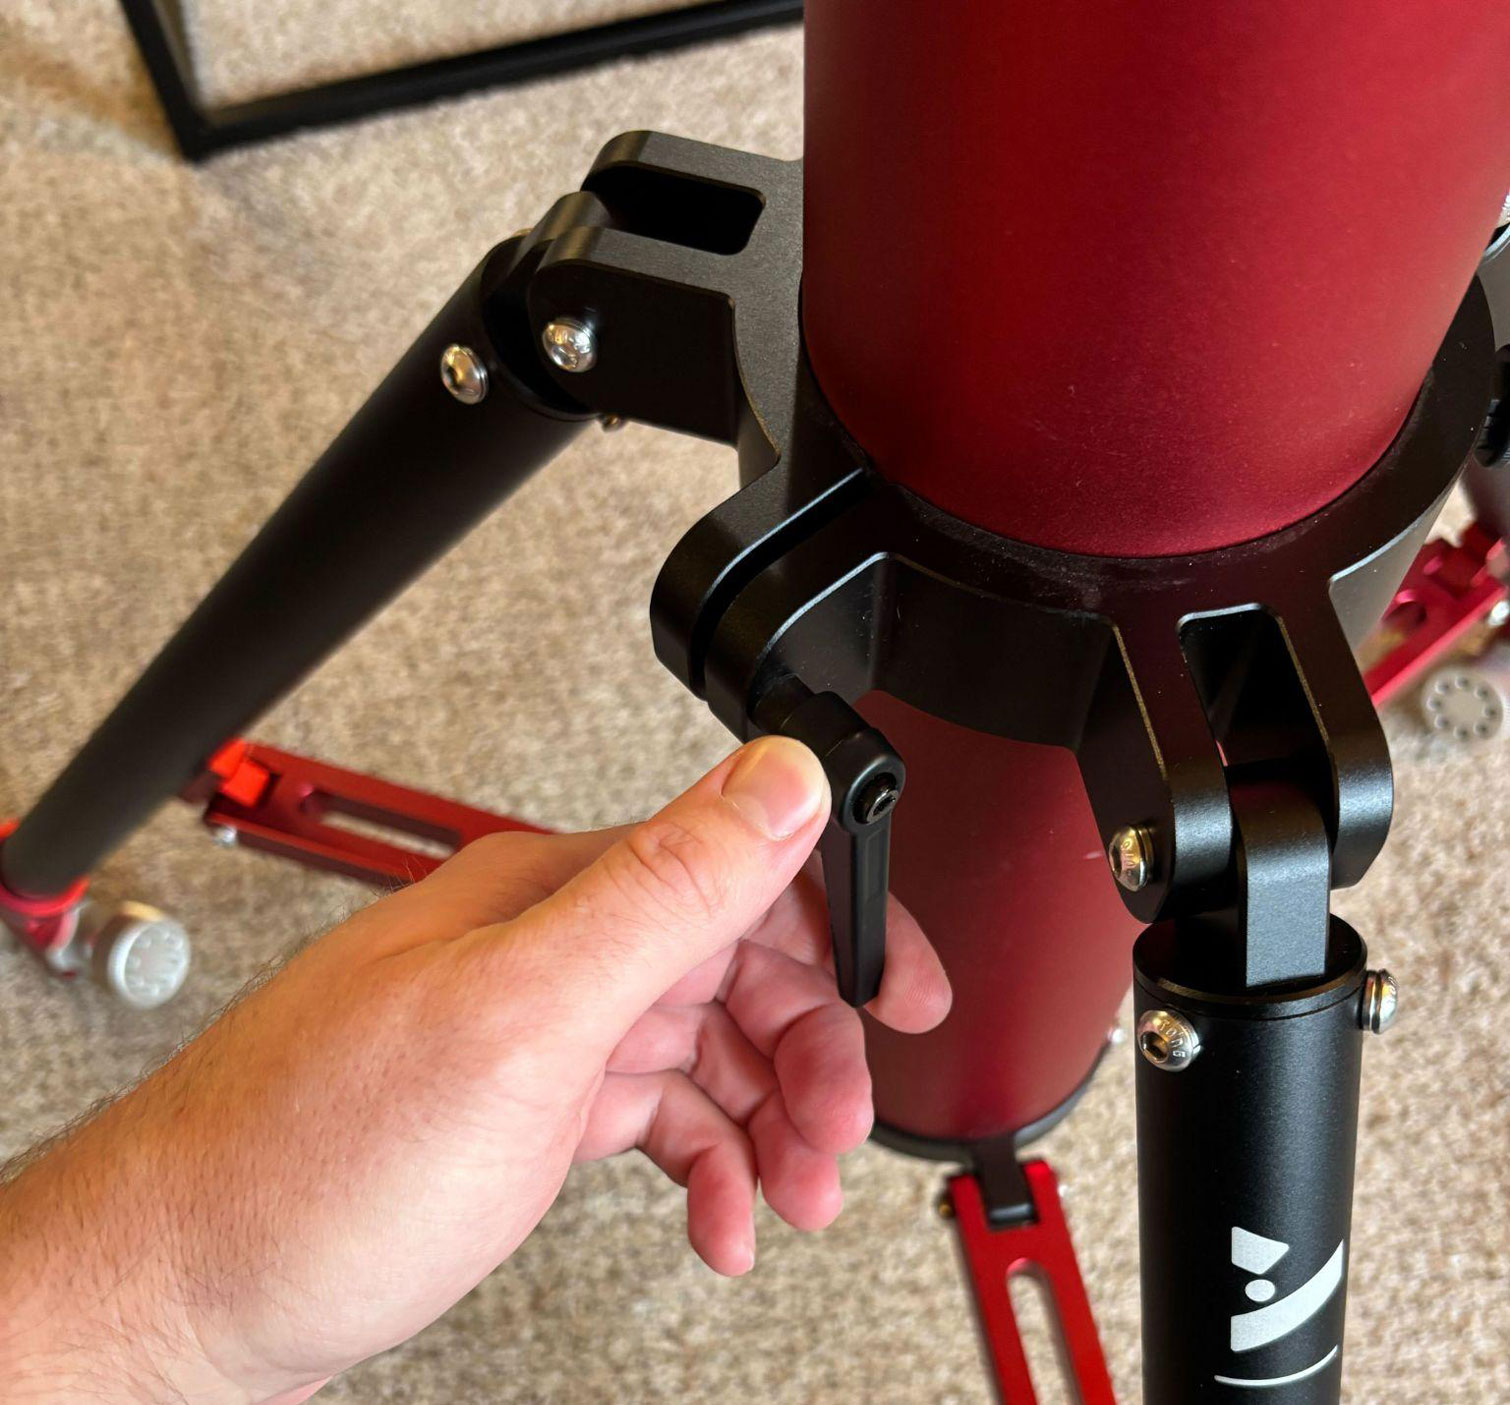
From there, I extended the tripod legs by pulling out the spring-loaded detent and locking it towards the base, tightening the clamping lever for security, and swiveling the twist-lock, adjustable feet outwards.
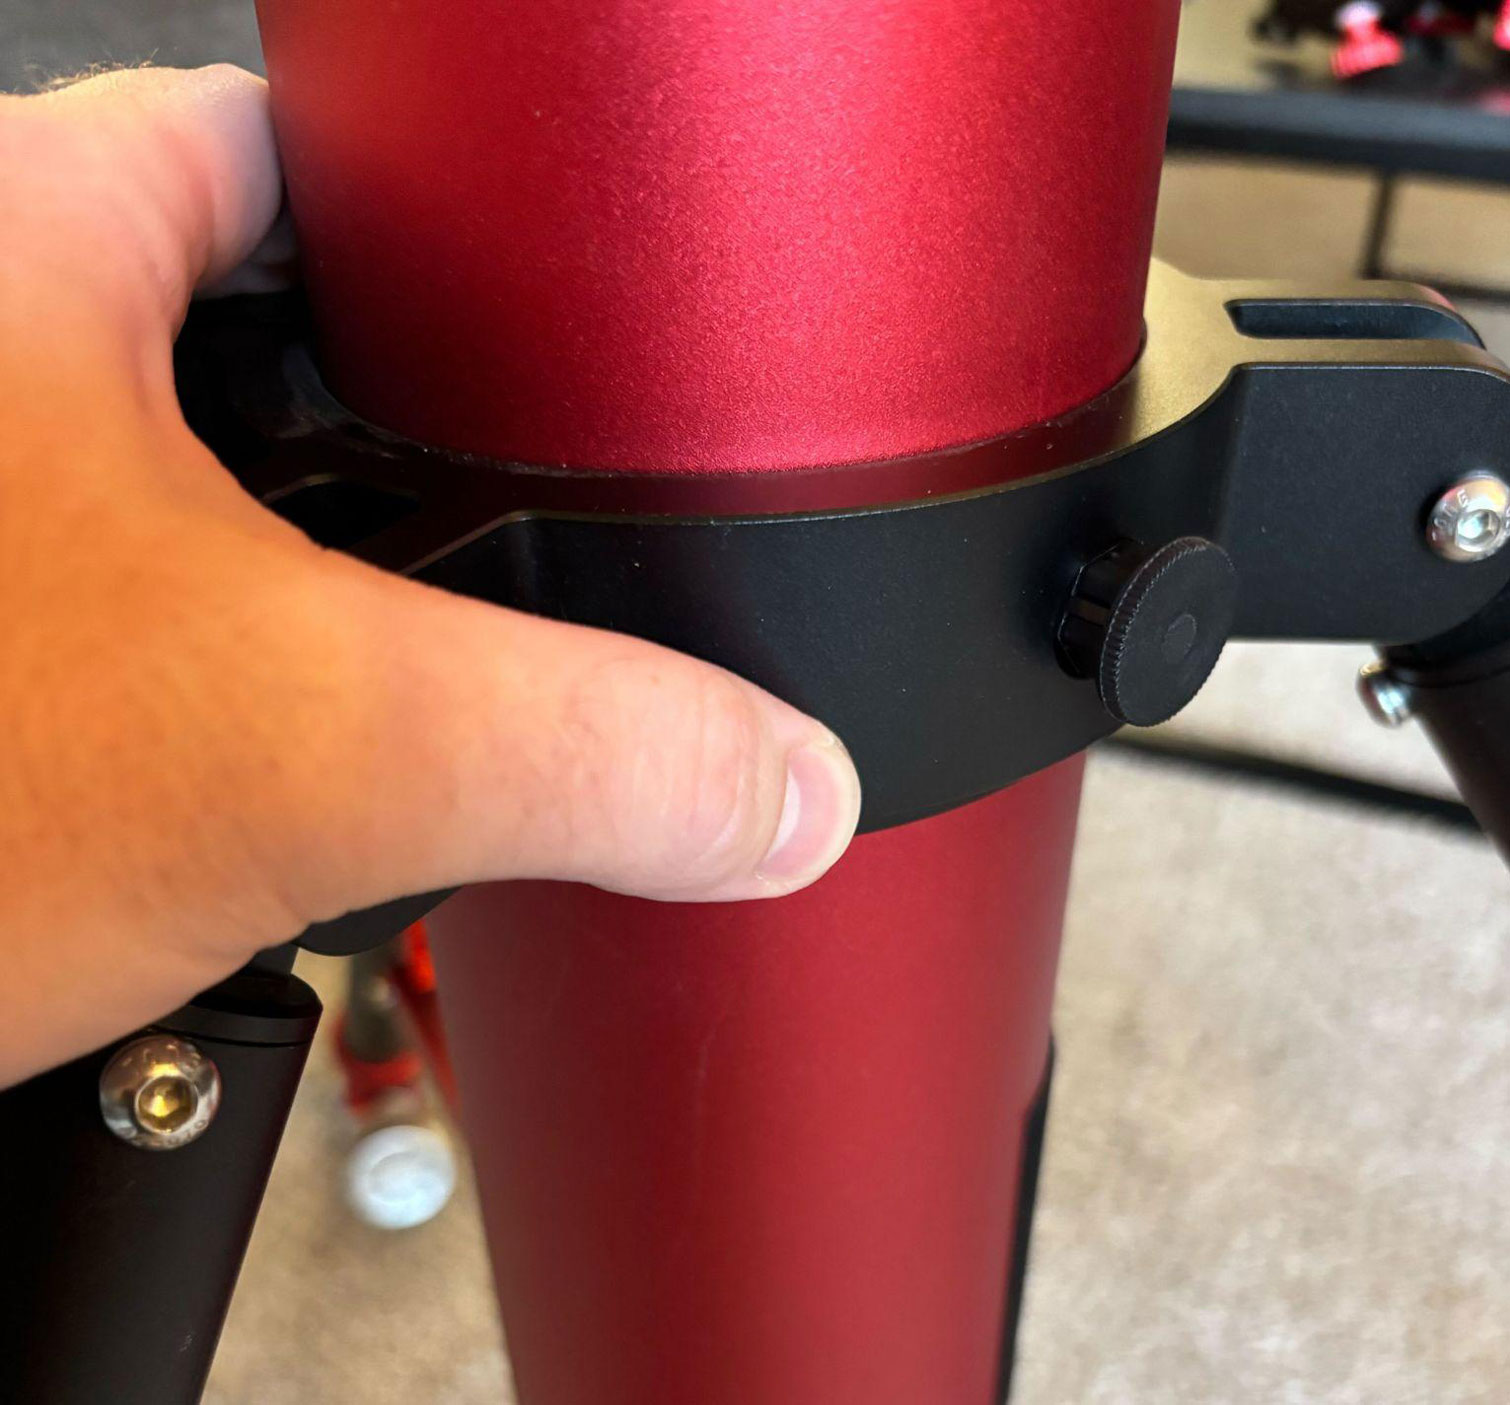
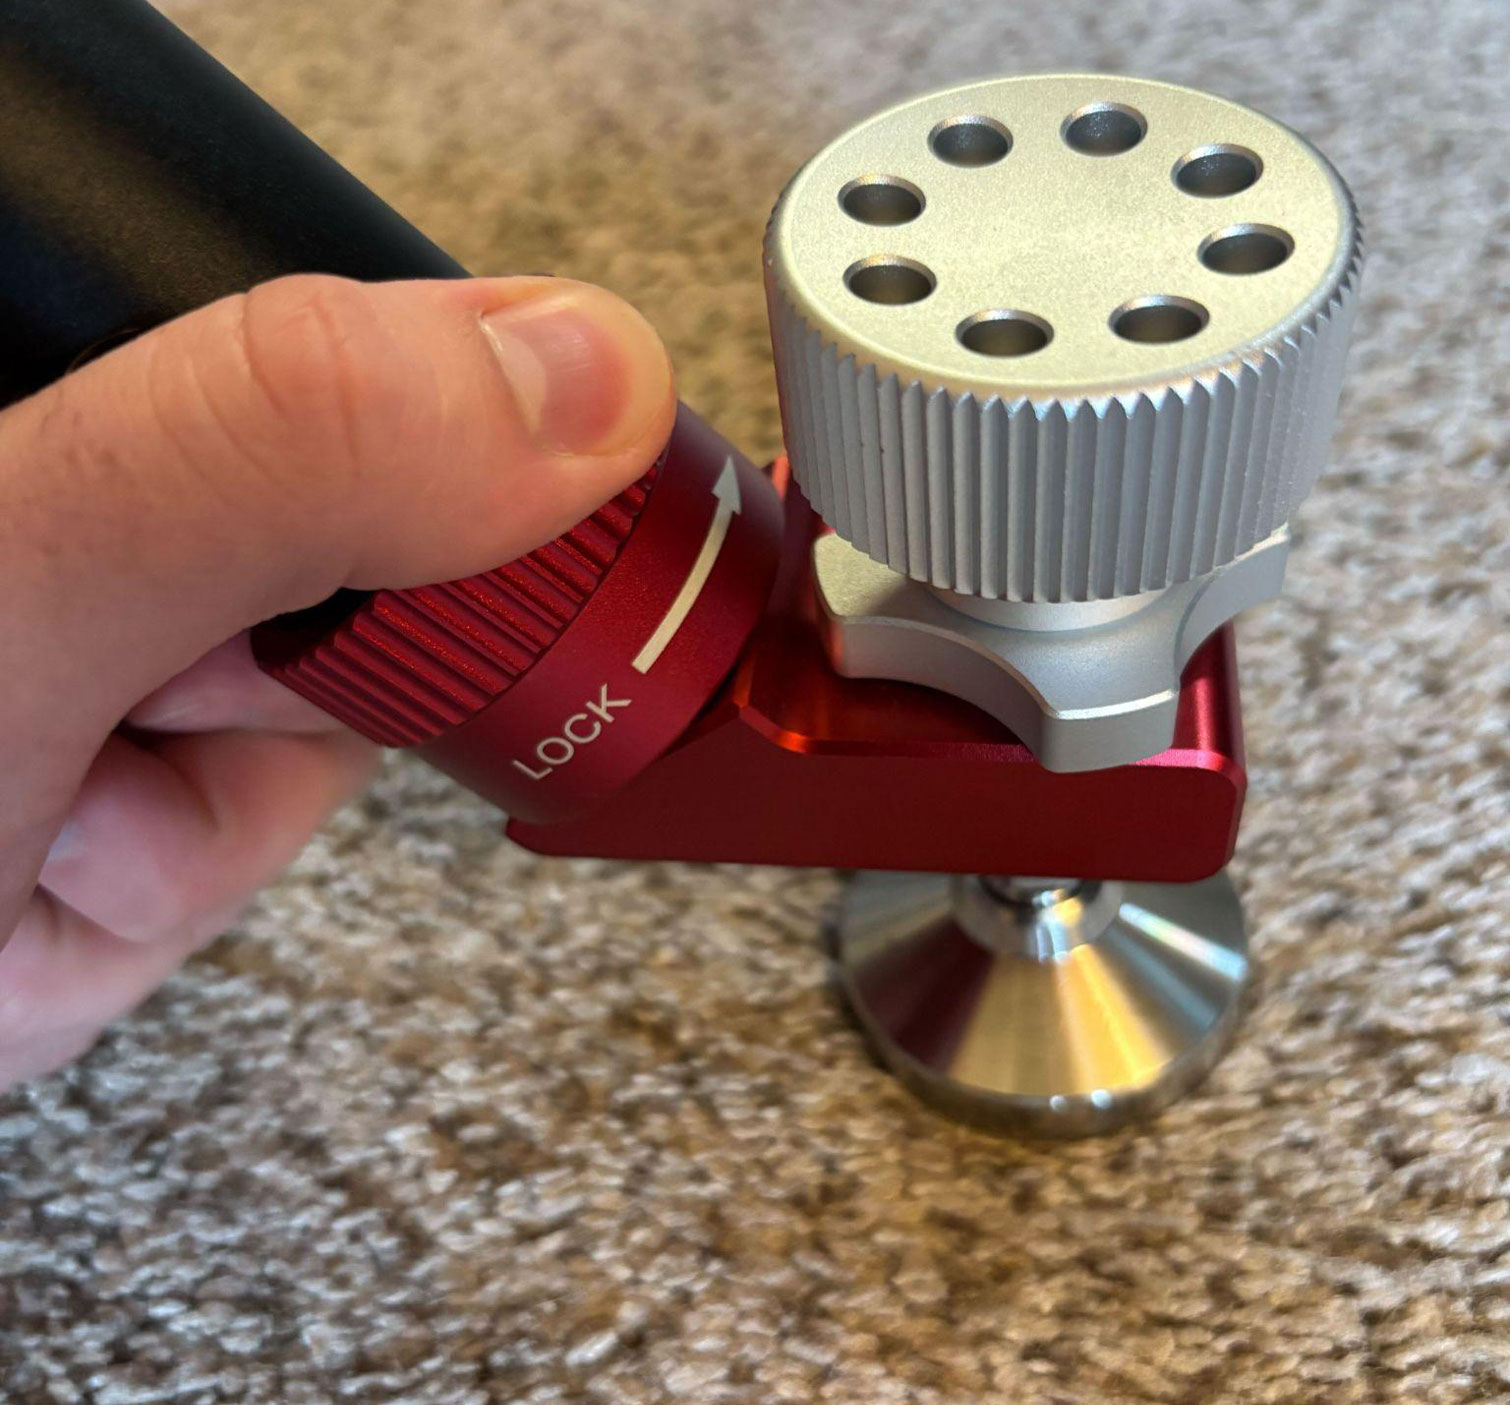
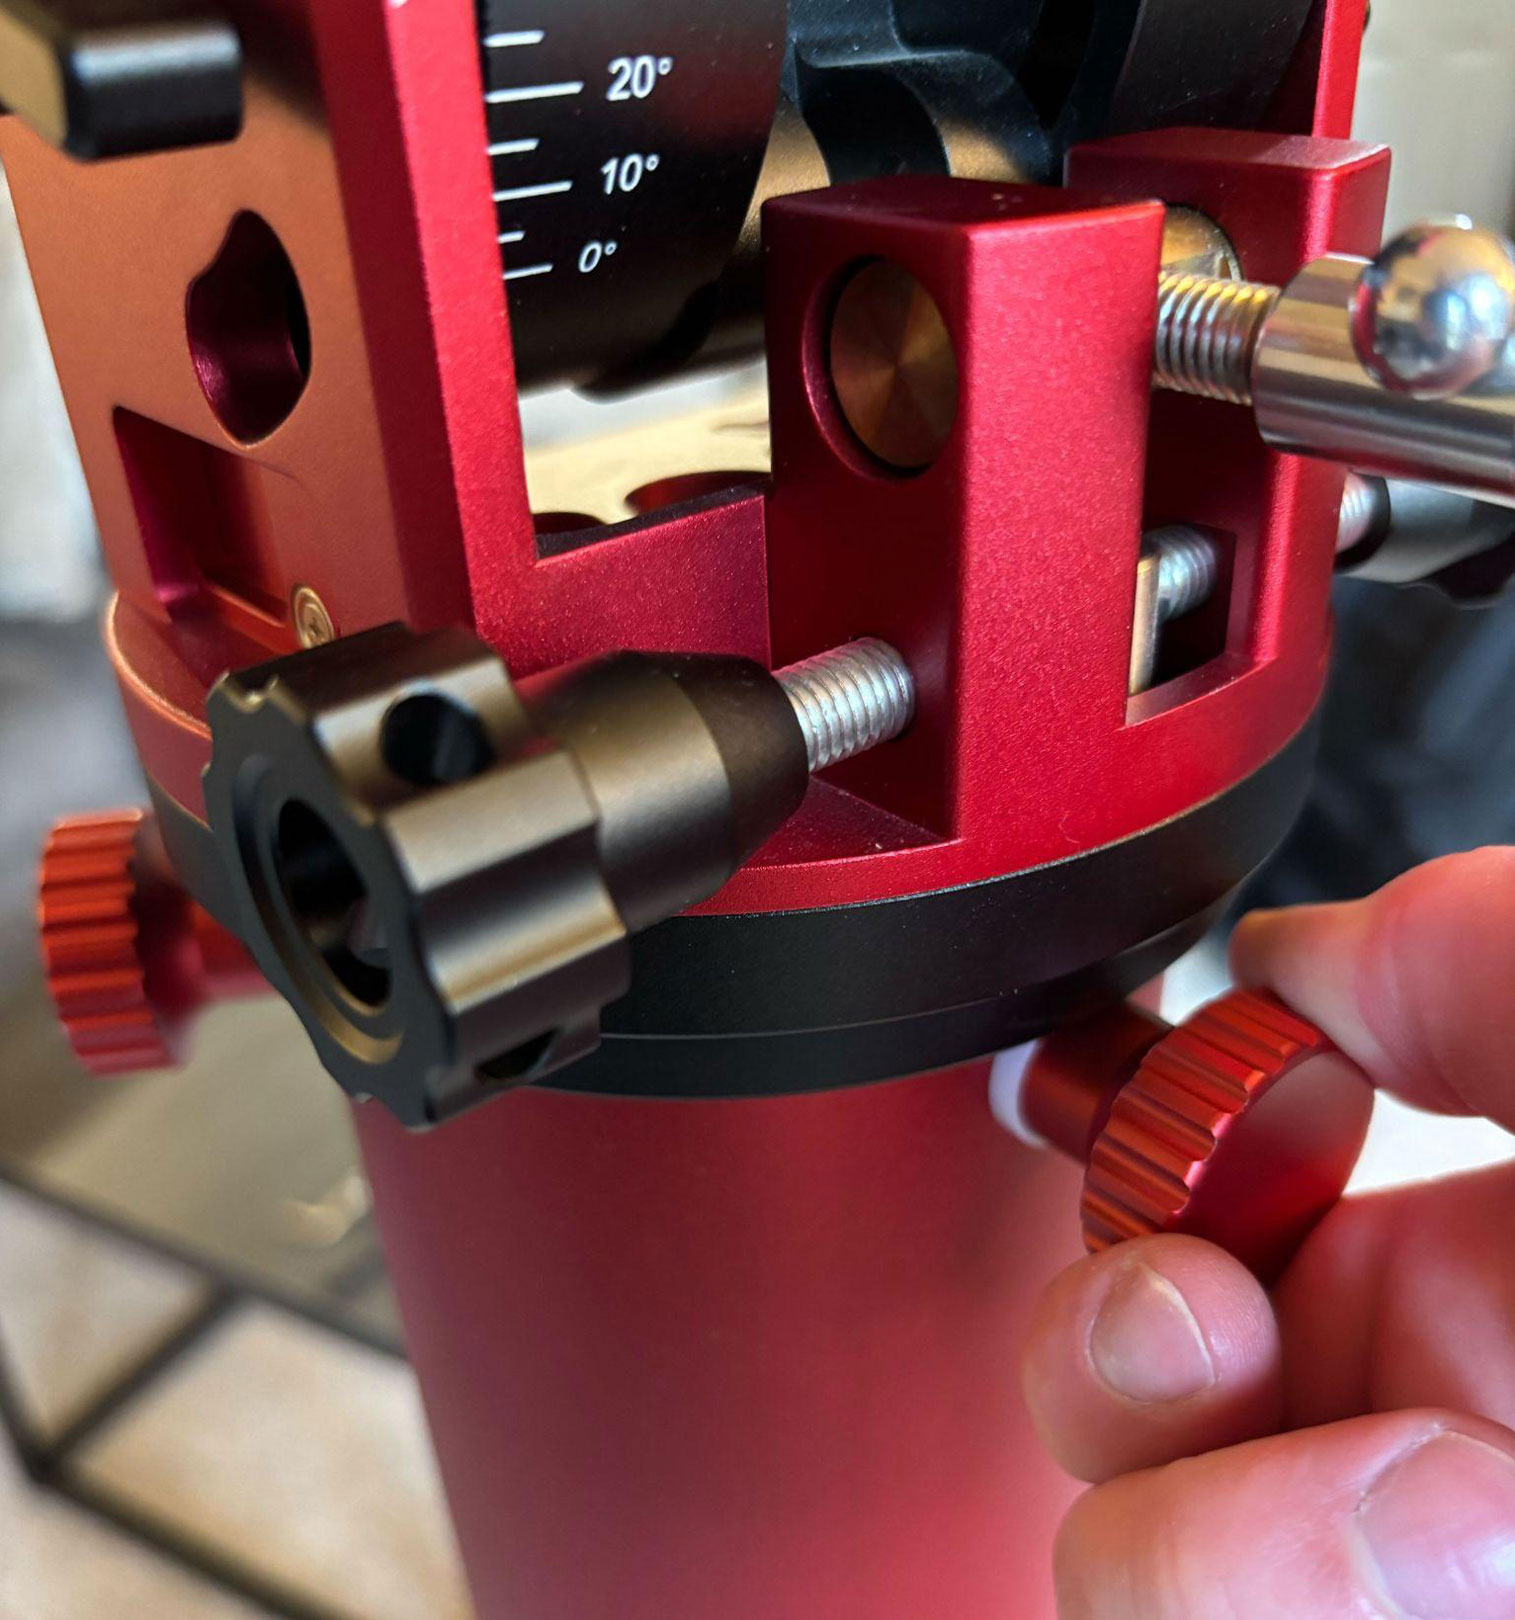
To attach my AM5N with a now-installed adapter plate to the pier, it was as simple as aligning the three locking knobs into the slots on top of the pier and giving it a 10° twist before tightening the knobs.
The height of the deployed Anchor also provides a comfortable position for attaching your gear, as with the AM5N installed, the declination saddle sat around four feet high. Now fully assembled, the Anchor lives up to its name, as it felt confidently married to the ground.
Note: When packing away, if you’re like me and use the original AM5N carry case, you’ll be happy to know that the mount head will still fit in the case with the adapter plate installed. You’ll just need to unscrew the three locking knobs from the adapter plate and store them in an empty case pocket.
Using the Anchor
When I was ready to test run the Apertura Anchor for the first time, I found it beneficial to locate a near-level patch of ground. This is because the adjustable feet only have 10 mm of travel. While equatorial mounts don’t need to be leveled to operate, having a level mount can reduce chances of tipping and translate polar alignment adjustments to simple up-down-left-right corrections. If you happen to need some extra height adjustment to level the pier, using an Apertura Vibration Suppression Pad under one or two of the feet should help close the distance.
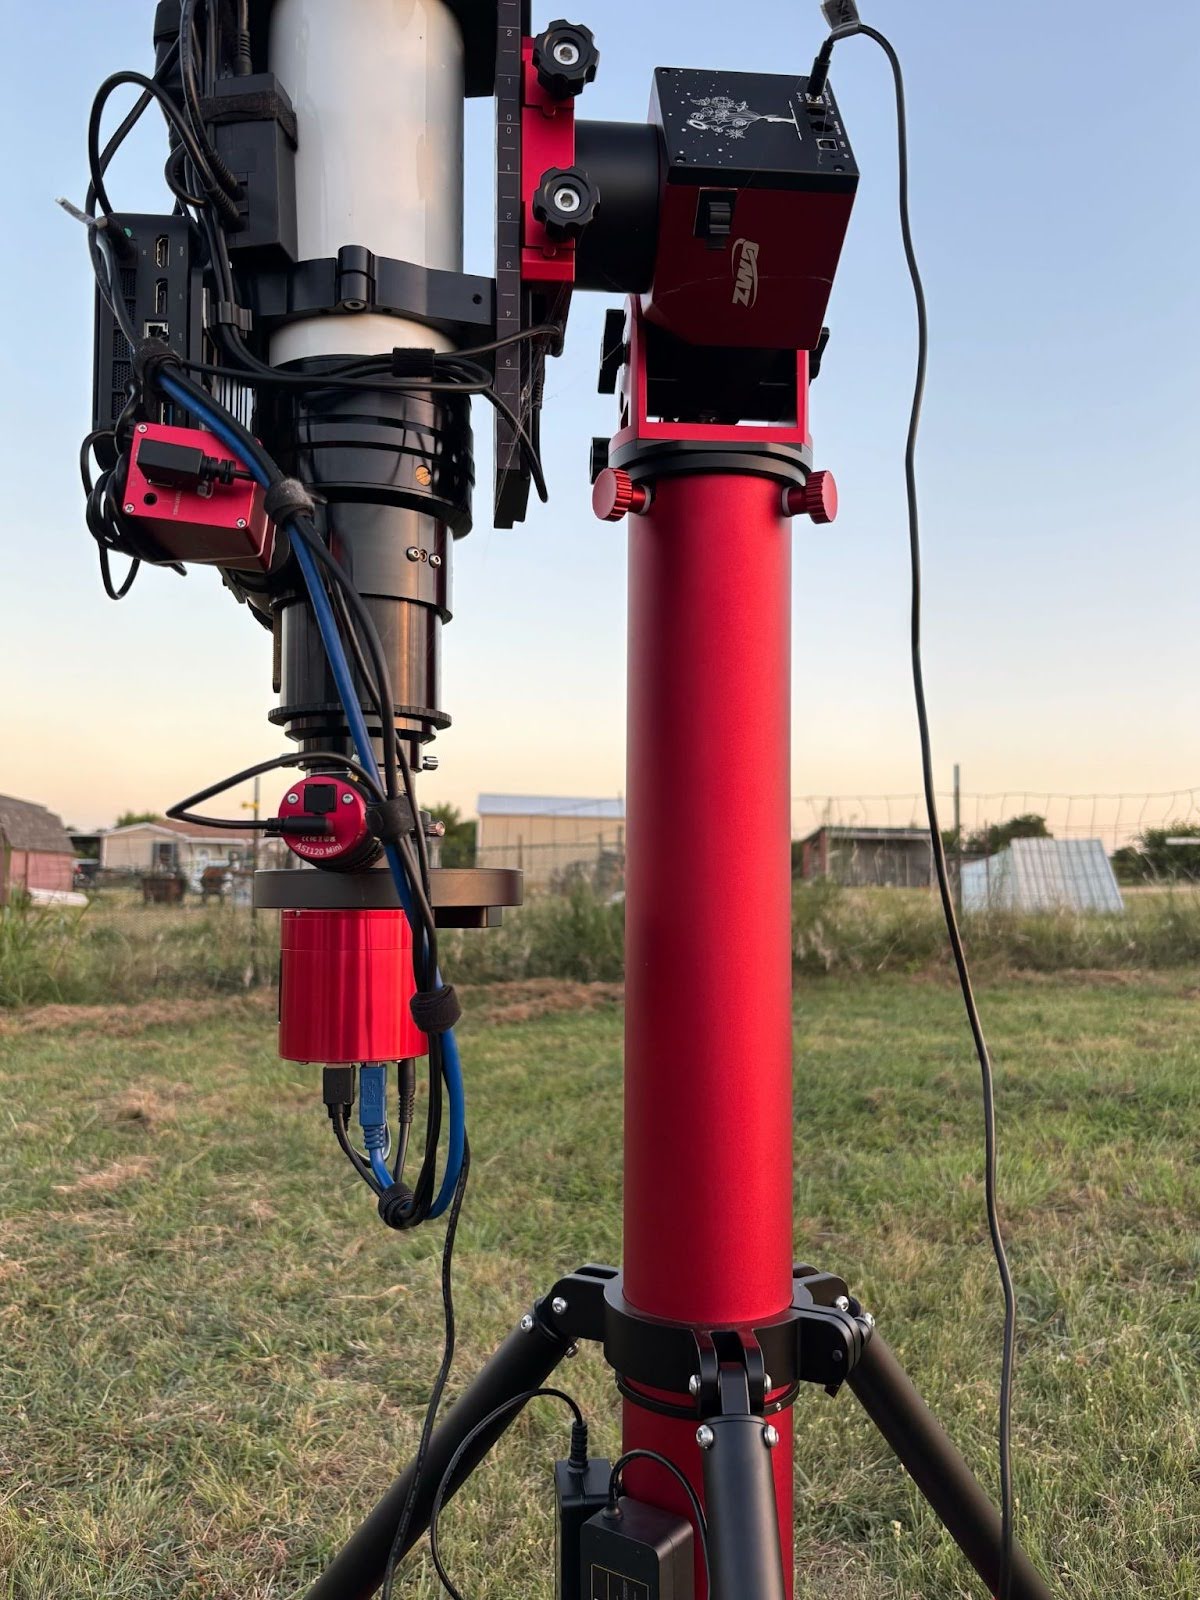
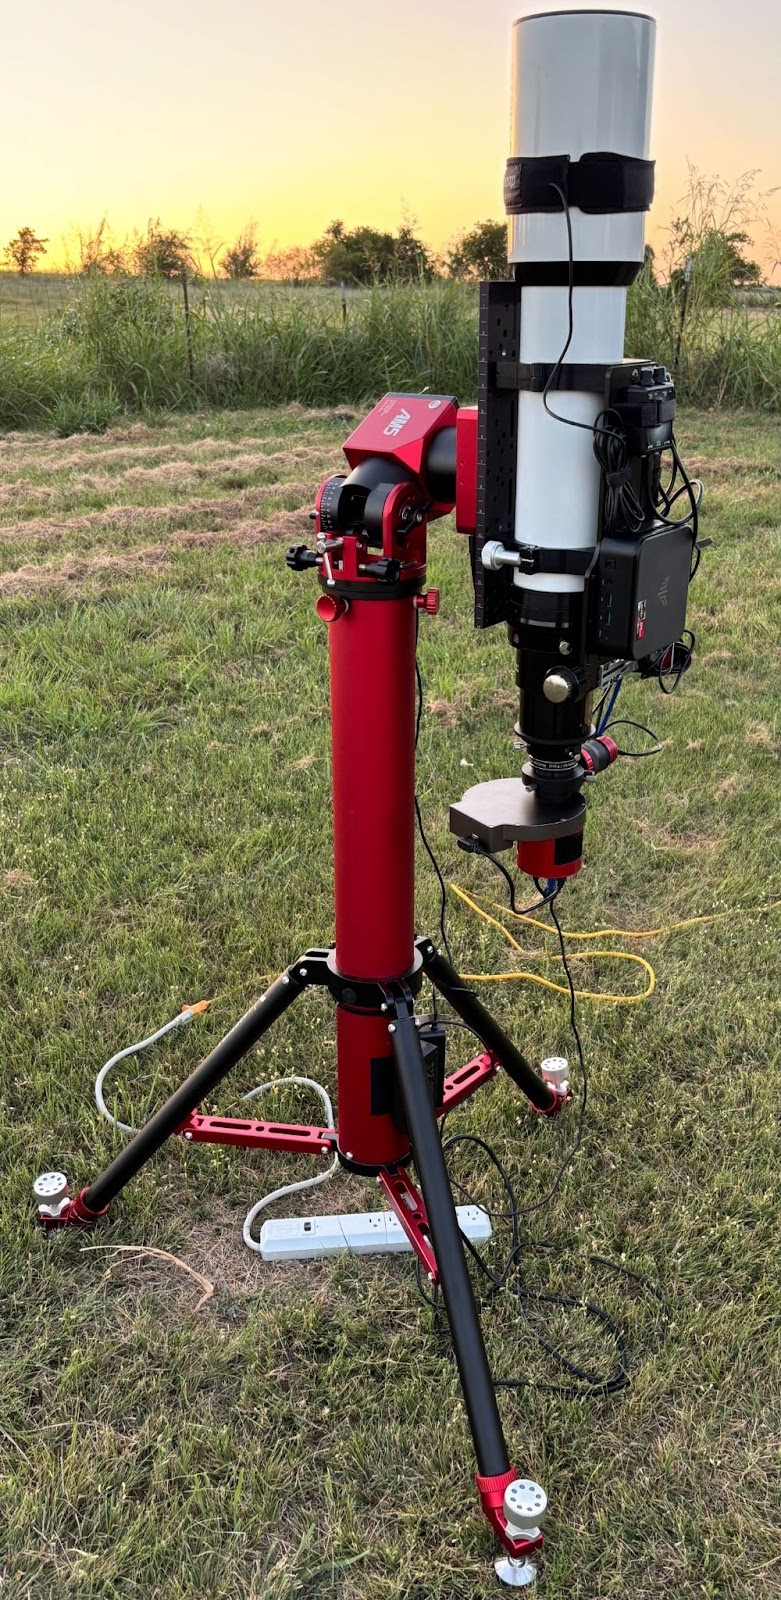
The setup I am using for this test really pushes the boundaries on tripod clearance. Atop the ZWO AM5N, I have:
- Stellarvue 105T Refractor
- ZWO OAG w/ ASI120MM-Mini Guide Camera
- ZWO 8-Position 1.25” Filter Wheel
- ZWO ASI1600MM-Cool Camera

With the focuser drawn to the correct position, the distance from the back of the AM5N’s declination saddle to the USB cables protruding from my camera was about 18”. This example of a long imaging train is exactly where this pier comes in as a lifesaver. I can slew to zenith and still have about 6” of space between the USB cables and the Anchor’s tripod legs. With that being said, I cannot stress enough that you should test all slew angles with your gear attached before leaving it be for an automated imaging session.
Without riser blocks, I did have to be cautious of the filter wheel and guide camera’s rotation angle, as there is a specific orientation where the protruding USB connectors would clip the pier. This is, however, much less restrictive compared to having no workable angles with my previous standard tripod!
With setup complete, and slew angles tested, I was now ready to begin imaging for the night. My target was M27 - The Dumbbell Nebula, which passes right overhead at 80°.
With my previous tripod, even with the 200 mm pier extension, I had to set careful slew limits when imaging high-altitude targets. This caused me to lose nearly two hours of exposure time on M27 as it crossed the meridian. Now, using the pier-style base of the Anchor, I could forget about collisions, and gain several hours of precious imaging time as I followed M27 all the way through the meridian.
With the rest of the night going smoothly, there was only one more test that may seem niche, but proved to solve quite an annoying problem: Previously, I was holding a flat panel to my angled dew shield with one hand to ensure it didn’t slide onto the ground! Now, I am finally able to slew to zenith to place the panel securely on the scope.
After using the Anchor for several sessions, I was impressed on how quickly I was able to set up and tear down the assembly, which proved to be less than a minute once my scope was removed. Because of my location, I must travel at least an hour to image, so portability and ease-of-use is very important to me. Additionally, the stability and clearance offered by this pier has not introduced any complexities to my normal routine. If anything, it has simplified it!
I believe the Apertura Anchor is the perfect solution for astronomers who do not have the means to install a permanent concrete pier but need the flexibility of traveling with a solid, premium feeling tripod. From my experience, the vertical clearance offered by the pier alone is worth it if you use a long refractor. The sturdiness and quick deployment of the Anchor provides a premium quality option for strainwave mount users. For these reasons, The Anchor has earned a permanent spot in my imaging setup going forward!

Learn More
Interested in diving deeper into the world of astronomy? Check out our AstronomyHub for a wealth of articles, guides, local resources for planetariums and observatories near you, and more to enhance your stargazing experience.
Click the arrow above to see MLA, APA, and Chicago Manual of Style citations.
MLA:
Andrew Klinger. "Apertura Anchor | Full Review," AstronomyHub, High Point Scientific, 25 Aug. 2025, https://www.highpointscientific.com/astronomy-hub/post/equipment-reviews/apertura-anchor-full-review.
APA:
Klinger, A. (2025, August 25). Apertura anchor | full review. High Point Scientific. https://www.highpointscientific.com/astronomy-hub/post/equipment-reviews/apertura-anchor-full-review
Chicago Manual of Style:
Bibliography:
Klinger, Andrew. "Apertura Anchor | Full Review." AstronomyHub. High Point Scientific, August 25, 2025. https://www.highpointscientific.com/astronomy-hub/post/equipment-reviews/apertura-anchor-full-review.
Footnote:
Andrew Klinger, "Apertura Anchor | Full Review," AstronomyHub, High Point Scientific, August 25, 2025. https://www.highpointscientific.com/astronomy-hub/post/equipment-reviews/apertura-anchor-full-review.


