Congratulations on purchasing Apertura Collimation Knobs for select Celestron Brand SCTs. Get ready to improve your experience under the night sky by allowing for easier, tool-free collimation! Whether it’s just a quick adjustment on the fly during visual observations or a more discriminating collimation for imaging or high-power use, these knobs are up to the task.
While the factory Phillips screws get the job done, they can be bothersome to adjust at night. These solid steel Apertura Collimation Knobs make the adjustments quick, easy, and tool-free.
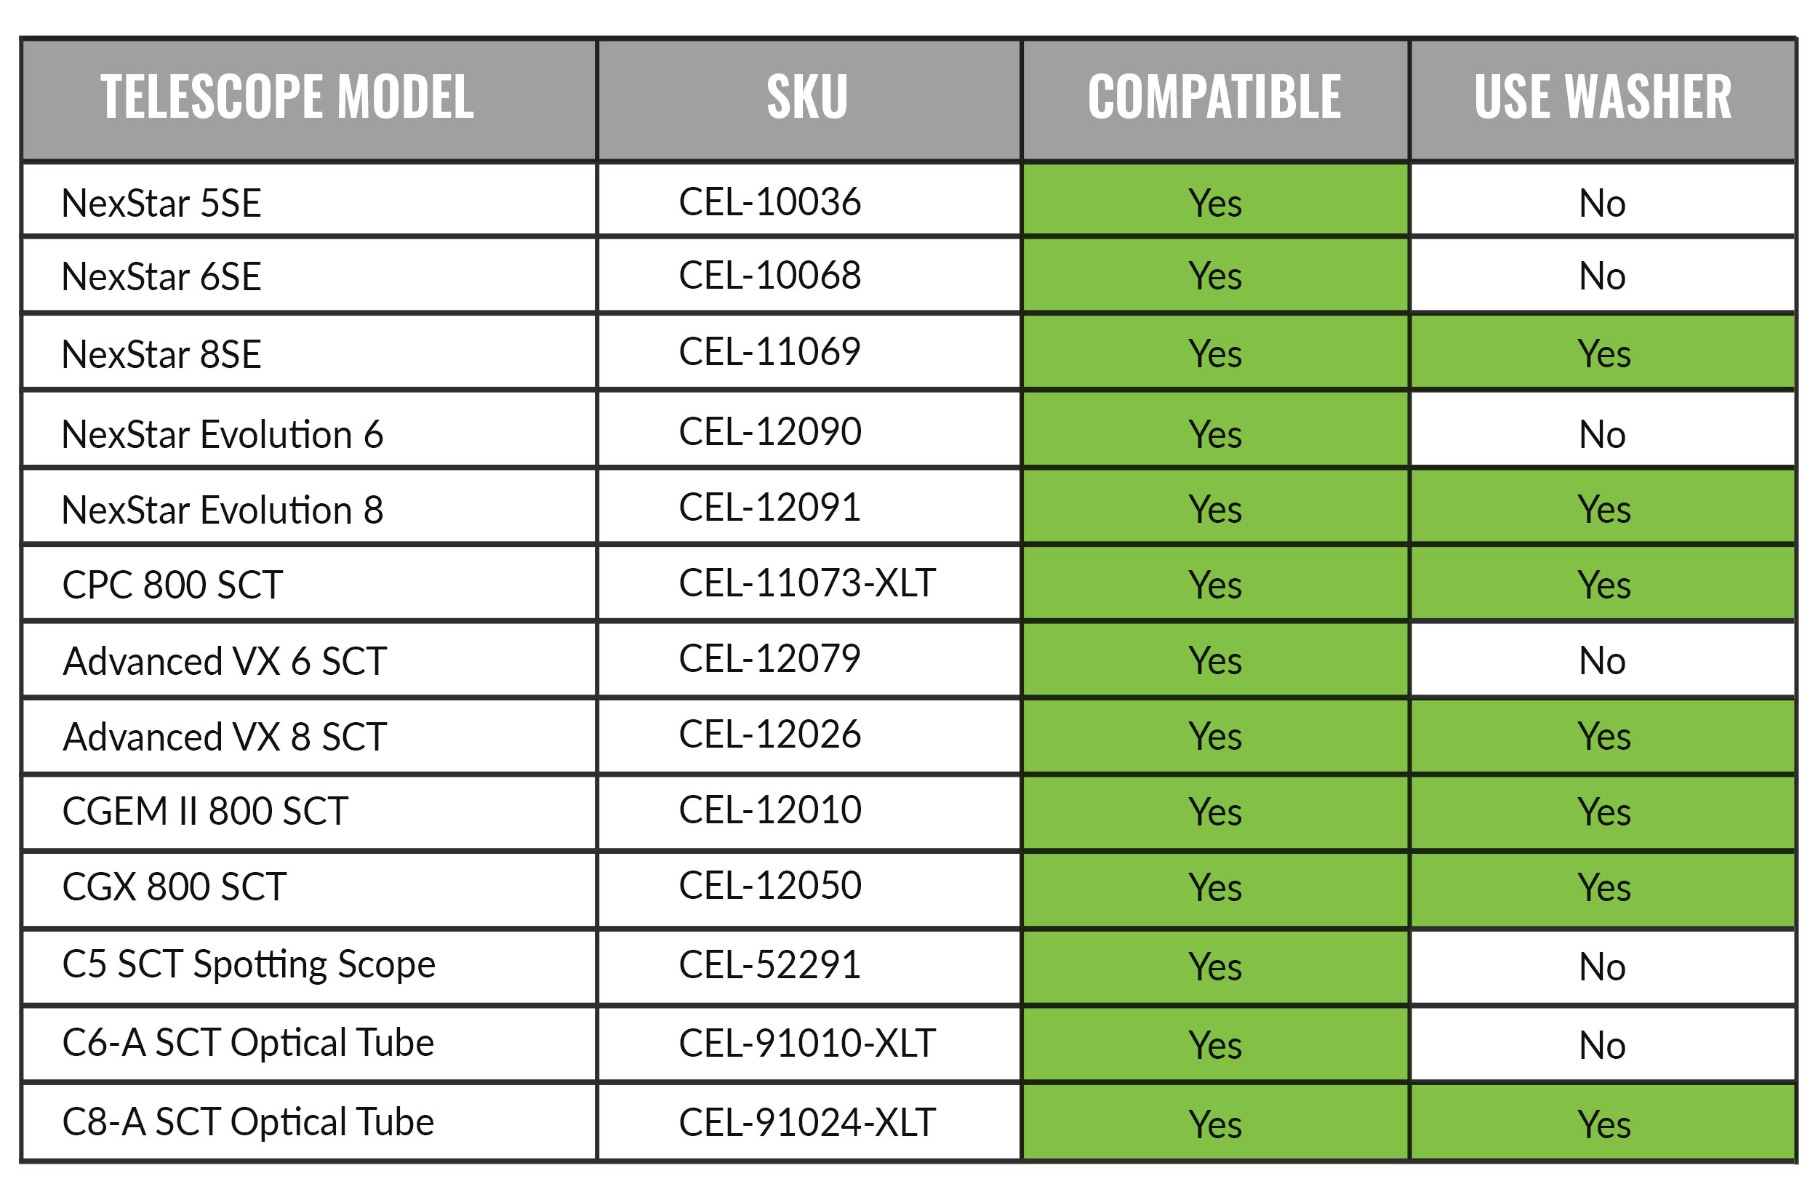
This kit is compatible with new production Celestron 5, 6, and 8” Schmidt-Cassegrain Telescopes (SCTs). These new production scopes use a metric thread and include the SE, Evolution, and XLT series. This kit is not compatible with the Edge HD 8” model or older models that use SAE threads. While we have done our due diligence in ensuring that these screws will fit your telescope, it is still important to check one of your factory collimation screws against the upgrades in this kit, we will talk about this more later.
Please read all instructions and be sure that you completely understand them before removing any screws from the telescope.
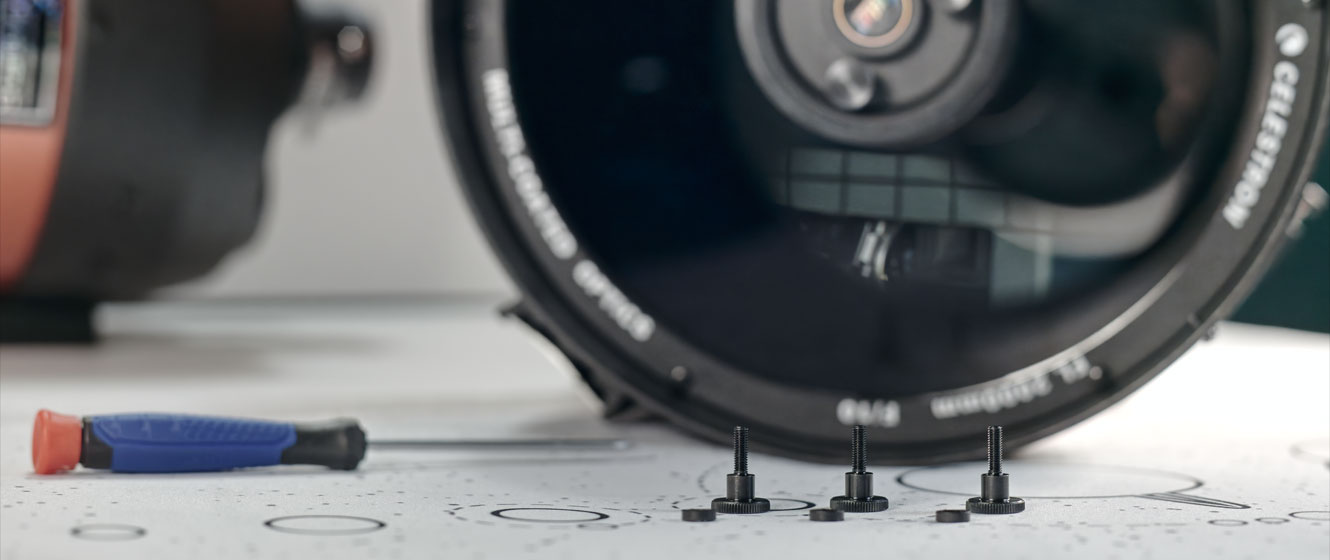
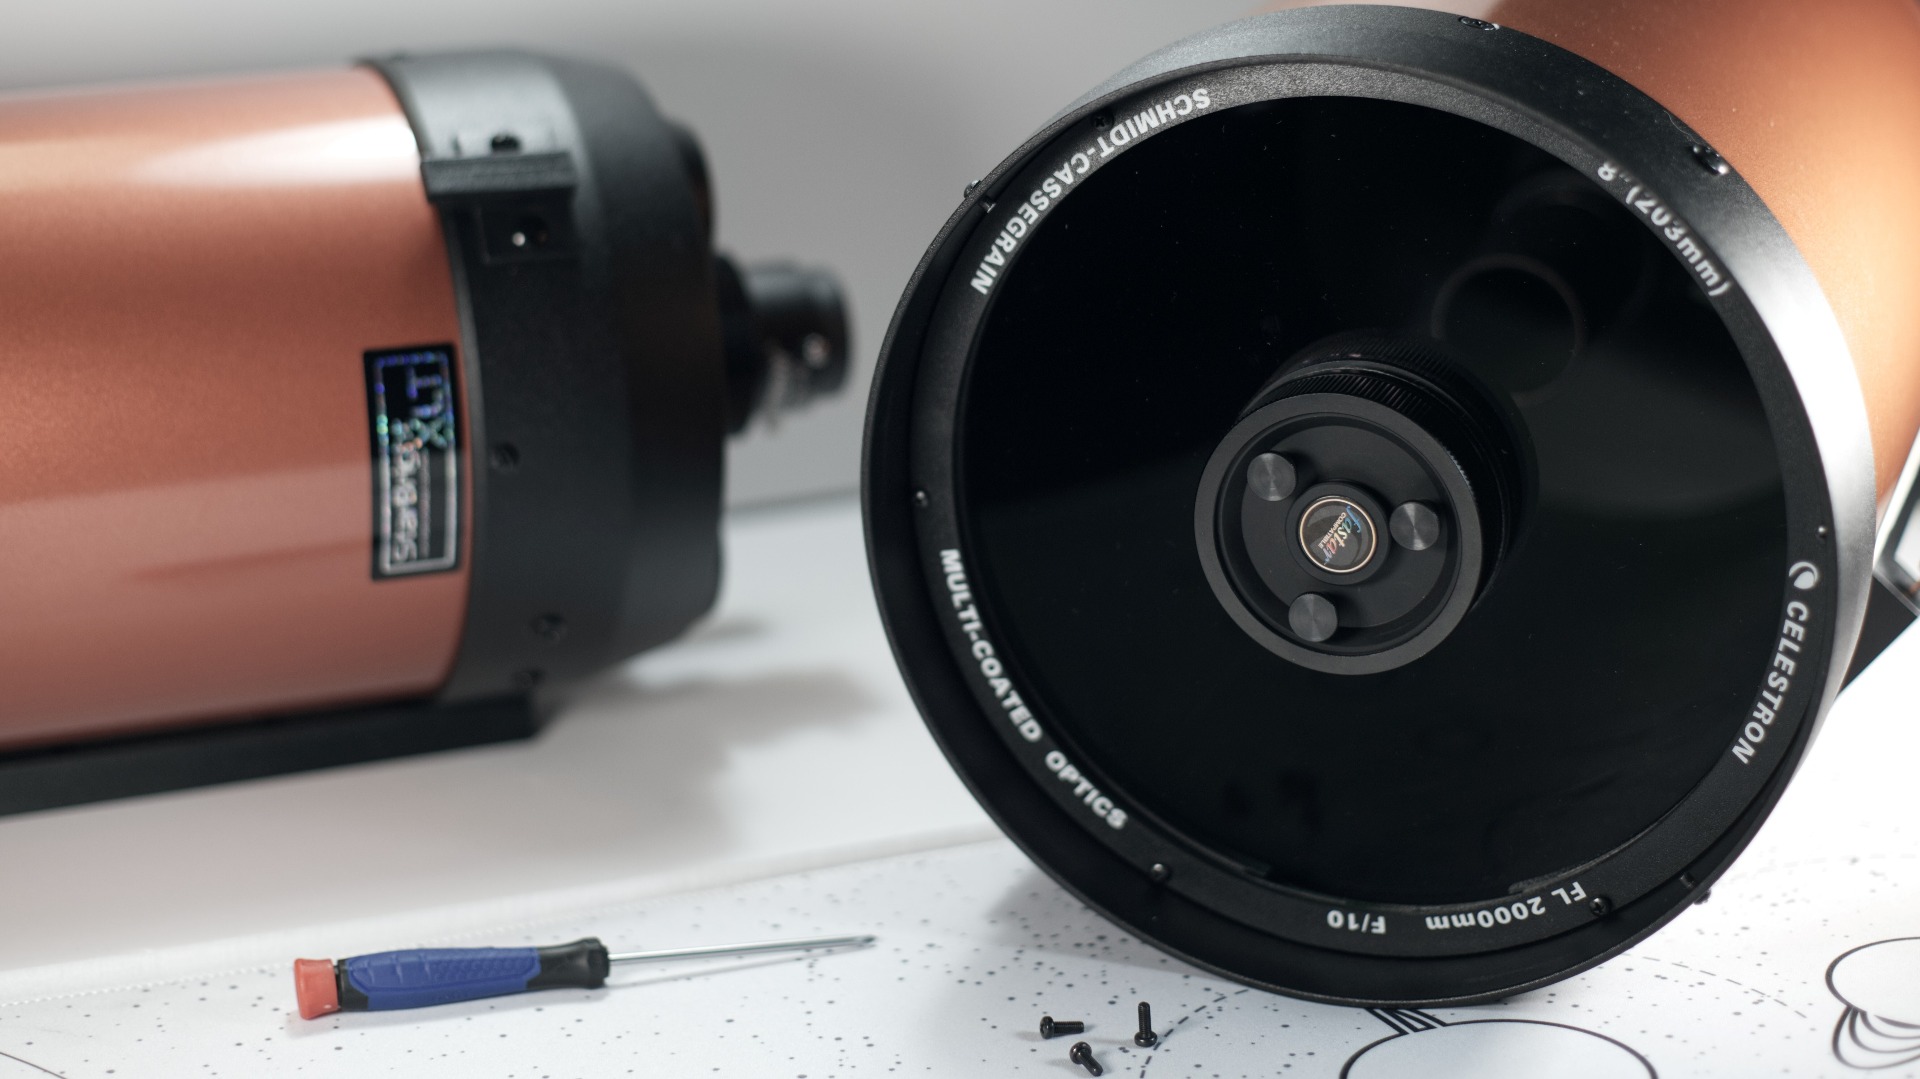
The only tool that you will need to perform this installation is an appropriately sized Phillips head screwdriver for the removal of the factory collimation screws. We’ll start by placing the telescope in a well-lit area and making sure that the front of the scope is easily accessible while ensuring that the scope is secure. You can use the mount to hold the telescope for this procedure, and this is the method that we suggest!
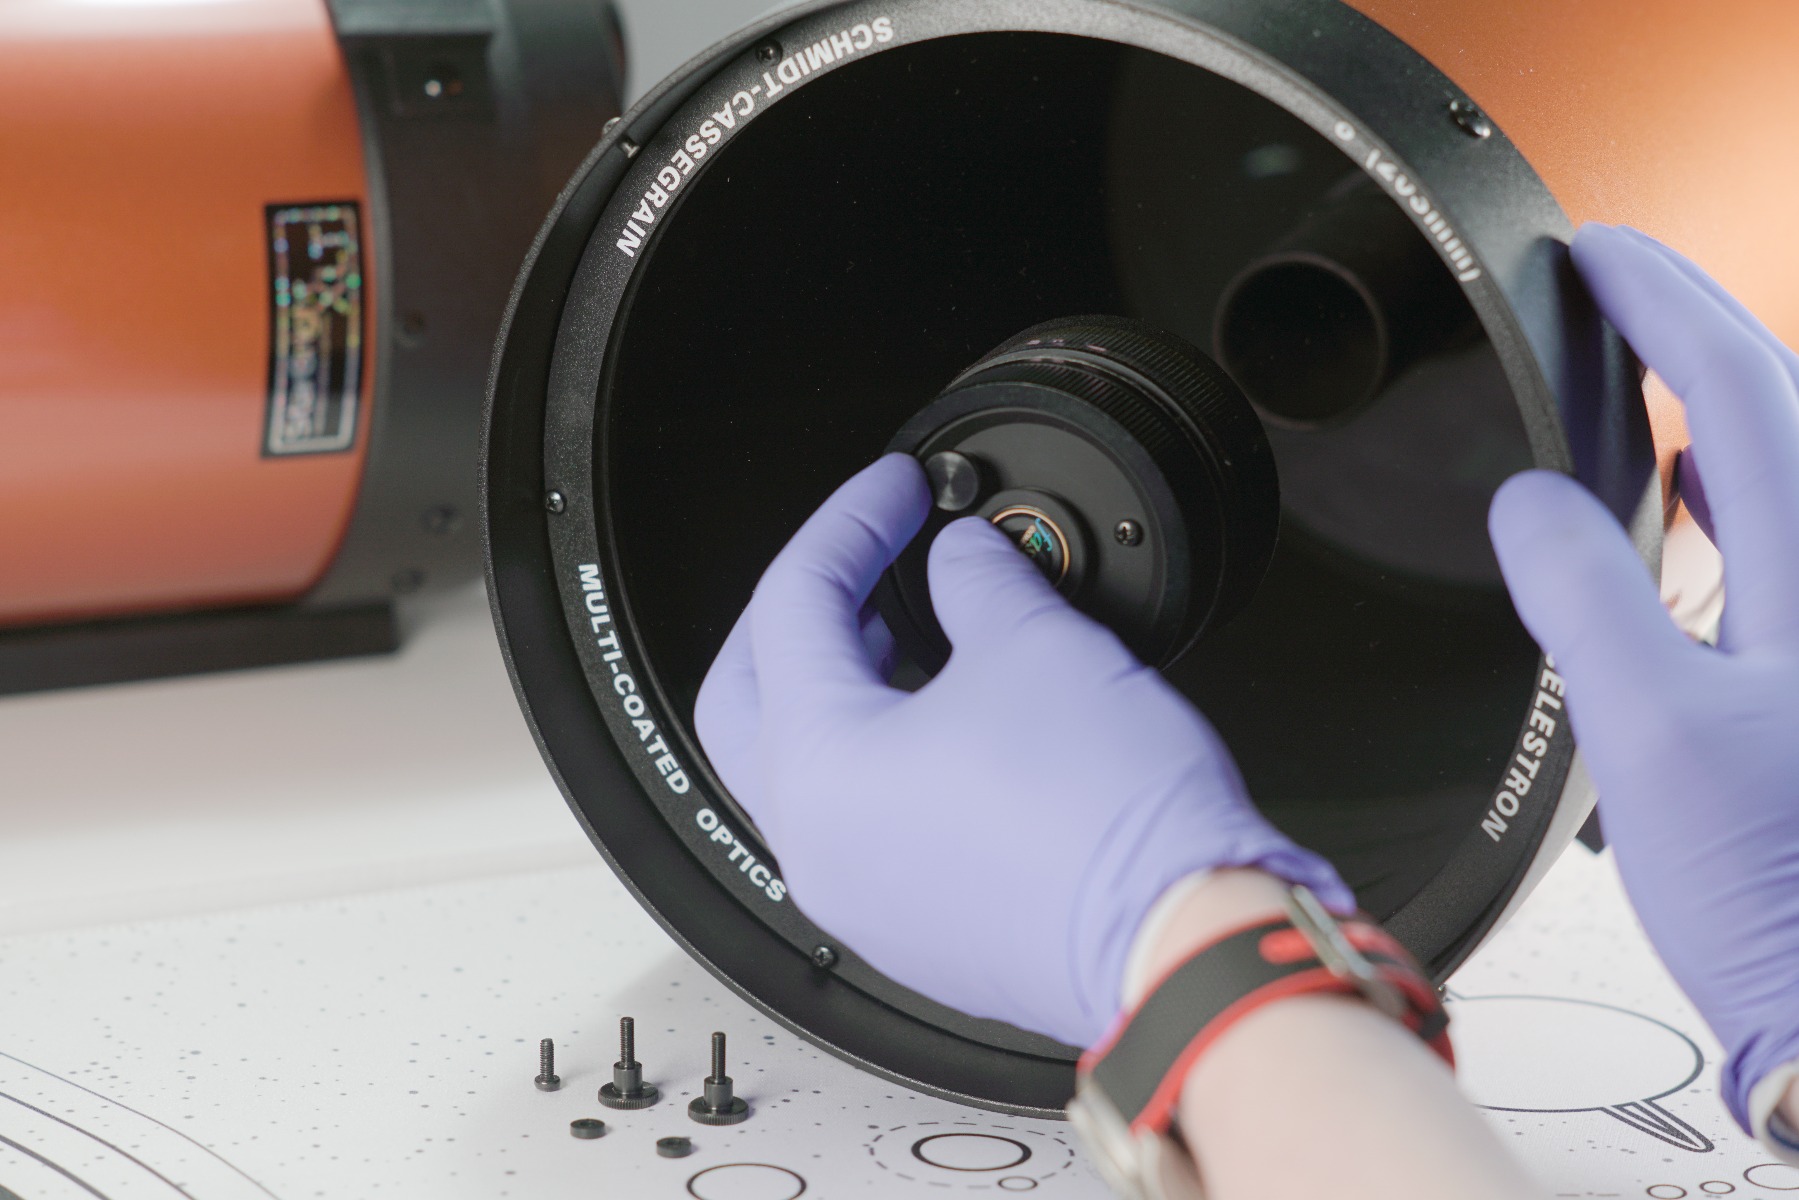
You will want to carefully remove only one of the collimation screws with the Phillips head screwdriver, taking extra care not to slip and scratch the corrector plate with the screwdriver. Control the tool with both hands when it is near the telescope to help prevent any accidental damage to the corrector plate.
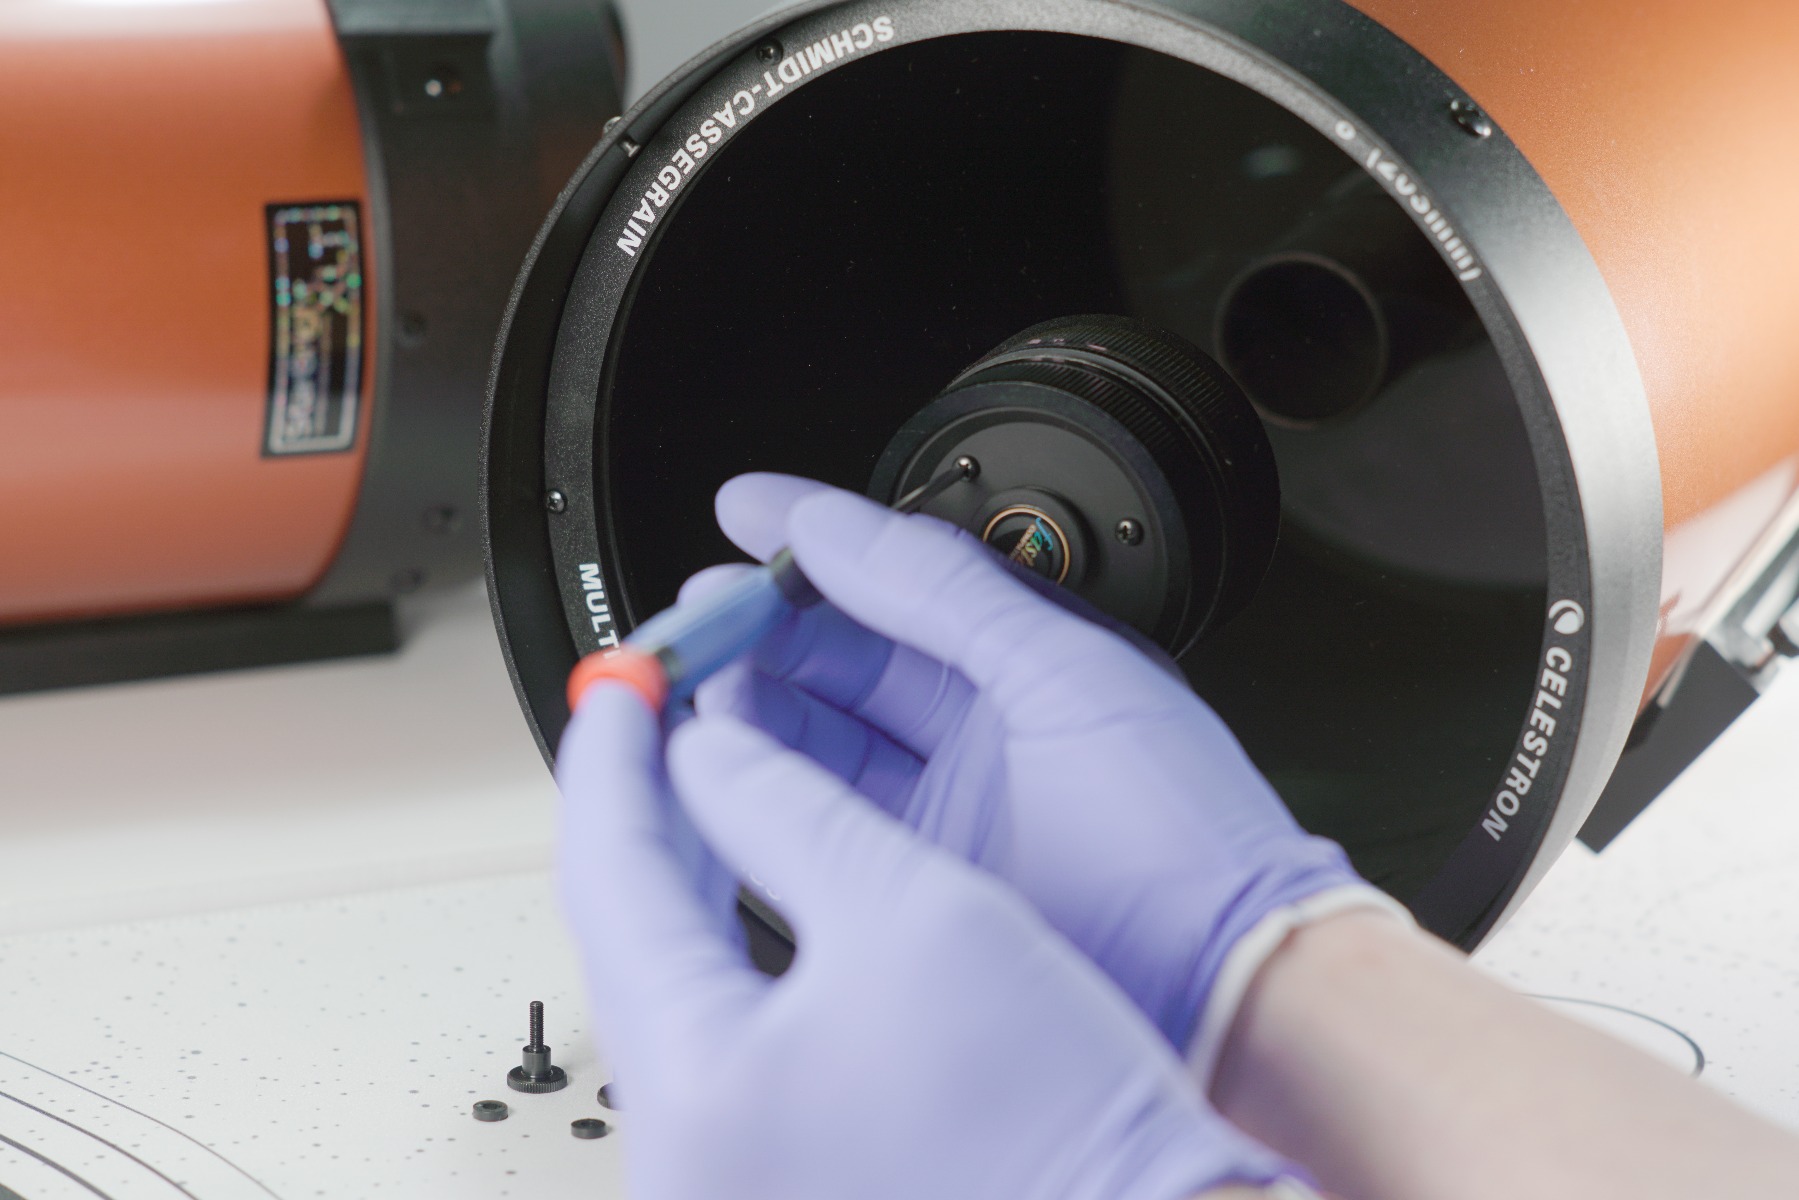
Do not unscrew all three screws at once; we will only remove one screw at a time. Be sure not to touch the other two screws while one is removed. This will help to ensure that the collimation will be as close as possible after the procedure.
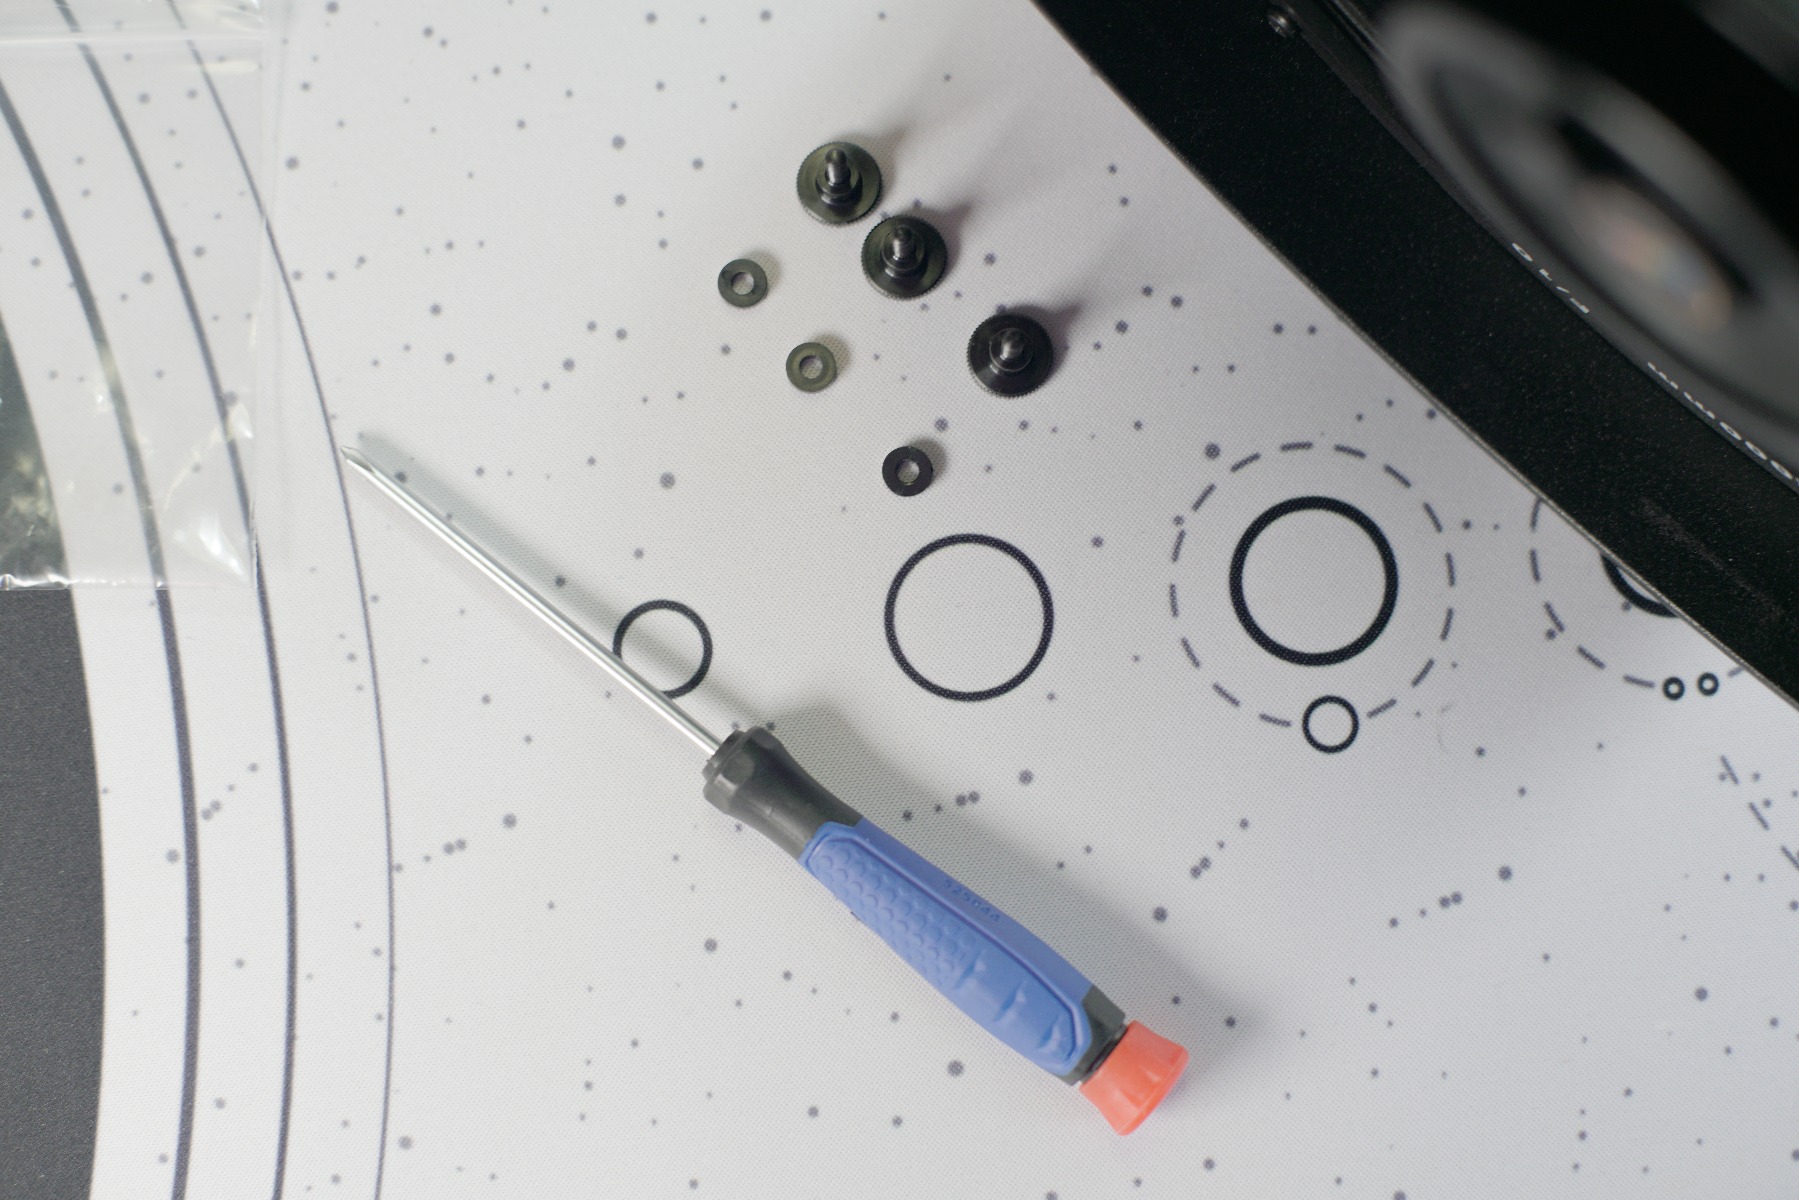
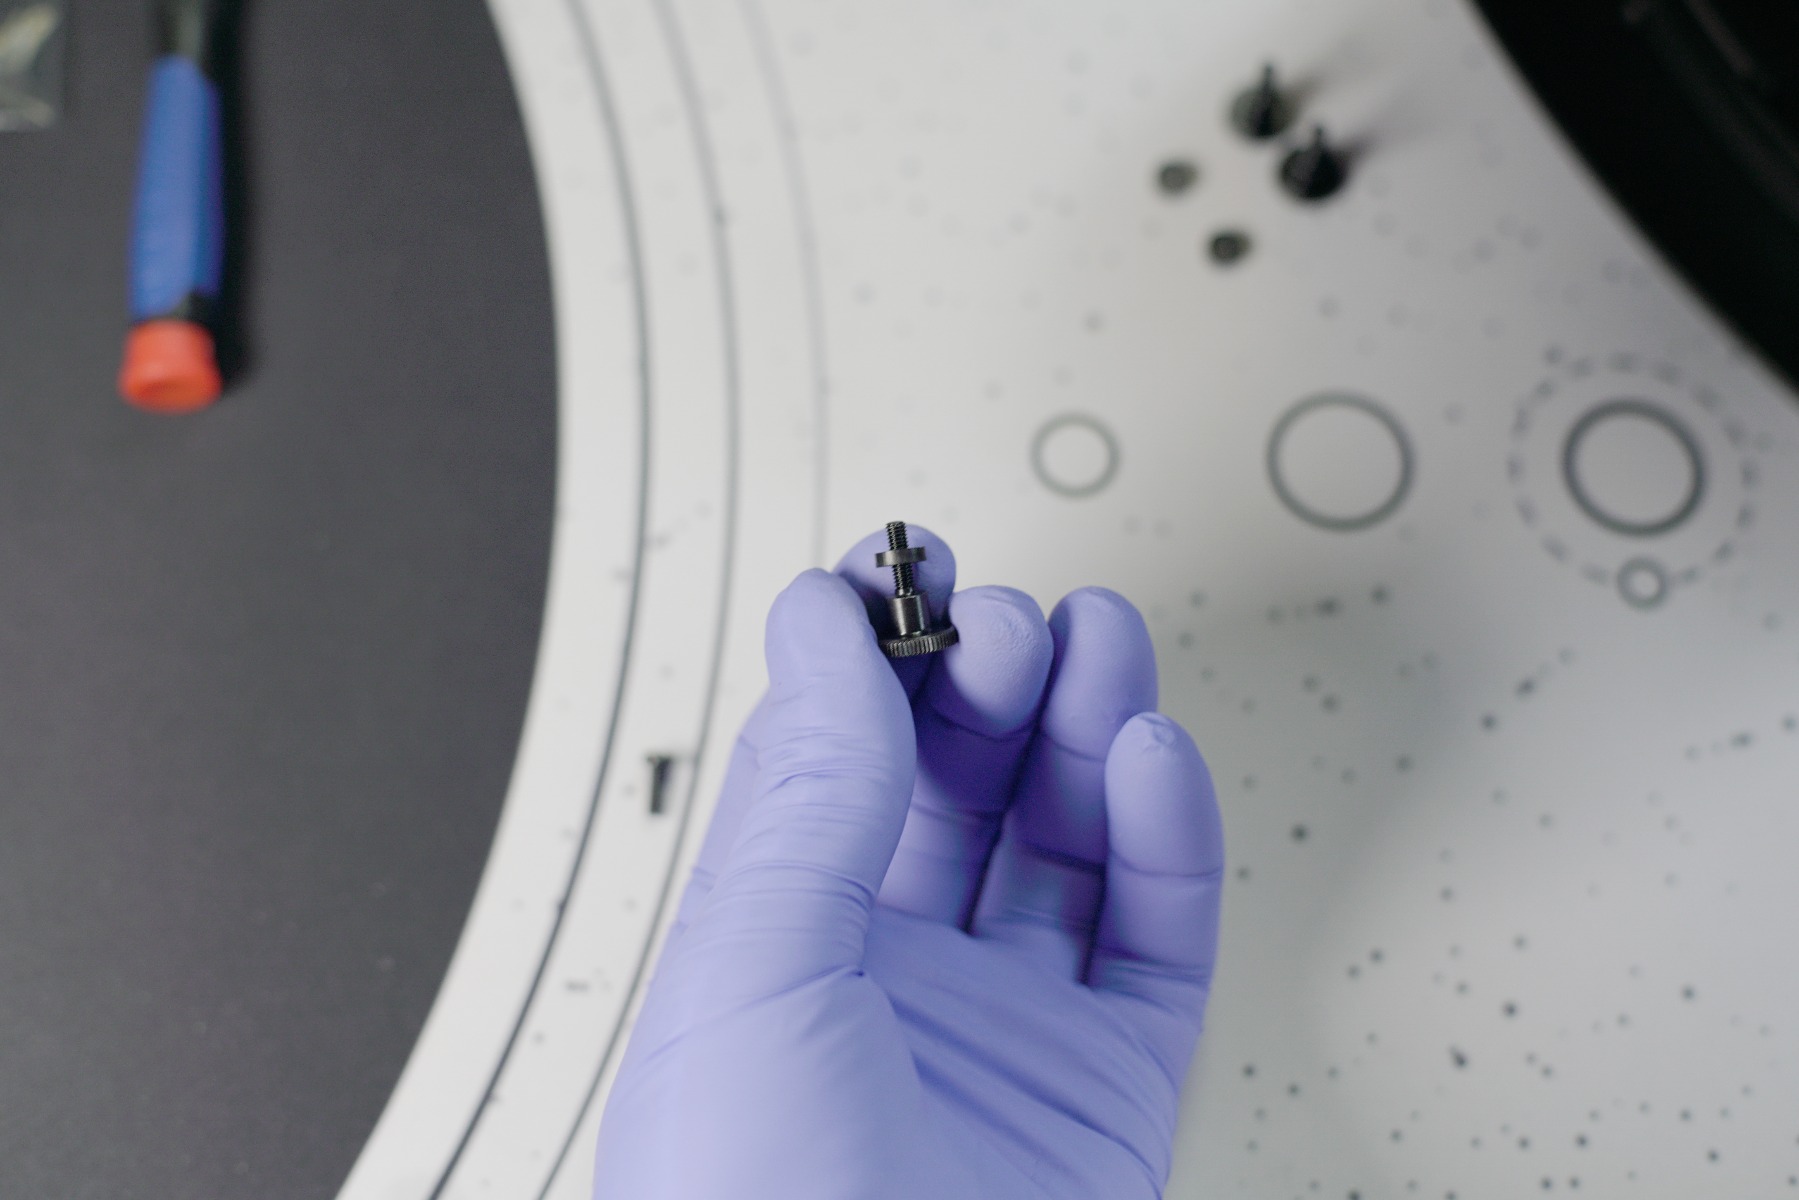
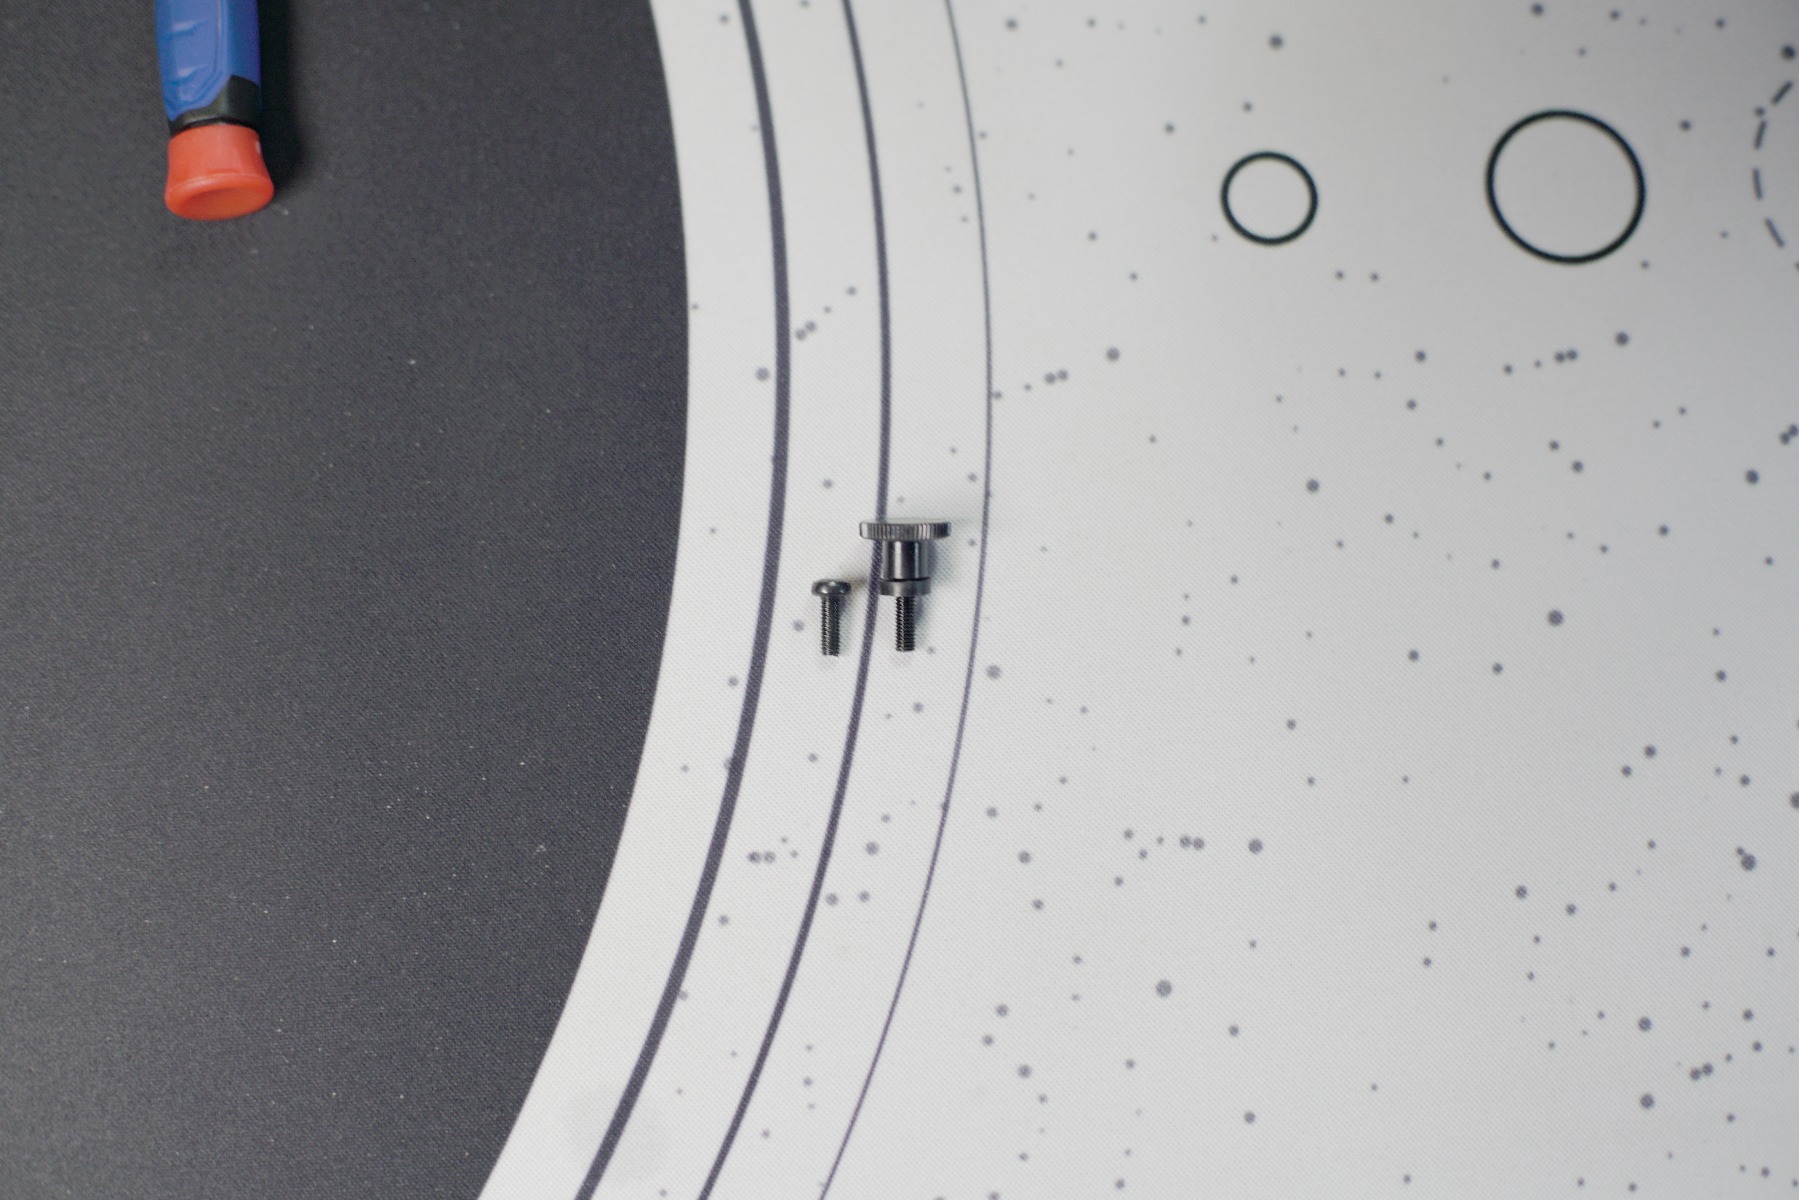
Once you have the first screw removed, you’ll want to match this screw against the threads of the upgraded thumb screw provided in the kit. The threads should mesh well, with an even amount of light (if any at all) being seen between the two sets of threads. If the two fasteners do not appear to have the same thread pitch and size – STOP. Do not install the thumb screw in your scope if the thread size does not match. Please contact us if this is the case and we would be happy to talk with you more about your scope and what the correct collimation screws might be for your application.
We will also want to compare the thread length from the factory screw to the Apertura Collimation Screw. To do this, take the factory screw and the upgraded screw and fully overlap the threads to make sure that the head of each fastener lines up with the end of each screw (See example image).
For the 5” and 6” models you will not need the included washers during installation. Simply use the screw itself.
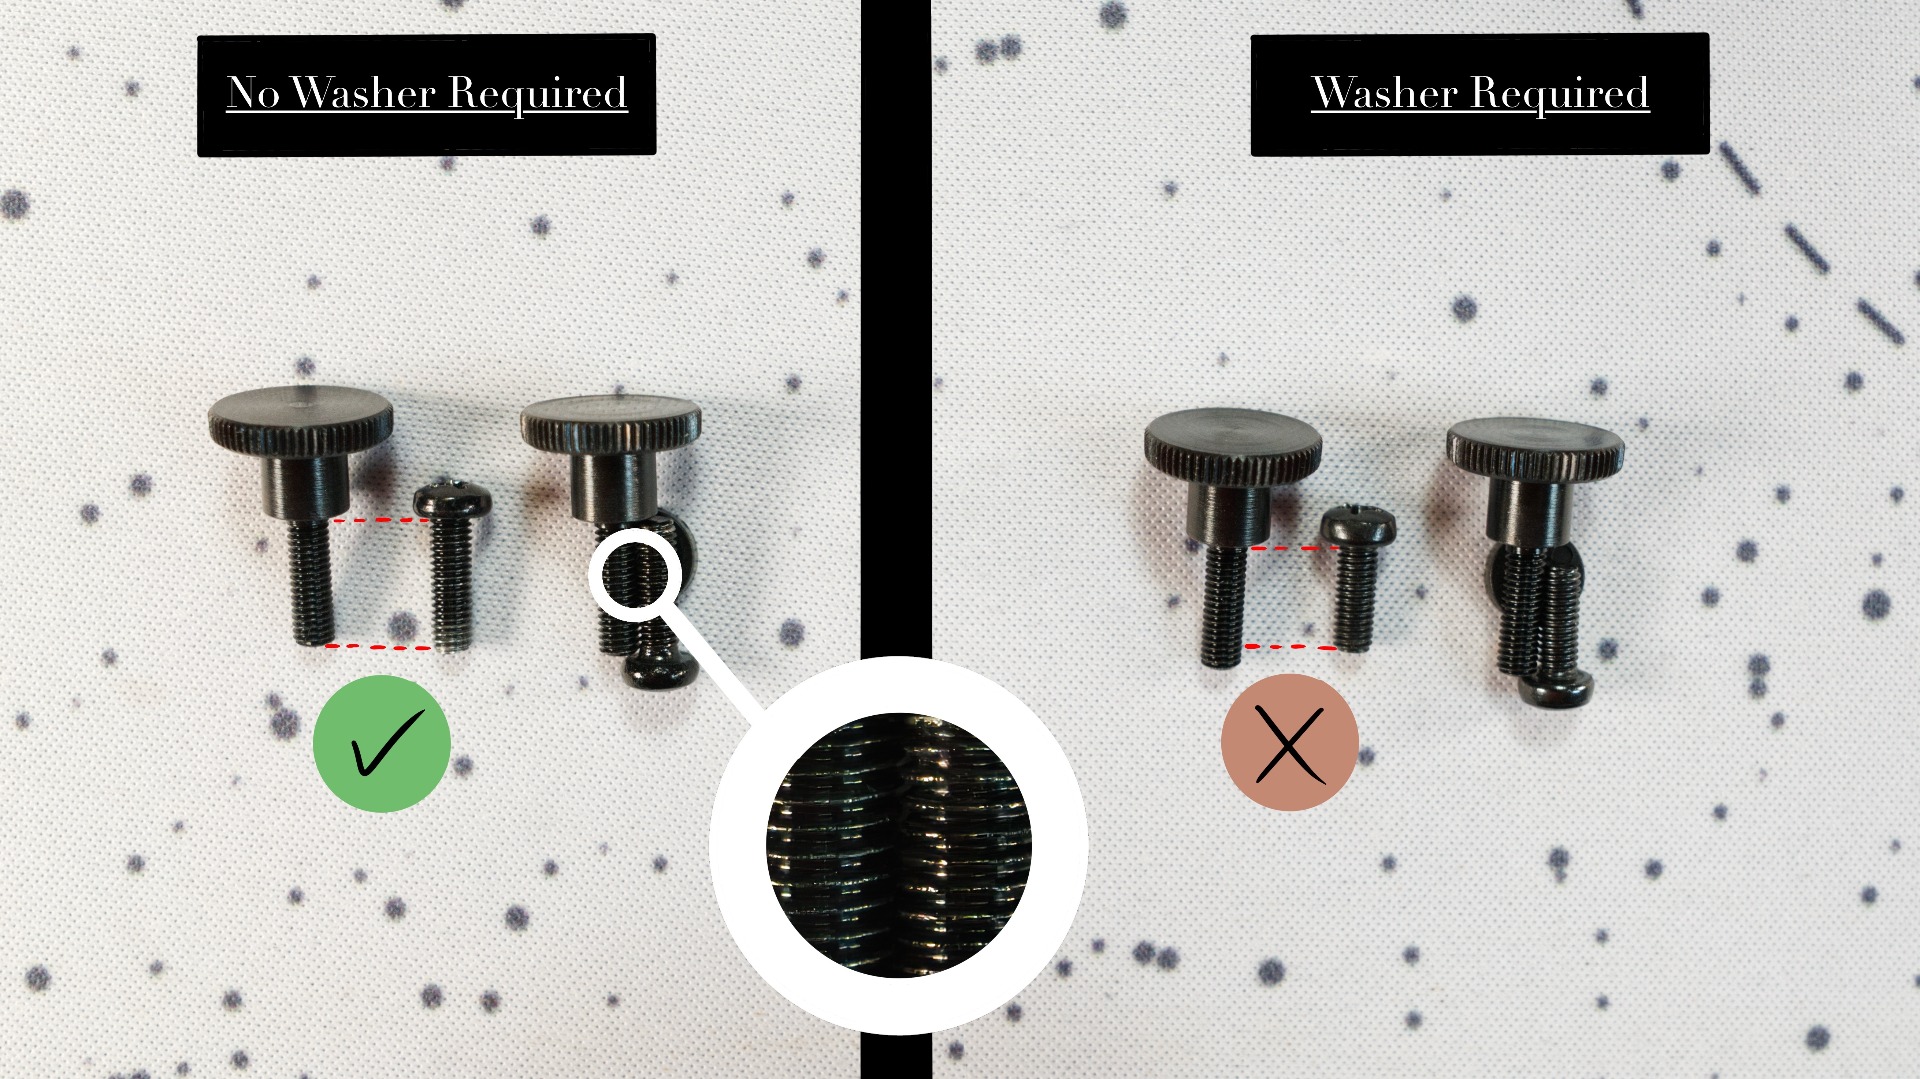
If you have an 8” telescope the small washers included in the kit will need to be installed on the thumb screws - one washer per screw.
With the 8" telescope, which requires the use of a washer, be sure to check the length against the factory screw with the washer installed on the upgraded thumb screw (See example image).
Once you are sure that the replacement screw matches the factory Phillips head screw, we can proceed with the installation.
Replace the removed collimation screw with the new Apertura Collimation Screw, being sure not to over tighten it. Only apply gentle pressure when initially installing the Apertura Collimation Screw. If you encounter any significant resistance, stop immediately, remove the screw, check the thread for debris or damage, and retry. If you are unable to install the screw, please check the upgraded screw against the factory screw again.
After the first Apertura Collimation Screw has been installed, remove the next factory Phillips head screw. Remember not to turn either of the other two screws while one is removed. Repeat the process outlined above for each remaining screw.
That’s it! It’s that simple, you have now successfully installed your new Apertura Collimation Knobs. Next, we’ll need to check the collimation of the scope. It is very likely that it will need to be adjusted but with the new Apertura Collimation Screws, this should be a much simpler process now!

If you have any questions or are unsure of the procedure after reading the instructions and watching the installation video, please do not hesitate to contact one of our Support Specialists. We would be happy to speak with you about the installation of this product.

Contributing Writers
 Vincent
Giordano
This Article was Last Updated on 07/25/2023