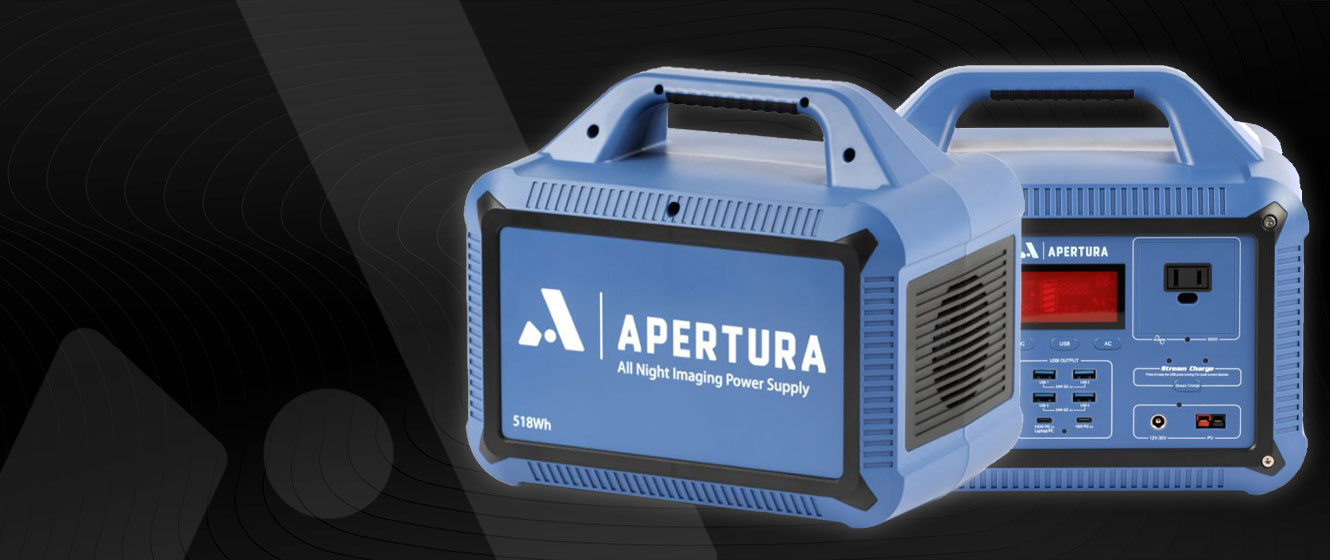
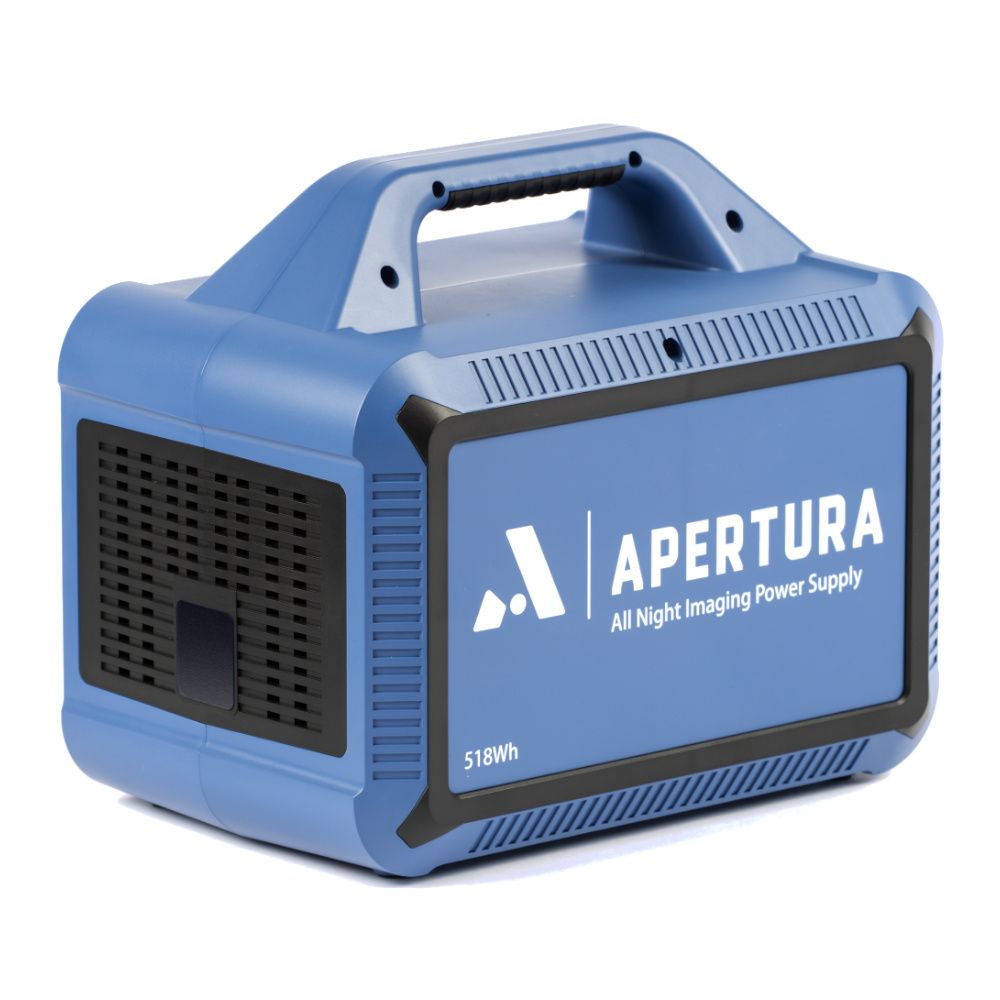
Congratulations on your purchase of the Apertura All Night Imaging Power Supply - 518Wh Lithium Battery! This Apertura Power Supply Unit can provide USB, DC, and AC power for your astronomical equipment. It can power devices such as telescope mounts, laptops, cooled astronomy cameras, focus motors, Wi-Fi camera control units, dew heaters, mobile devices, tablets, and more. Let's go over a few ways you can remotely power your astrophotography rig with this portable, lithium-ion power supply from Apertura!
All The Power You Need To Observe The Cosmos
How to Provide DC Power
This battery has two 12V DC Power output ports with a standard 5.5mmx2.1mm center positive connector. These two ports can support up to a combined total of 10A, which can be split between the two as desired (example: 5A/5A, 7.5A/2.5A, 10A/0A). This common size can use the same cable as many astronomy devices, such as Wi-Fi camera control units, cooled astronomy cameras, focus motors, mounts, and more.
The Apertura Lithium Power Supply also includes two (2) 5.5mmx2.1mm to Cigarette Lighter type adapters. This allows you to connect many popular telescope mounts and dew heaters that use this connection without the need to purchase any additional adapters.
To provide DC power, connect the battery to your device with the appropriate cable. Then, press the “DC” button to switch on. You will see the status panel illuminate, and the DC Output indicator will be lit. This indicates that the DC power output is on.
Note: These ports are protected against short-circuit and overcurrent, shutting down should either occur. To turn the ports back, unplug the offending device and press the “DC” button.
How to Provide DC Power for USB Devices
This battery has four USB-A ports and two USB-C ports. These can be used to provide power to devices such as smartphones, tablets, some laptops, and mini PCs, and most any other device that can charge via USB.
Note: The USB ports do not support any data transmission and only provide power.
To provide power via these ports, connect your device with the appropriate cable. Then press the “USB” button to switch on the USB ports. You will see the status panel illuminate, and then the USB Output, USB QuickCharge Output, or USB C Output indicators will light up depending on what port(s)/ charging standard(s) are in use.
This battery supports both the Qualcomm QuickCharge 3.0 and USB PD (PowerDelivery) Protocol, which allows some USB-powered devices to charge at a faster rate. In order to use this feature, you will need both a device and cable that supports one of these protocols.
As a power-saving feature, the battery will automatically shut off the USB ports if current draw falls below a certain threshold (i.e. devices that cease charging when they reach full charge, or when a device has been disconnected). Some efficient/low power USB devices may draw current below this threshold during normal operation, however, and for these the Stream Charge feature has been added. Pressing the “Stream Charge” button will turn off the power saving feature to allow for these devices to be used. Once done using these, press the Stream Charge button again to conserve battery.
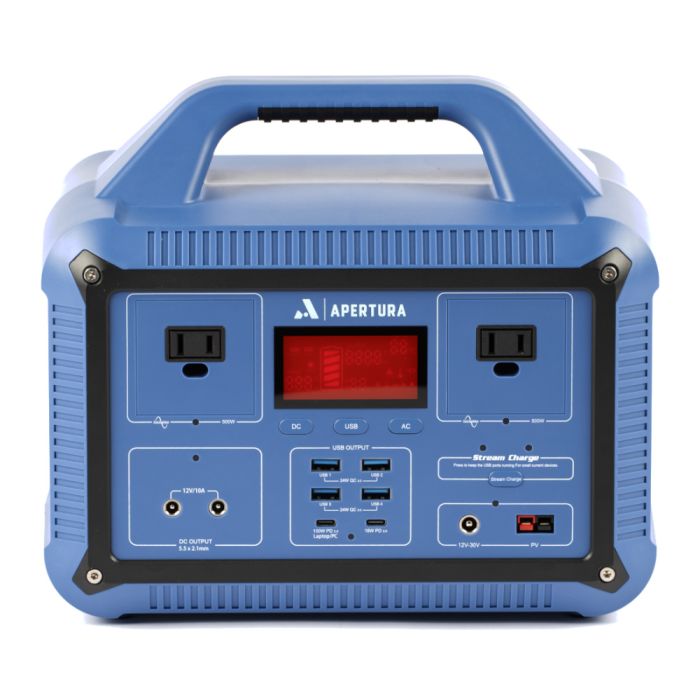
How to Provide AC Power
This Power Supply can provide AC power to some devices. The output is suitable for devices less than 500 Watt (800 Watt max), which can be powered by a Pure Sine Wave output. Please carefully check the device’s manual to be sure that device’s power requirements are met by this power supply to avoid a dangerous situation or damage to the units.
Connect the power cable plug of the electrical appliance to the AC outlet of the power supply. Turn on the AC Power by pressing the “AC” button on the side of the Power Supply. You will see the status panel illuminate and the AC Output On/Off indicator will be lit. This indicates that the AC power output is on.
When the AC port is not in use, press the “AC” button again to turn off the AC power output and conserve power.
Note: These ports are protected against short-circuit and overcurrent, shutting down should either occur. To turn the ports back, unplug the offending device and press the “AC” button.
How to Charge the Apertura Lithium Power Supply
How To Charge Using the Included AC Wall Charger
Connect the AC charger to the battery pack and plug the unit into any wall outlet to charge the battery. You will know the unit is charging when the display battery indicator is blinking. The unit is fully charged when all battery indicators stop blinking and remain solid. After the unit is fully charged, please remove the AC wall charger.
How To Charge Using the Included Car Charger:
Plug the unit into a 12V cigarette lighter port (car port) of your car. You will know the unit is charging when the display battery indicator lights up and blinks. The unit is fully charged when all battery indicators stop blinking and remain solid.
To avoid draining the battery in your automobile, we recommend charging this unit through your car cigarette lighter only when your car engine is running. Be sure to follow all safety procedures associated with running an automobile.
Important Information
- This product has an integrated high-quality lithium ion battery.
- In order to extend the life of this lithium battery, it is best to charge within 3 months of receiving it and charge at least once within each subsequent 6-month period.
- After turning the battery on, if there is no load detected from attached devices, the battery will automatically shut down after 3 minutes.
- Cold temperatures (below freezing) can affect the unit’s battery capacity due to chemical characteristics of the battery.