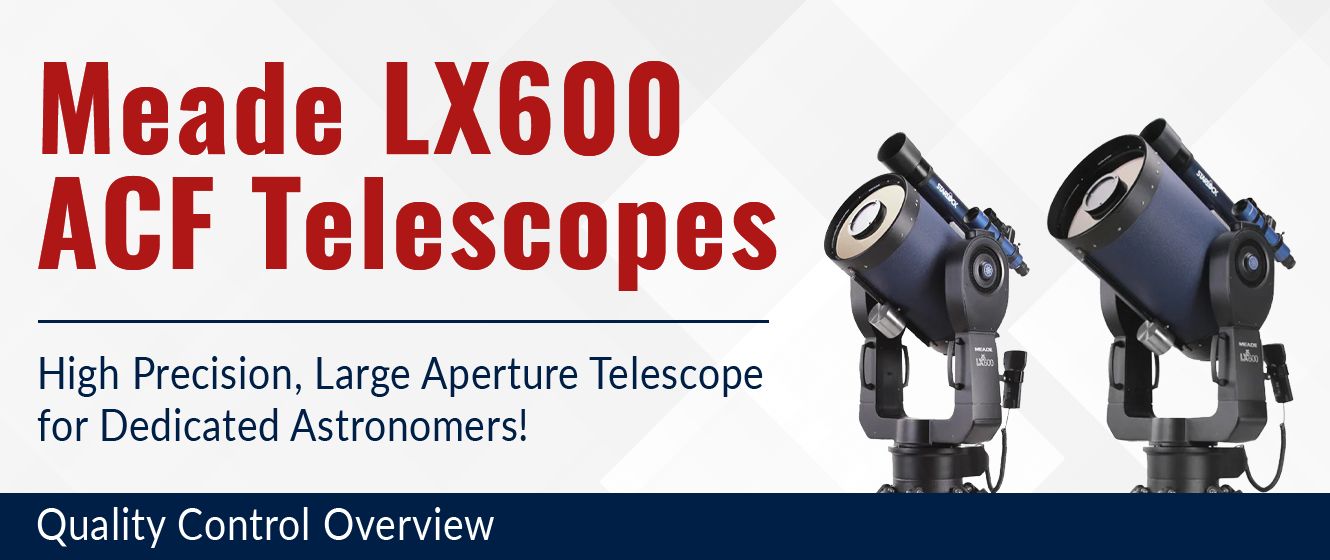
We recently acquired a quantity of factory sealed Meade LX600 Telescopes! To ensure quality and a top notch customer experience, we ran each telescope through its paces at our facility in New Jersey. Below, you'll find a breakdown of what we tested, followed by a detailed look at our testing procedure. We've also put together a list of helpful tips to make setting up your Meade LX600 as seamless as possible. If you're still unsure whether this telescope is the right fit for you, be sure to check out the section at the bottom of the page to help you decide!
What We Tested
| Aesthetics | We unboxed the scopes and gave them a visual inspection for flaws or damage on the optics, or any other cosmetic or functional default present. |
| Hand Controller | We installed the hand controller and included cable. |
| Powering on and Slewing with Internal Batteries | Each scope was powered up and slewed using the internal C cell battery trays. Though, we tested the scopes under the night sky using the DC in port. |
| Automatic Alignment | We performed the automatic alignment with each mount by pressing 0 once the mount was powered on and initialized. The GPS got a lock and provided us with the nearest city. Then the mount used its onboard electronics to auto level and then find North. It slewed to the first alignment star. |
| Starlock System | The StarLock module was installed and connected to the mount with the included cable. |
| Installing Finder Scope | The factory finder scope was installed, focused, and aligned with the main optical tube. Please Note: You’ll need to re-check the alignment when you receive your telescope. |
| Collimation | We checked that the scopes could be collimated using an OCAL on our workbenches. |
| Focuser | We made sure that the coarse and fine focuser knobs worked. |
| Included Eyepiece | We made sure the telescope reached focus with the included eyepiece. |
| Giant Field Tripod | The mount was successfully installed onto a Giant Field Tripod. |
We then asked ourselves the following questions:
Did the precise pointing function as designed?
If the object was visible in the eyepiece without any additional input or manipulation of the hand controller, we considered that a win!
What kind of views did the scope give?
We looked for a bright image with good contrast. We checked for gross contrast, EX the large differing brightness from Orion’s dark dusty area, and the bright arms sweeping out from the trapezium. If this was clear and easy to see it was considered good. We checked for fine contrast, the quilting and mottling of the gas and dust surrounding the trapezium in the brighter core of the nebula. We also viewed the sharp lines of differing brightness along the large sweeping arms to see how fine contrast was. Finally, the stars should come to a sharp focus.
Did the object stay on target as we adjusted focus?
We checked for any gross optical misalignment of focuser faults by sweeping far out of focus in both directions, looking for a field of view that moved through the image as focus was changed. Surprisingly we failed a scope due to this.
Did both focus knobs move the mirror correctly?
We checked the coarse and fine knobs to make sure that the primary mirror was adjusted as we turned the knobs.
Did the mount track reasonably well?
We checked to see if the object stayed in the field of view for 5 or more minutes as we observed it, or would we have to constantly make adjustments to keep the target visible.
How well did the Starlock perform over the night of testing?
Over all of the different objects we viewed, the mount performed very well, with the object being in the field of view every time. We decided to push the Starlock system to its limits and see how it would cope with the glow of a not so distant sunset and lights on the horizon. The mount was sent to another deep sky object, M31. It was LOW on the horizon. It was great! In all of the systems we tested, the glow of the galactic core was viewable in every slew!
How well did the scopes do with solar system viewing?
Off to Jupiter! Did the mount slew to the correct position? Solar system objects change location from night to night and don't live at the same celestial coordinates every night like stars and deep sky objects do. This was a great test to double check that both the GPS unit and pointing models were accurate. Sure enough, Jupiter was in the field of view. The quality of view was okay with the factory 25 mm eyepiece, especially considering we were looking across the asphalt parking lot and over the top of our warehouse! Thermal effects of asphalt and large structures generally degrade the quality of view, and Jupiter looked pretty good.
How We Tested
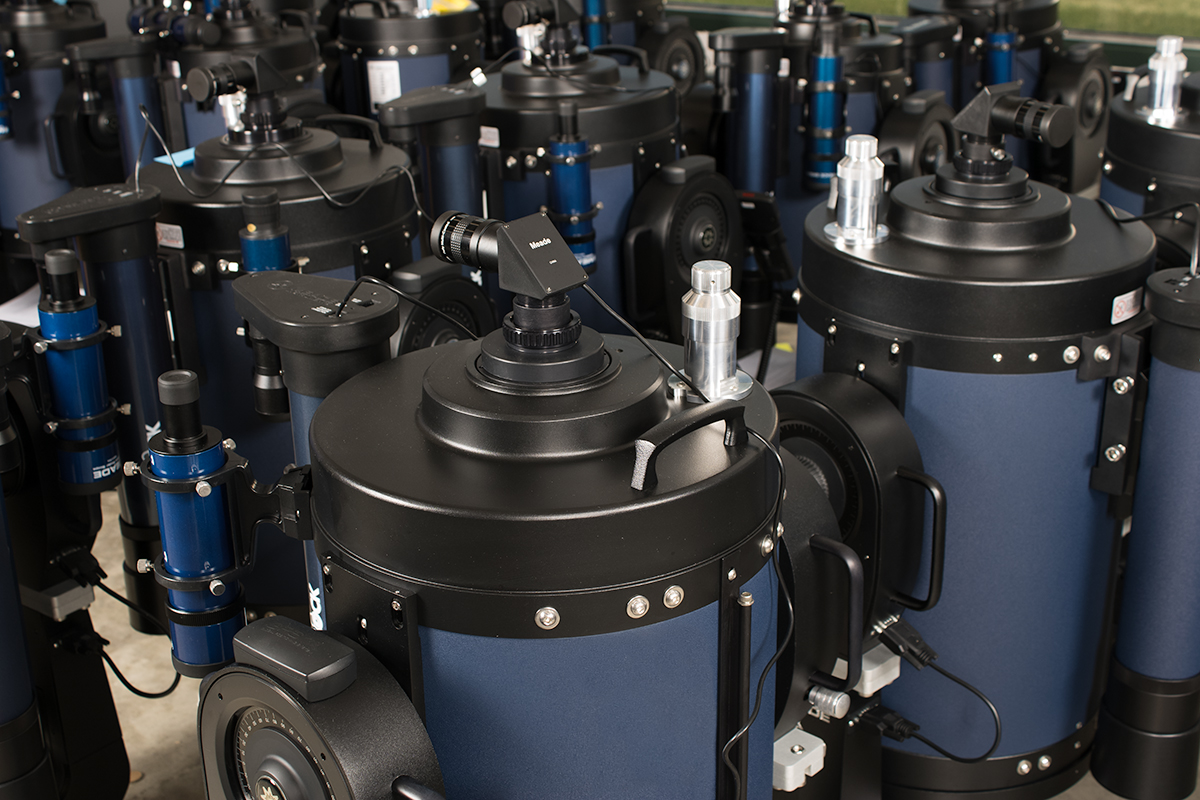
Our team started by assembling the scopes here in our workshop. Each telescope was unboxed carefully one at a time, allowing us to thoroughly inspect each component. Once everything was unboxed, we began assembling the system. We installed the StarLock, guide scope, and remaining electronics. To ensure the functionality of the entire system, every scope was tested with the components that will be shipped in the box. We kept the main unit and all accessories together throughout the entire process so both the customer and High Point could be 100% confident all the accessories worked and were repackaged properly. The finder scope was aligned in our workshop and everything prepped for a clear night.
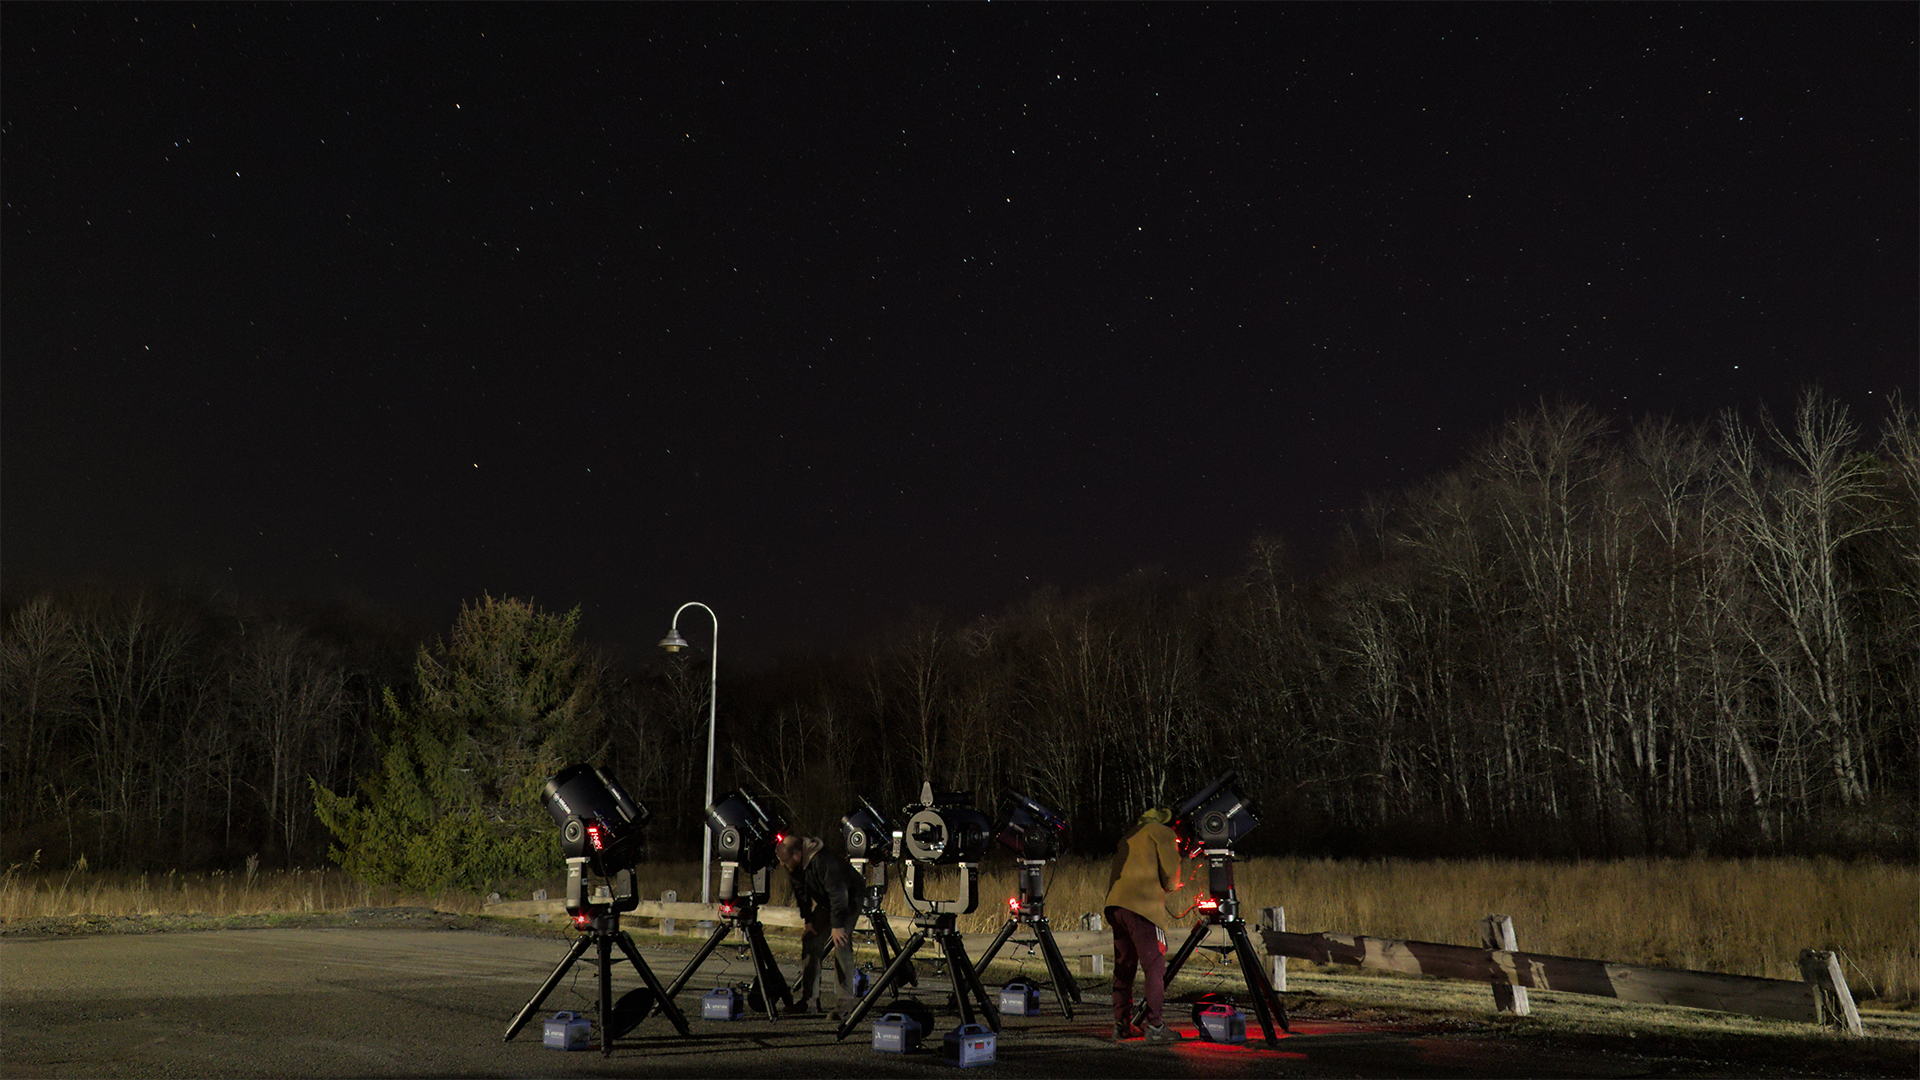
The night of testing, we set up several Giant field tripods, Apertura 518wh batteries, and LX600 telescopes. We powered the mounts with the 5.5x2.1 - 5.5x2.1 cable that is included with the 518Wh battery (sold separately). While we tested basic function on a workbench using the 8C cell battery holder included in the fork arms, we felt that most people using a scope of this class would be powering it through the DC input power connector, and we wanted to test them the same way.
There are many different ways to star align these telescopes, and even more varying ways to use them for astronomy. Those of you who have been around know how to do a one star alignment or a two star alignment, and we didn't waste our time or your time testing those features. What we tested were the most complex features of these telescopes that make them unique and fantastic. These features, including the GPS, automated alignment, and StarLock functions, also happen to be the most technology intensive
Helpful Tips When Using Your Meade LX600
Powering On

When powering up your LX600 for the first time, the hand controller initially says “LX200." After a few seconds, the hand controller will properly sync with the mount and the display the correct "LX600" model. This initial error was standard across all the scopes that we tested. With that said, it did not impact the functionality of the system and only took a few moments to correctly sync up with the mount.

It is important to note that the power connector size differs from what the original manual recommends, the original manual recommends a DC 5.5 x 2.5 mm plug. However, upon testing these units, we found they actually require a 5.5 x 2.1 mm plug. As a result, we strongly recommend the Apertura AC5 Adapter or the Apertura DC 5.5x2.1 power cable for use with the LX600 scopes we are offering.
Focusing
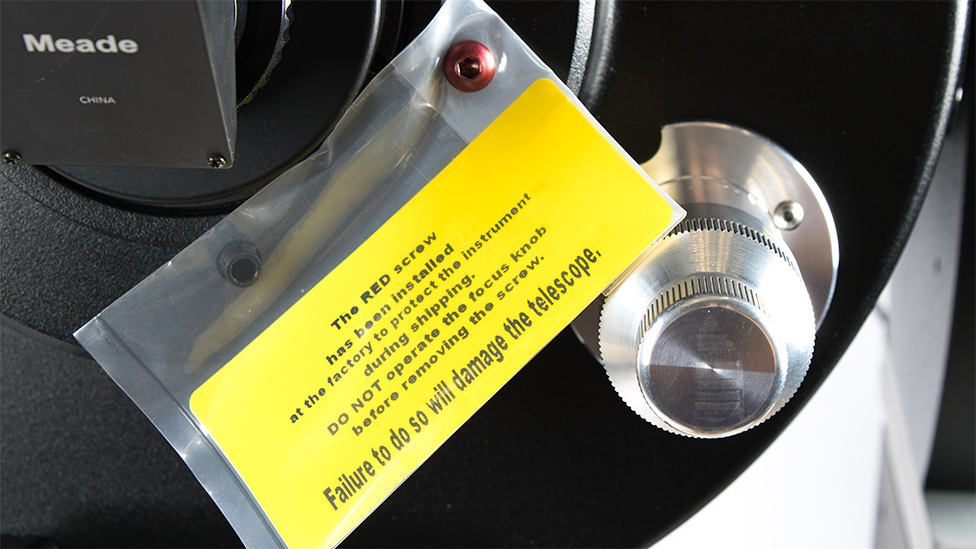
Now, there are some unique things to take note of with the LX600 telescope. When first unboxing the scope, it is important to take note of the red hex screw to the side of the focusing mechanism. This MUST be removed before using the scope. Attempting to focus the telescope without removing this bolt can result in damage to the telescope. All of the scopes that we tested included a clearly labeled warning card attached to the hex screw (see the image to the left).

The telescope is built with a dual speed focuser. Those of us who have used other brands of SCTs are familiar with their generally “buttery smooth” focus mechanism. The LX600 is anything but buttery smooth. As the coarse focus knob is adjusted, it must be gripped like Tarzan grips vines as he swings through the jungle. While it functions, it does not do so in any delicate sense. The fine focus knob is smoother, but still not as smooth as other SCTs. At the end of the day, the focuser does work and it does so without a floppy mirror. It’s important to note that the less smooth function of the focuser became less apparent in actual use and blended seamlessly into the background.
Starlock
One of the unique features of the LX600 telescope is the StarLock System. You might be asking, “What is Starlock?” The Starlock system consists of a large 80 mm refractor and a smaller wide field camera. When an object in the hand controller is selected, and we choose to “GoTo” it, the mount won't directly slew to the target. It first chooses a bright star that is very close to the target and slews to that instead. The StarLock system then analyzes the view and adjusts the mount’s pointing model to center the star in the field of view. After it compensates for any errors in the pointing model, it will then slew to the nearby target, hopefully being in the field of view!
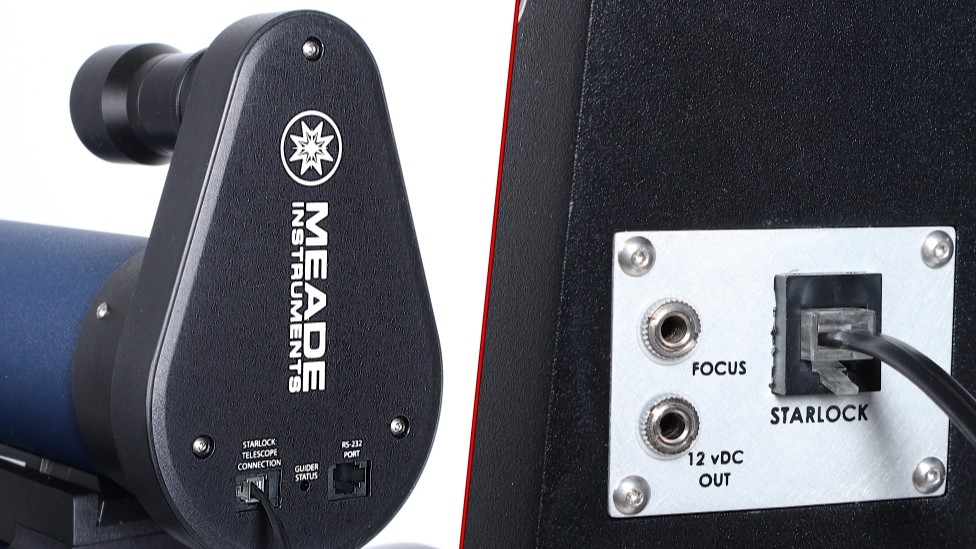
Another thing to note is that the Starlock has two ports on the back; be sure that the cable is plugged into the correct port! The other end of the cable connects to a port not so clearly marked “Starlok,” which is to the left fork arm next to the port labeled “Starlock Telescope Mount.” The Starlock red light should illuminate once it has slewed to a target and is actively tracking. It should automatically use the "precise pointing” option when the Starlock is properly connected to the mount.
The StarLock unit hangs over the back of the scope if you place the retaining bolts where the indents on the dovetail bar are. We found that we hit our heads on the Starlock in this “normal” position, and moved it forward as far as they could be mounted in order to not have our heads come in contact with the StarLock unit. The Starlock red light should illuminate once it has slewed to a target and is actively tracking. It should automatically use the "precise pointing” option when the starlock is properly connected to the mount.
Fork Mount
The mount uses spring loaded worms in the Altitude and Azimuth axis. While that can offer improved accuracy, it does allow a bit of ‘mush’ in the system. If heavy force is applied the worm wheel can climb the worm gear and allow the mount to move some. This design prevents damage but it is worth noting that this is the case with all of the telescopes tested and is not abnormal. Keep in mind that this is not ‘play’ that causes any delay in the mount function, rather it responds normally, the mount can just be scooted a bit one direction or the other if force is applied.

The LX600 is a multipart base. The upper forks can be separated from the lower fork assembly to lighten the load some. Most of the weight in this system seems to come from the mount, which is very heavy and not for the faint of heart.
Secondary Mirror

When it comes to collimating your LX600 there is just one thing we want to point out. On the secondary mirror housing there are two sets of screws: one set holds the whole thing in place, and the other set adjusts the optics. Be careful to only use the inside set of screws and not the outside set of screws when collimating the scope. If you adjust the outside set of screws you'll loosen the housing and risk damaging the secondary mirror.
We checked to make sure each scope can be collimated using an computer assisted collimator, such as an OCAL, however, as is expected when receiving a telescope of this caliber, adjusting collimation is part of journey. If you're knew to collimating SCTs such as there, you'll want to check out our thorough SCT Collimation Guide!
Is This Telescope Right For Me?

The Meade LX600 series of telescopes is built with both serious visual amateur astronomer and seasoned astrophotographers in mind. Combining Meade's signature f/8 ACF (Advanced coma free) optics with a large central obstruction like your typical Ritchey Chretien telescopes, results in a robust optical system that yields fantastic views of the night sky with a huge illuminated field for astrophotography.
Built upon a dual fork mount that towers over even the mighty LX200s, the LX600 offers a formidable combination of size, rigidity, and precision. To put the sheer size of this system into perspective, the LX600 series comes equipped with four handles because Meade recognized that safely moving this telescope will likely take more than one person. Even the smallest of sizes is at the limits of what a grown adult can manage on their own.
The LX600 series is the culmination of Meade's legacy; bringing together the best of their optics and innovative technology, this system offers amateur astronomers an unforgettable experience. For those willing to take on the challenge, you will be rewarded as this is your last opportunity to experience what this telescope has to offer. And to provide you with the confidence to conquer this challenge, our team individually quality controlled each LX600 we put up for sale. Follow along to learn more about our experience quality controlling these epic systems.
Overall, we were quite pleased with the performance of these telescopes. Only LX600 telescopes that passed will be available for purchase. This assures both you, as the customer, and the High Point Scientific team, that only fully operational units are being sent out from our warehouse. We cannot stress enough the importance of considering the weight of these telescopes before purchasing and when using these LX600 systems. While taking advantage of the technologically rich features of these unique scopes, make sure to use safe handling practices. We hope you enjoy the last available LX600s ever produced!