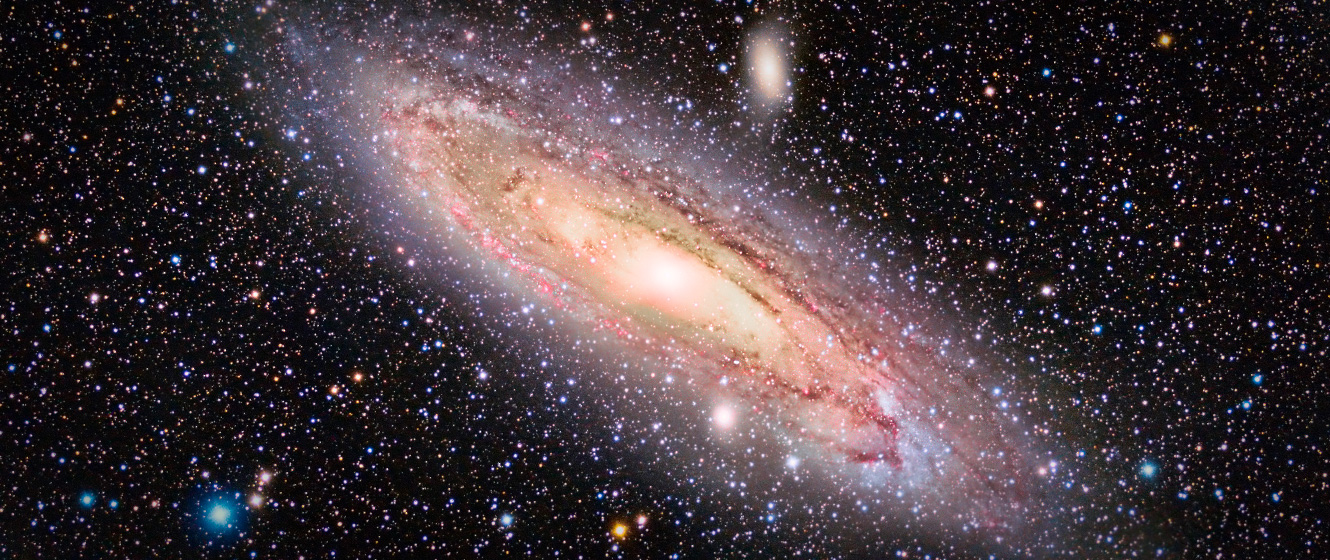
The Andromeda Galaxy (also known as Messier 31, or M31 for short) is one of the most spectacular celestial sights one can see in the night sky. It’s the only galaxy in the northern hemisphere that’s easy to spot with the naked eye and it lies 2.5 million light-years away from the Earth. The Andromeda Galaxy has an angular size of roughly ~5 degrees, about 10x the size of the Moon in the night sky. Because of this, the Andromeda Galaxy is a very easy object to find and photograph. This article will serve as a guide for beginners using a DSLR camera on how to find and photograph the Andromeda Galaxy.
Where Can I Find the Andromeda Galaxy?
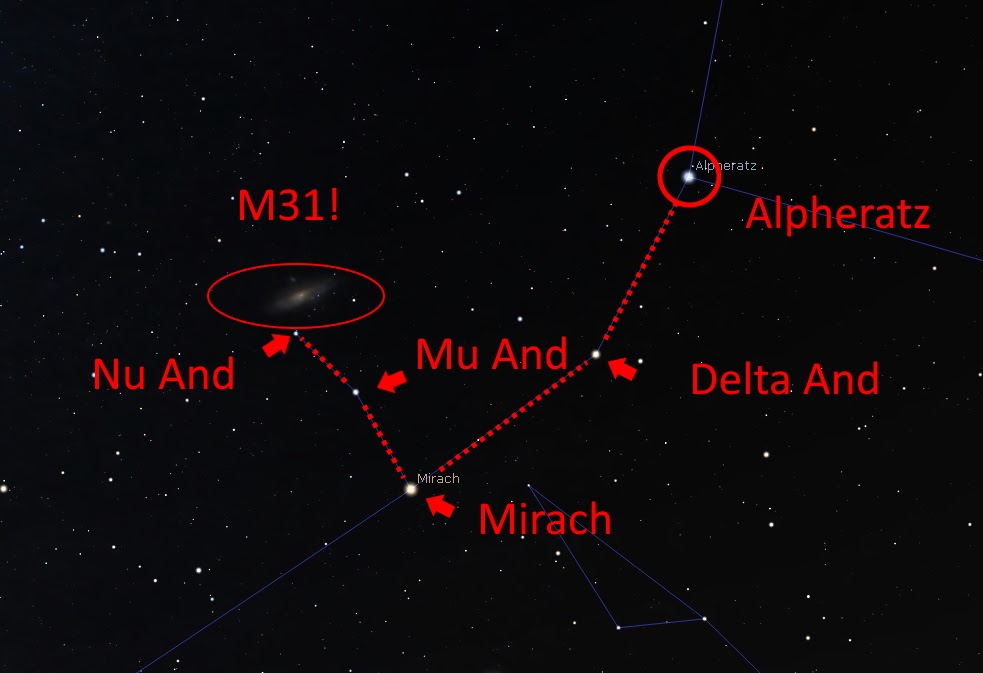
The Andromeda Galaxy is located in the constellation of Andromeda, most visible in the Fall and Winter skies. The Andromeda Galaxy has an apparent magnitude of about +4 and is visible to the naked eye without any optical aid, however, this can be a challenge in light polluted skies. To find the Andromeda Galaxy, look for the four stars that make up the body of the constellation of Pegasus. Once you find these four stars, find the star Alpheratz. From Alpheratz, look for the three main stars that make up the body of the constellation of Andromeda: Delta Andromedae, Mirach, and Almach. From Mirach, look for two stars that sit perpendicular to one another in the sky: Mu Andromedae and Nu Andromedae. You’ll find the Andromeda Galaxy next to Nu Andromedae. Using averted vision, you should be able to spot the galaxy as a very faint smudge in the sky. We recommend using binoculars to verify should you have trouble finding the galaxy.
How to Photograph the Andromeda Galaxy Without a Telescope
Because the Andromeda Galaxy is large and relatively bright in the sky, it is easy to get decent photographs of the Andromeda Galaxy without a large telescope. All you need is a tripod and a DSLR with a lens of about 100-300mm. As you increase the focal length of your lens, it’s important to keep in mind that you’ll be decreasing the amount of time you can take an exposure before the stars begin to streak. You can roughly gauge how long of an exposure you need by following the “500” rule, which is simply defined as 500 divided by the focal length of your lens. For example, a 135mm lens would yield a maximum of a 3.7” exposure before your stars begin to show streaks.
However, one or two exposures are not enough to get clear images of the Andromeda Galaxy. One of the main objectives of astrophotography is to increase the SNR, or “signal-to-noise” ratio. To do this, you need to be capturing photons over a span of anywhere from 30 minutes to several hours. If you’re only using a tripod and a DSLR, you’ll need to take dozens, even hundreds, of images to get long enough of an exposure time to really begin to see details. When you’re done, you can load your exposures into a program like DeepSkyStacker to stack the images.
How to Photograph the Andromeda Galaxy With a Telescope
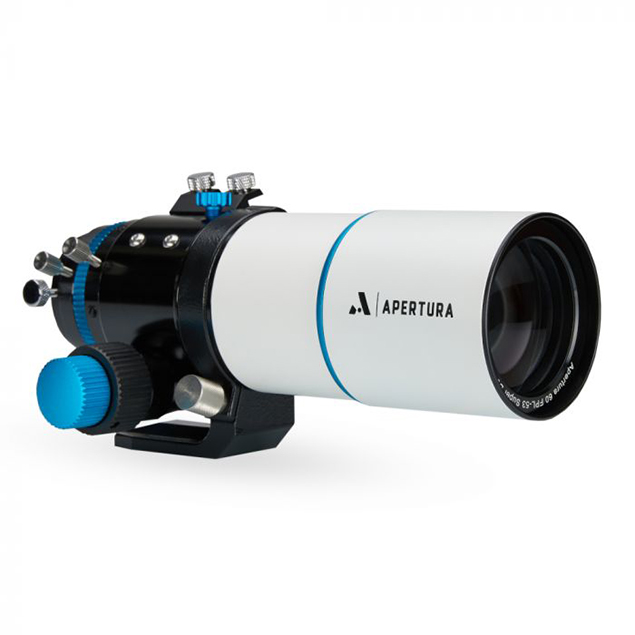
There are many ways to approach photographing the Andromeda Galaxy with a telescope, however, you will absolutely need an equatorial mount to achieve the best possible images. If you’re using a DSLR, we recommend using a telescope with a focal length of around 300-500mm. This is a short enough focal length that all of the Andromeda Galaxy will fit easily in the field of view. A great beginner telescope for photographing the Andromeda Galaxy is the Apertura 60EDR with its dedicated field flattener. With its 60mm aperture, you’ll be able to capture plenty of detail in the Andromeda Galaxy.
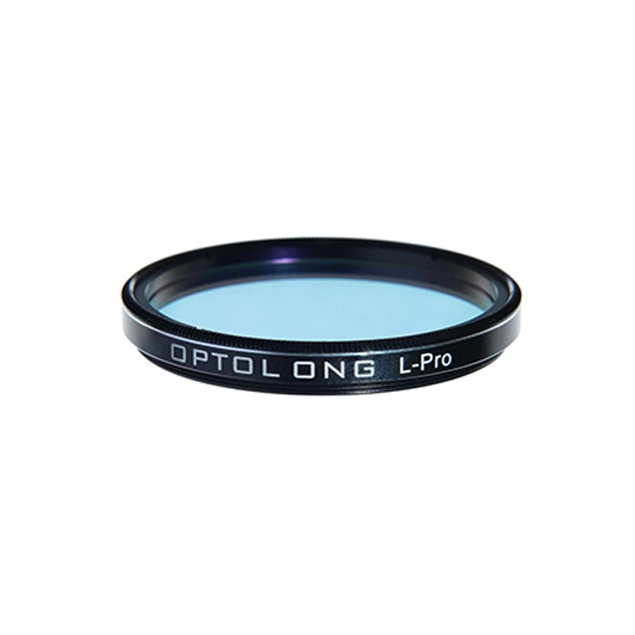
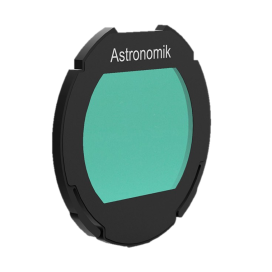
If you are struggling with light pollution, we also recommend a 2” Optolong L-Pro. This filter is a “broadband filter” that’ll help cut down on the light pollution at certain wavelengths while allowing the light from across the entire visible spectrum to enter into your camera. As a result, the contrast will be improved and the natural colors of the Andromeda Galaxy will be preserved.
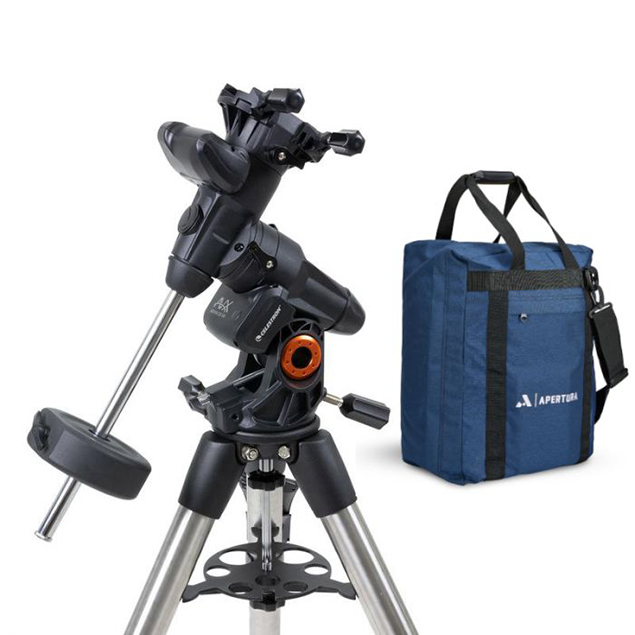
You’ll also need a tracking mount, preferably an equatorial one to prevent field-of-view rotation. The Celestron AVX is a great mount, as its computer will be able to help point you to any object in the sky and retain good tracking.
Now that you have the ability to take long exposures through a telescope, you need to adjust your camera settings to ensure that you’re capturing as much detail as possible. A good range for your camera’s ISO is around 800-1200, but remember that if you adjust your ISO too much, then you’ll be adding more noise to your image. You’ll also want to aim for anywhere from 60” to 120” exposures. Aim to take about an hour or two worth of exposures.
You’ll also need to take calibration frames: namely darks and flats. “Dark” frames are designed to capture some of the sensor noise from your image and help reduce hot pixels. They are taken at the same settings as your light frames, however, the lens cap must remain on for the entire exposure. “Flat” frames are designed to reduce some of the vignetting and other imperfections (such as dust) from your image. There are many ways to take flat frames, but generally speaking, the best way to do this is to put a white t-shirt on top of your image and point your telescope towards a bright, evenly lit light source. You’ll want to adjust your exposure to ensure you have an evenly lit field of view, anywhere from 1/25” to 1/200” depending on how bright your light source is. Take about 10 dark and 10 flat frames, and then load your image into DeepSkyStacker. When this is done, you should have a stacked image ready for post-processing.
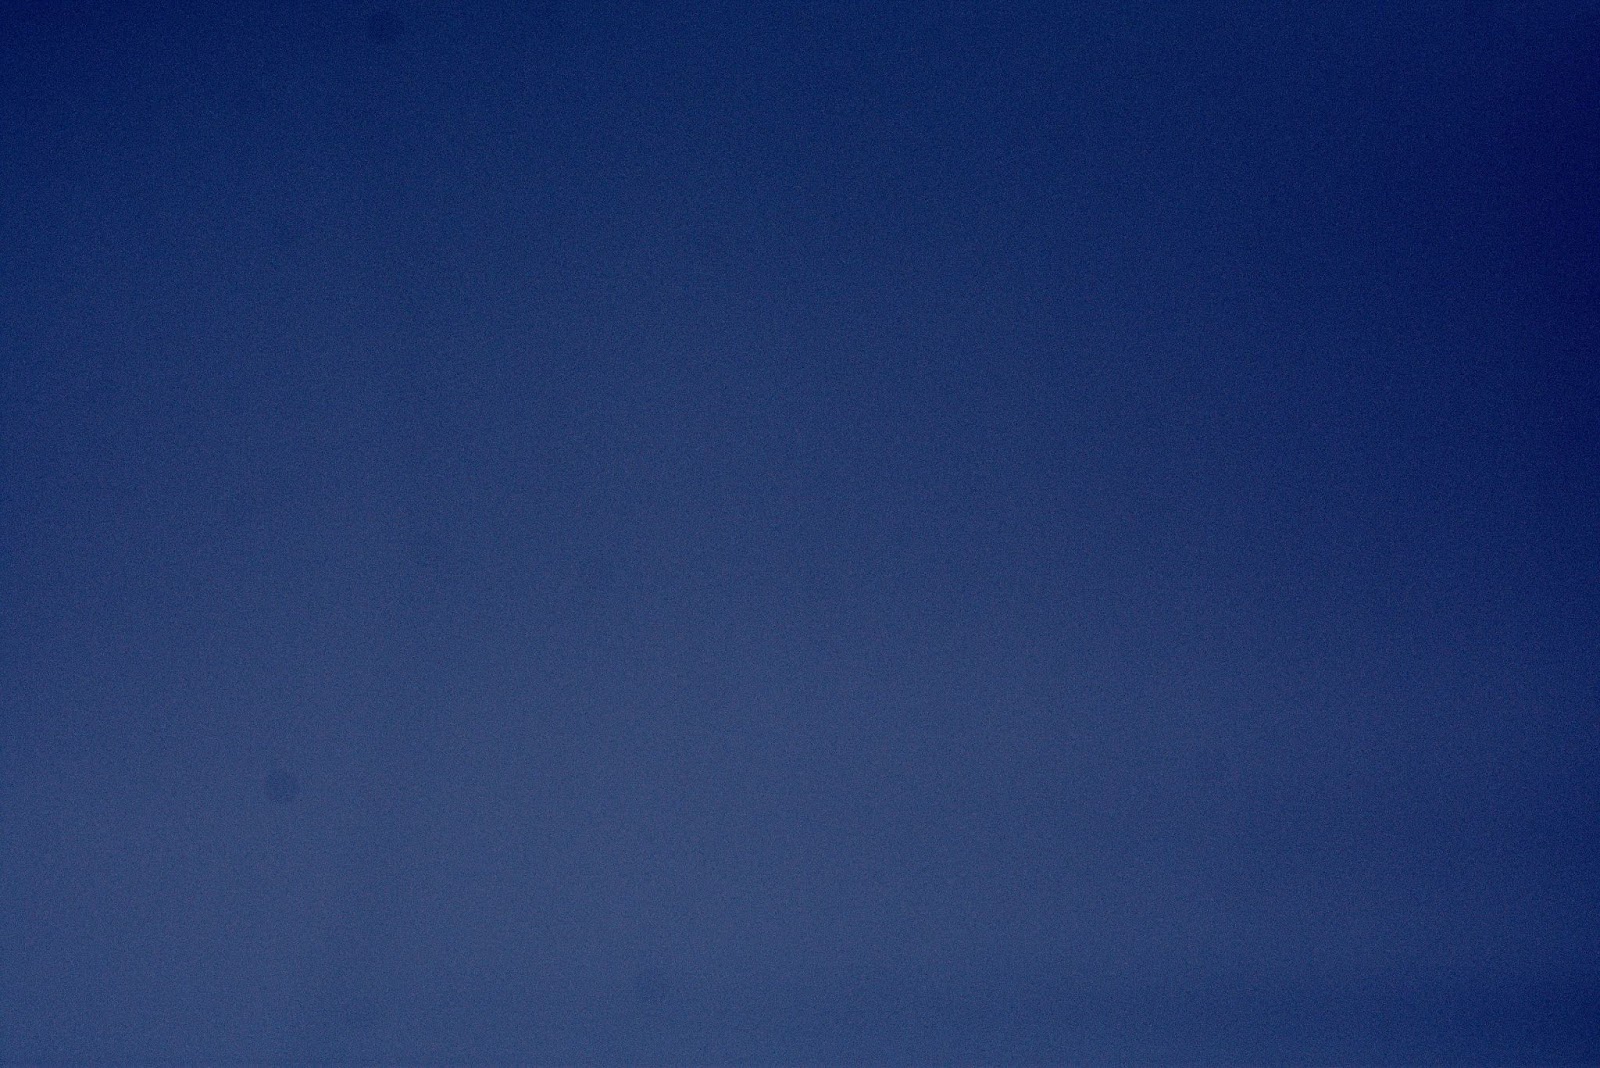
Example of a typical flat frame, note the dust “bunnies” on the corner. Flats will take these out of your final image, leaving you with a nice, clean final picture.
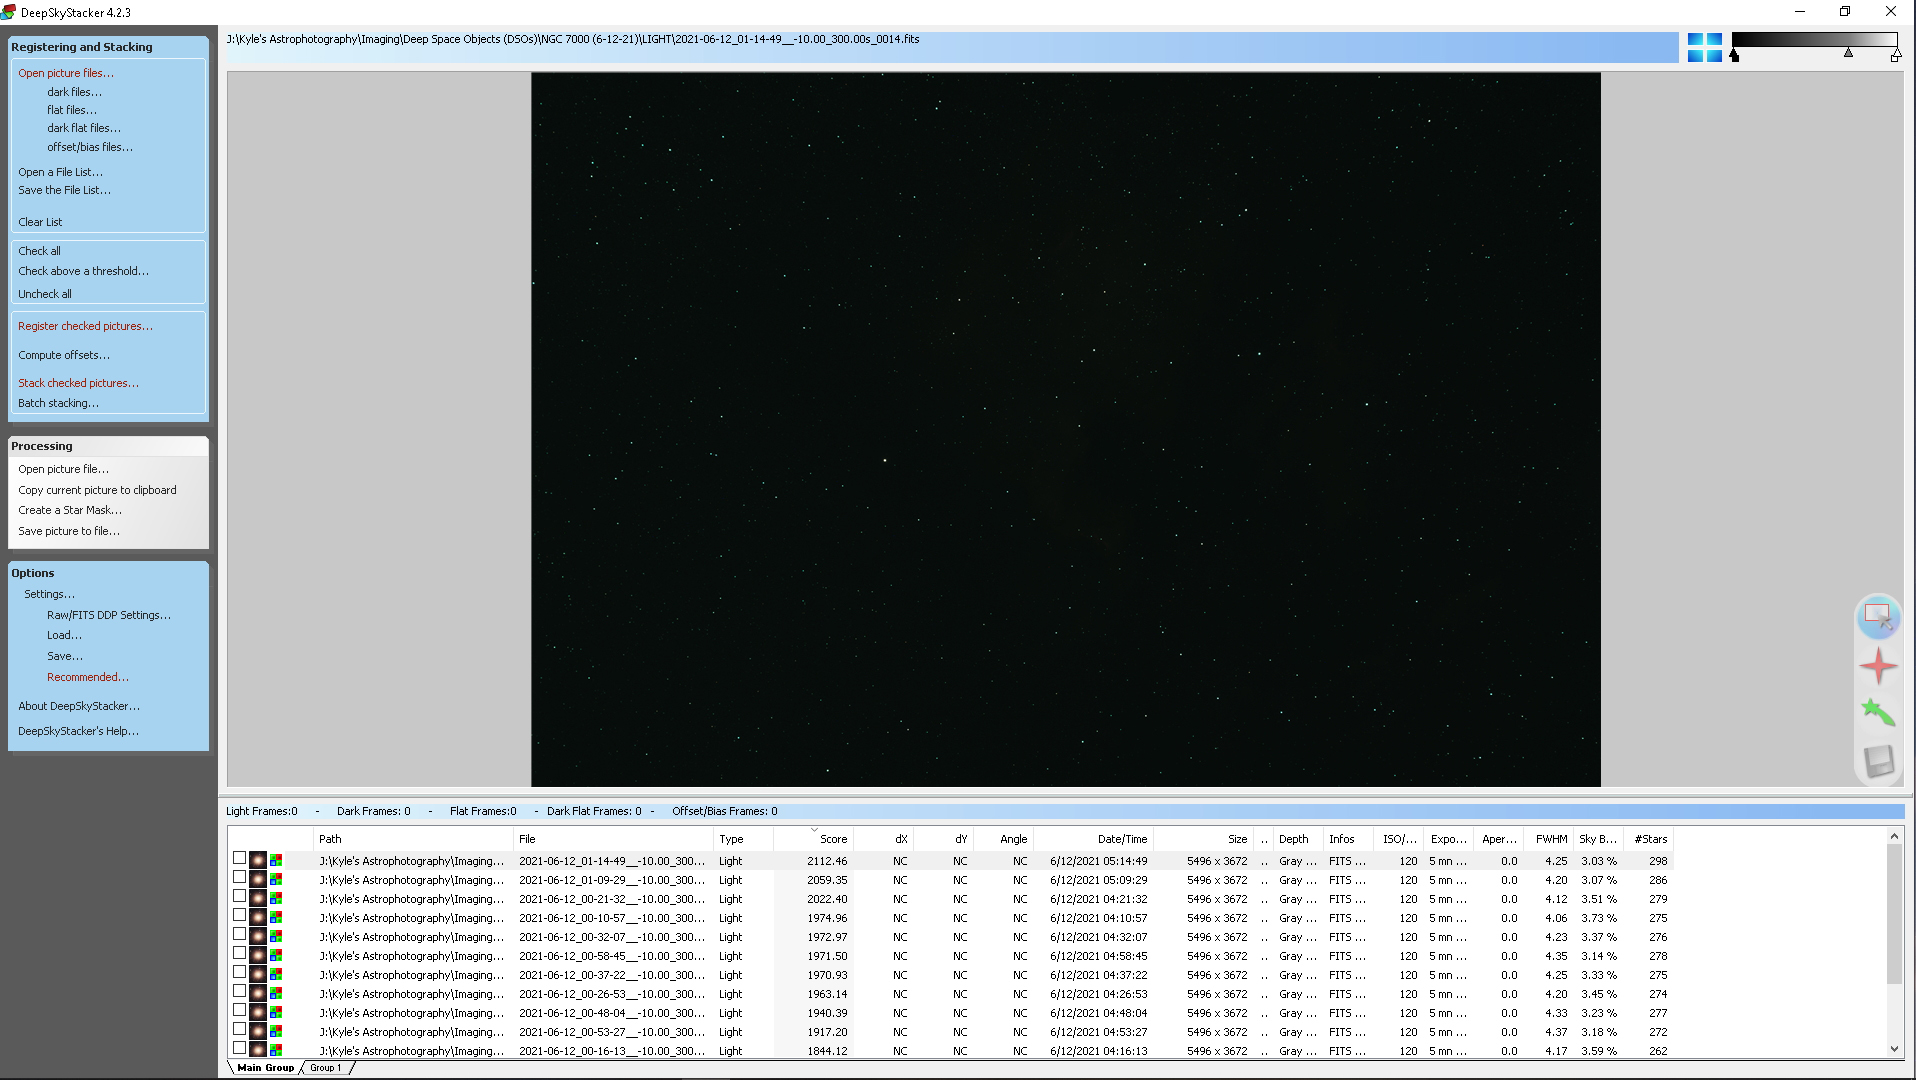
Example of DeepSkyStacker, a freeware stacking software that’ll automatically stack your images and calibrate them. Click to enlarge.

Questions? Contact Us!
Still struggling to spot the Andromeda Galaxy? Not sure which products are right for you? Send a message to our non-commissioned product advisors! Our team of telescope experts are happy to point you in the right direction.
Click the arrow above to see MLA, APA, and Chicago Manual of Style citations.
MLA:
Denny, Kyle. "How to Photograph the Andromeda Galaxy with a DSLR," AstronomyHub, High Point Scientific, 9 Jul. 2021, https://www.highpointscientific.com/astronomy-hub/post/how-to-photograph-the-andromeda-galaxy-with-a-dslr.
APA:
Denny, K. (2021, July 9). How to photograph the andromeda galaxy with a dslr. High Point Scientific. https://www.highpointscientific.com/astronomy-hub/post/how-to-photograph-the-andromeda-galaxy-with-a-dslr
Chicago Manual of Style:
Bibliography:
Kyle Denny. "How to Photograph the Andromeda Galaxy with a DSLR," AstronomyHub (blog), High Point Scientific, July 9, 2021. https://www.highpointscientific.com/astronomy-hub/post/how-to-photograph-the-andromeda-galaxy-with-a-dslr.
Footnote:
Kyle Denny, "How to Photograph the Andromeda Galaxy with a DSLR," AstronomyHub, High Point Scientific, July 9, 2021, https://www.highpointscientific.com/astronomy-hub/post/how-to-photograph-the-andromeda-galaxy-with-a-dslr.