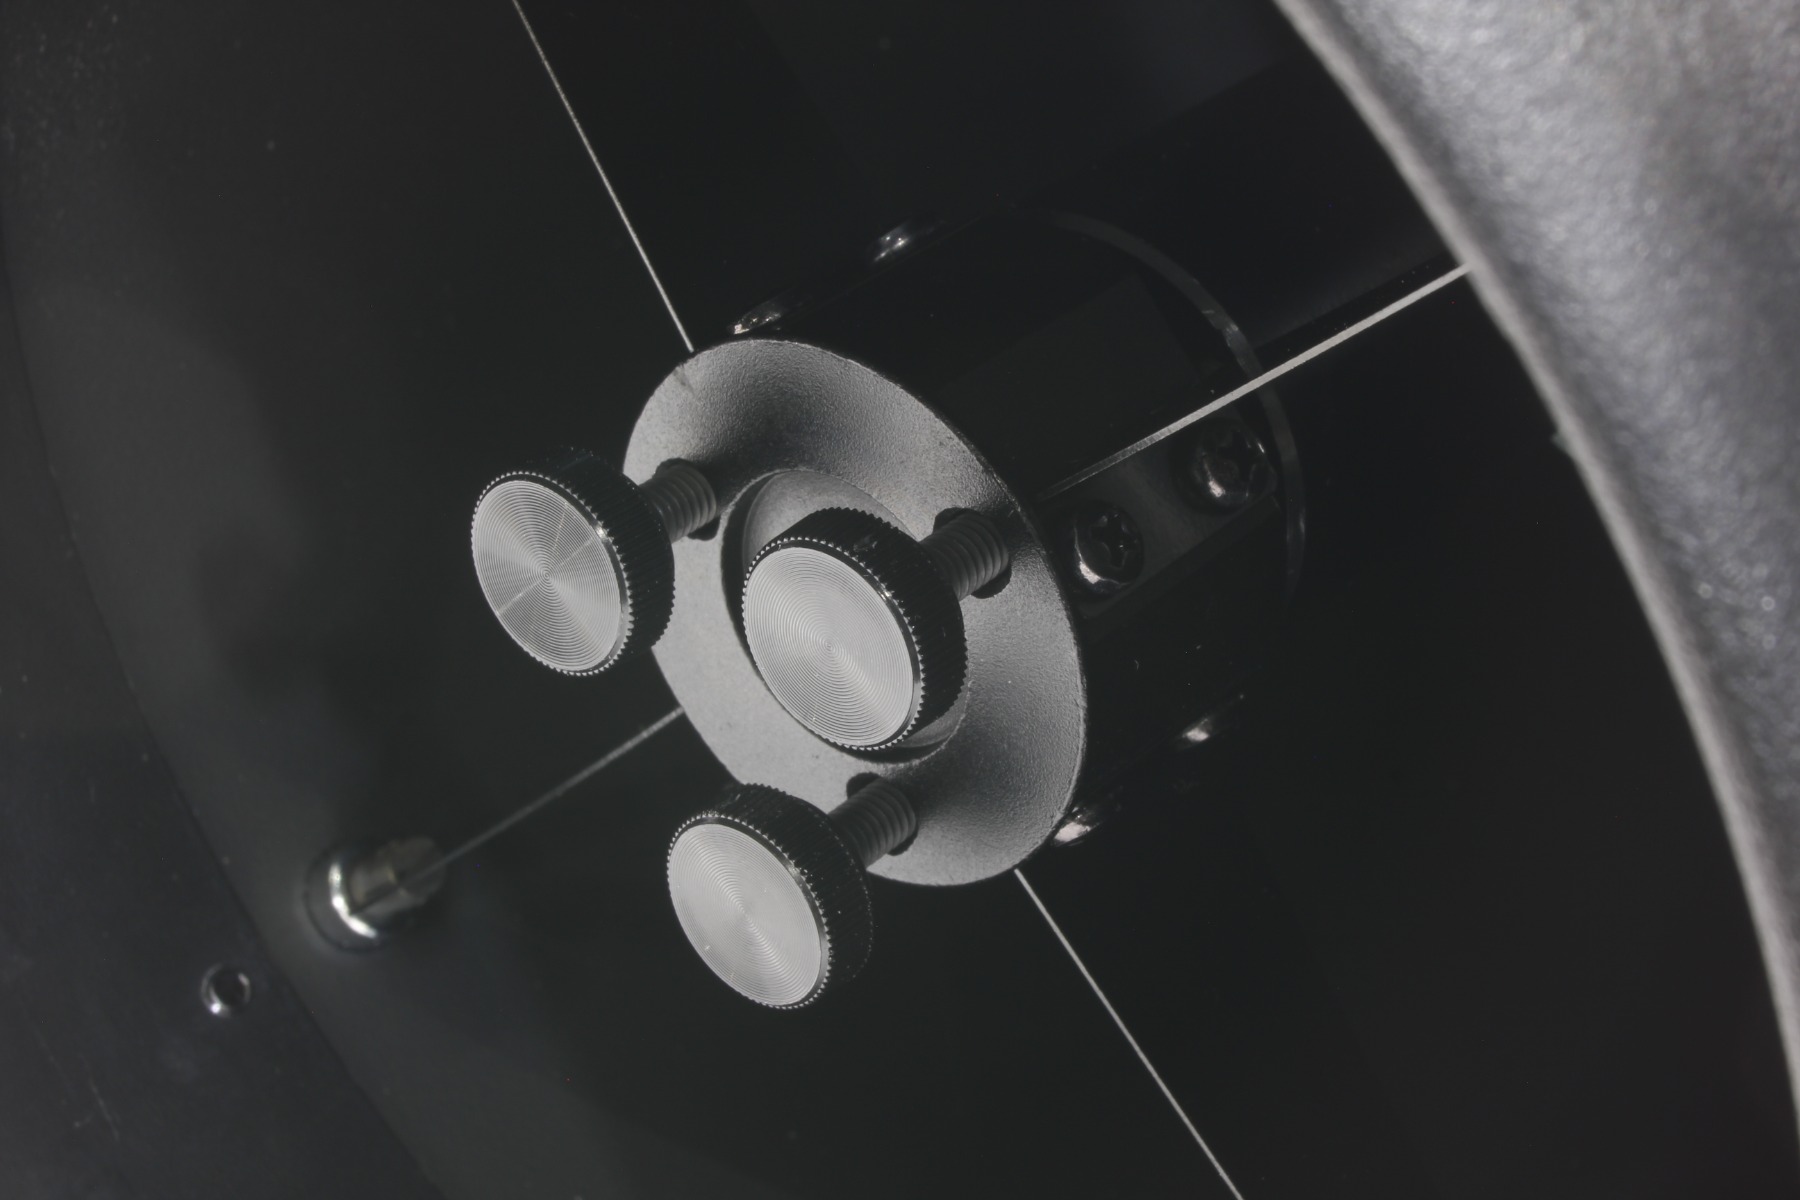
Secondary Mirror Collimation Knobs
What are these knobs and why are they useful? This is a great question! As you might know, Newtonian telescopes require careful alignment of their two mirrors for optimal performance. When adjusting the secondary mirror so that it lines up with the focuser and the primary mirror at the bottom of the tube, the three screws of the secondary support need to be manipulated. These screws change the angle that the secondary mirror points. To do this in most telescopes requires the use of a screw driver or hex key to turn the adjustment hardware. This can be a hassle at night, requiring the user to step away from the eyepiece or collimation tool being used, and devote all of their attention to turning these screws. By replacing the screws with Apertura Collimation Knobs, the secondary mirror adjustments can be made by simply turning the knob with one's hand. This makes adjustments fast, safe, and simple; without the risk of dropping a tool down the telescope. After becoming accustomed to the telescope and Apertura Collimation Knobs, users may even find that they are able to make adjustments to the secondary mirror without ever taking eyes off the collimation tool or focuser.
Collimation Knob Installation
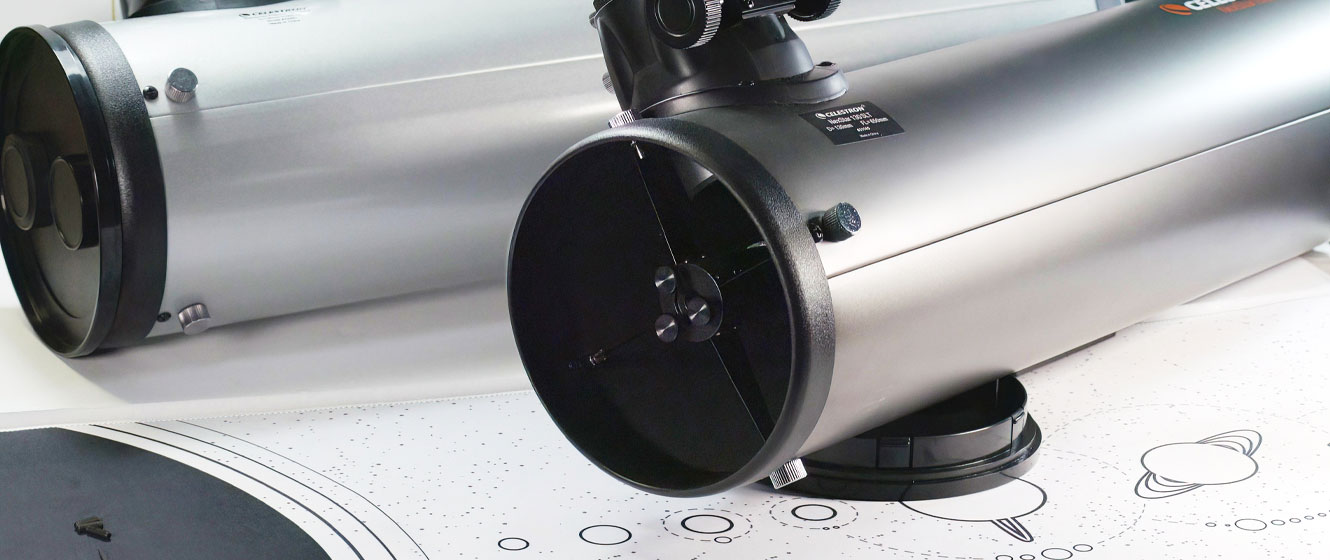
Prior to installing any parts, the scope should be set up in a well lit area. Position the telescope so that the collimation screws can easily be seen. Be sure that the scope is secure and can not fall. It is best to keep the scope in a somewhat horizontal position, so that if a tool or screw is dropped, it is less likely to contact the primary mirror or cause any damage.
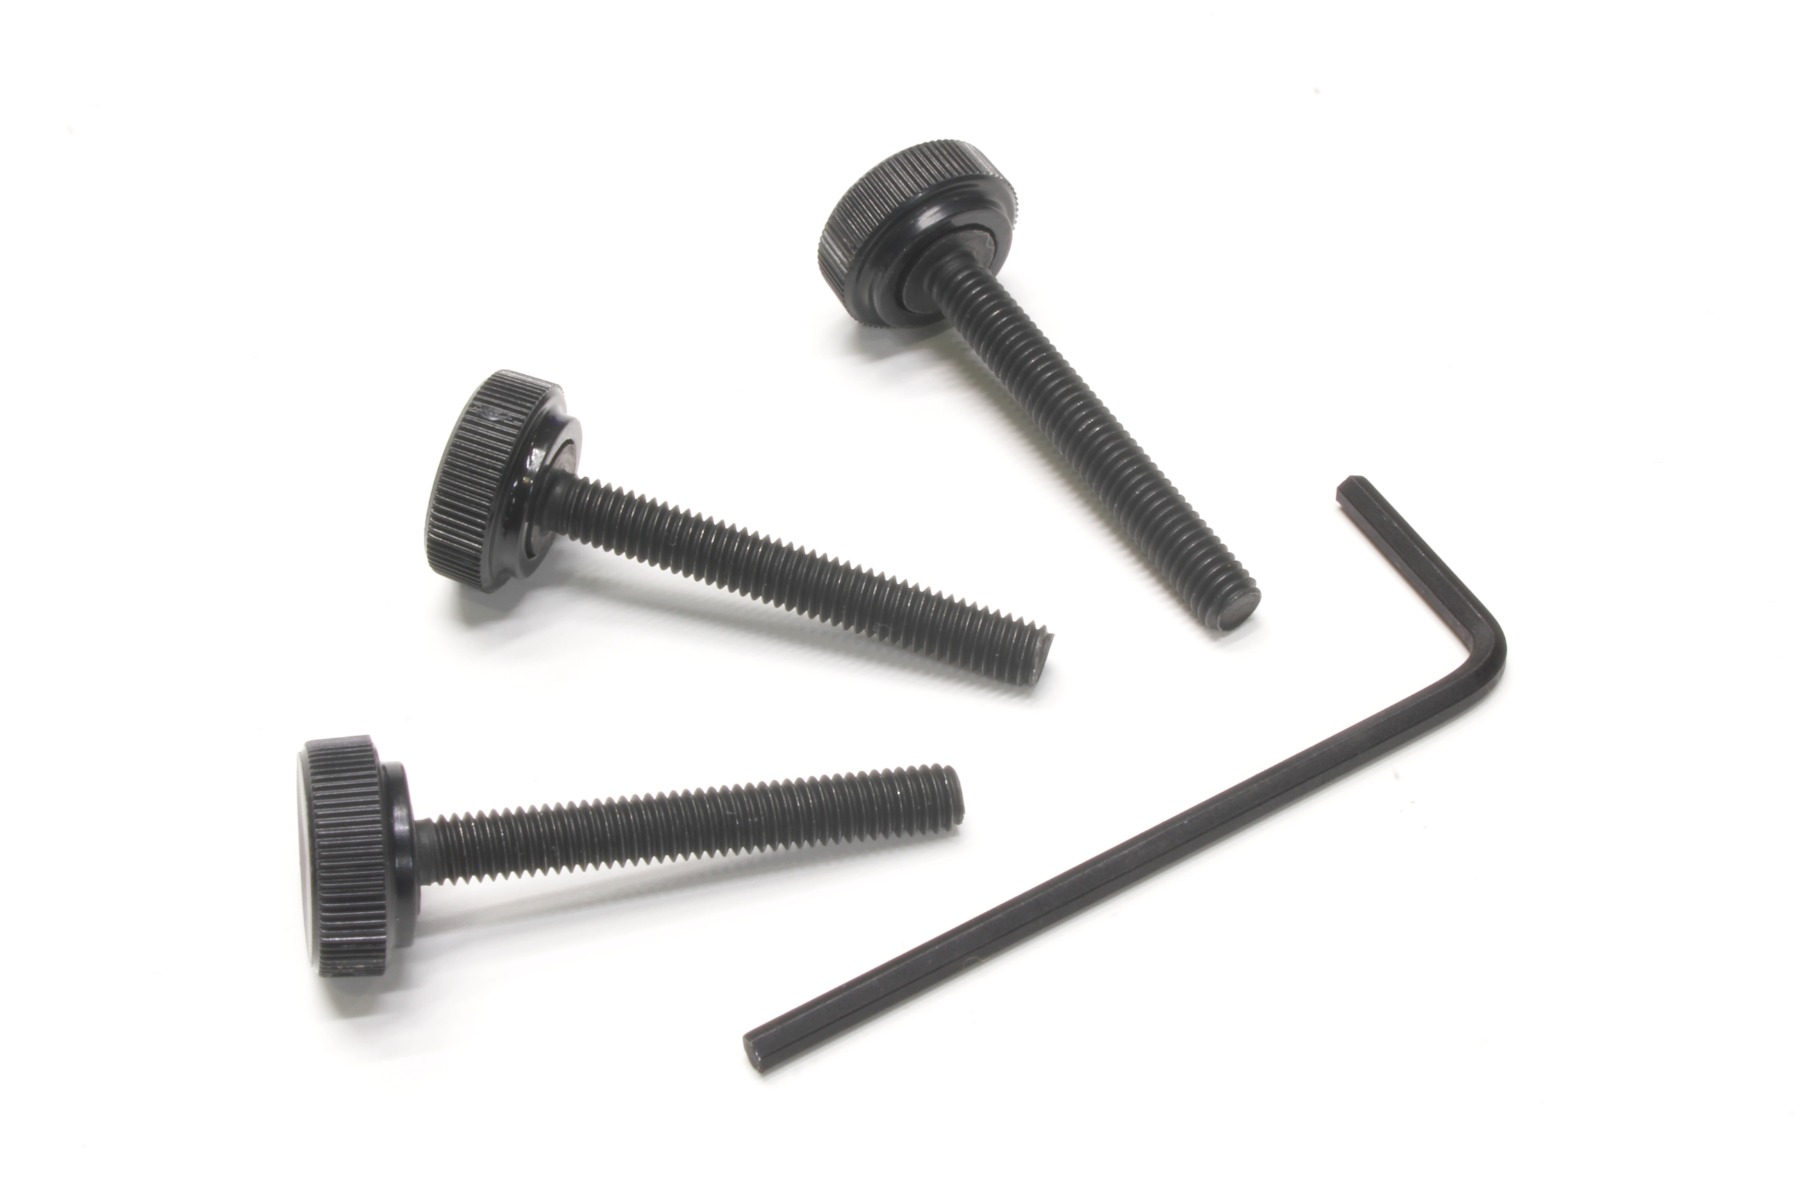
Begin by removing the front cover of the telescope. Take notice of the three small holes on the face of the secondary hub, plus the one central screw. The central screw should never be tightened or loosed unless there is a very good reason to do so. The hex head screws are recessed in each of the three holes. Included in the Apertura 130SLT/DX Collimation Knob Upgrade Kit is a 2mm hex key. This tool is necessary to remove the factory collimation screws.
Note: The secondary mirror can rotate when any of the three collimation screws are loose. The first step in collimating the telescope might require the secondary rotation to be corrected by loosening a single screw, and then rotating the secondary mirror so that it faces the focuser as it did prior to the collimation screw installation.
Do not remove all three screws at once!
Before installation please take the time to familiarize yourself with the collimation adjustments of your telescope, and what the properly collimated telescope looks like when viewed through the focuser and through the front of the tube, with no eyepiece in place.
Start by removing one of the three hex head screws. After the first screw is removed, double check the thread pitch of the upgrade collimation knobs with the factory screw that was removed in the previous step. The thumb screw will be longer, but the thread spacing and size should be the same between the two. The thread on both screws should mesh together; they should fit evenly across the length.
Thread the replacement knob into place. If any resistance is encountered while installing the knobs, please remove the knob, check for debris and try the installation process again. Once the knob is installed it should be snug but not extremely tight. Continue to replace the screws one at a time until all three have been changed to the upgraded knobs.
Now your telescope can be collimated using your favorite method


If you have any questions or are unsure of the procedure after reading the instructions, please do not hesitate to contact one of our Gear Experts. We would be happy to speak with you about the installation of this product.

Contributing Writers
 Vincent
Giordano
This Article was Last Updated on 08/17/2023