The universe is like a vast ocean just waiting to be explored, and if you’re just starting your journey, you’re probably eager to get your feet wet. But as with every new adventure, it’s a good idea to seek the advice of others who have sailed that ocean before you.
With this in mind, we’ve compiled the top 25 tips for beginners in astronomy. There are many others, and it’s always a good idea to join a local club or society to get more help, but here’s our advice to help you start your astronomical adventure.
Part I - Go Outside and Stare at the Stars
1. Wrap up warm
This might sound obvious during the winter, but it’s often also true during the summer months, especially in the early hours of the morning. Wearing layers is recommended, as the gaps between the layers can trap warm air and keep it close to your body. Hot drinks can also help (as long as they don’t make you sweat), but you should always avoid alcohol.
Lastly, consider keeping hand warmers in your pockets; that way, your fingers won’t go numb with cold when the temperature drops!
2. Find somewhere dark
Unless you’re very lucky, the chances are your location has light pollution. This happens when light from nearby buildings, streets, towns, and cities brightens the sky and drowns out the light from fainter stars and objects. This, of course, can make locating and observing your target both difficult and frustrating.
Many amateur astronomers use the Bortle Scale to determine the quality of their sky, with websites like ClearDarkSky and DarkSky providing info that can help you find a better location. It’s also worth joining a local astronomical society, as they’ll often have a dark sky site they’ll visit on a regular basis.
3. Let your eyes adapt to the dark
Regardless of where you are, you’ll see a lot more if you allow your eyes to properly adapt to the dark. When you first step outside from a bright interior, it can be hard to see much as the pupils of your eyes need time to dilate. Once your eyes are properly dilated, more light can enter, and you’ll be able to see fainter objects and details.
The amount of time this takes will vary, depending on your age, but as a general rule, you’ll notice some improvement after five or ten minutes. However, it can take between 20 and 30 minutes for your eyes to become fully dark-adapted. (The older you are, the longer it will take.)
4. Use a red flashlight
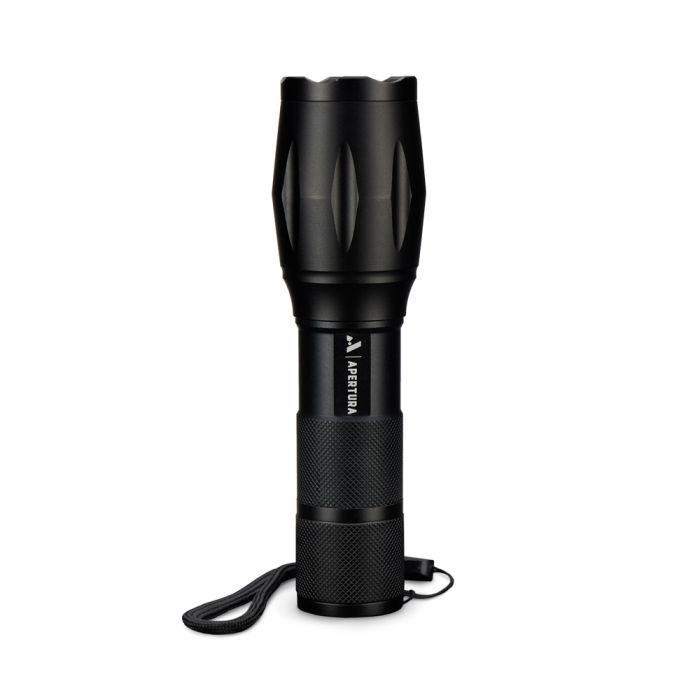
Once your eyes are fully dark-adapted, you’ll want to keep them that way. You should, therefore, avoid using a regular white-light flashlight, as this will almost instantly ruin your dark-adapted vision (and most likely leave you dazzled). Fortunately, since your eyes are least sensitive to red light, you can safely use a red flashlight without any issues (it’s a good idea to keep the brightness low, though, just in case).
Similarly, you should avoid looking directly at the Moon and only use your cell phone if absolutely necessary. Some astronomy apps have a night mode, which turns the screen red, but the screen will most likely revert to its regular brightness if you exit the app.
5. Relax in a recliner
If you’re going to literally stargaze or watch for shooting stars, you’ll want to be comfortable, and nothing beats a recliner. Obviously, this is very impractical for a telescope (and it’s a little restrictive for binocular astronomy), but there’s something to be said for simply lying under a blanket and reclining to stare at the stars - especially if you’ve got younger kids with you.
Part II - Familiarize Yourself With the Night Sky
6. Download an app or buy a star chart
This might seem to contradict the advice of tip #4, but using an app (such as SkySafari) can help you learn the constellations and, consequently, navigate your way across the sky. Many will have a Compass feature, so you can then point your phone toward the sky, and the app will highlight the constellation and identify objects for you.
This can be a great tool for learning the night sky, but once you know your way around, you should leave your cell phone in your pocket or risk losing your night vision.
At that point, it’s a better idea to use a star chart, as this can help you navigate your way to your target without losing your night vision. Be sure to use one that has black stars printed on a white background (rather than white or colored stars on a dark background), as this will be easier to see in the dark with a red flashlight.
7. Learn the phases of the Moon and when they’re visible
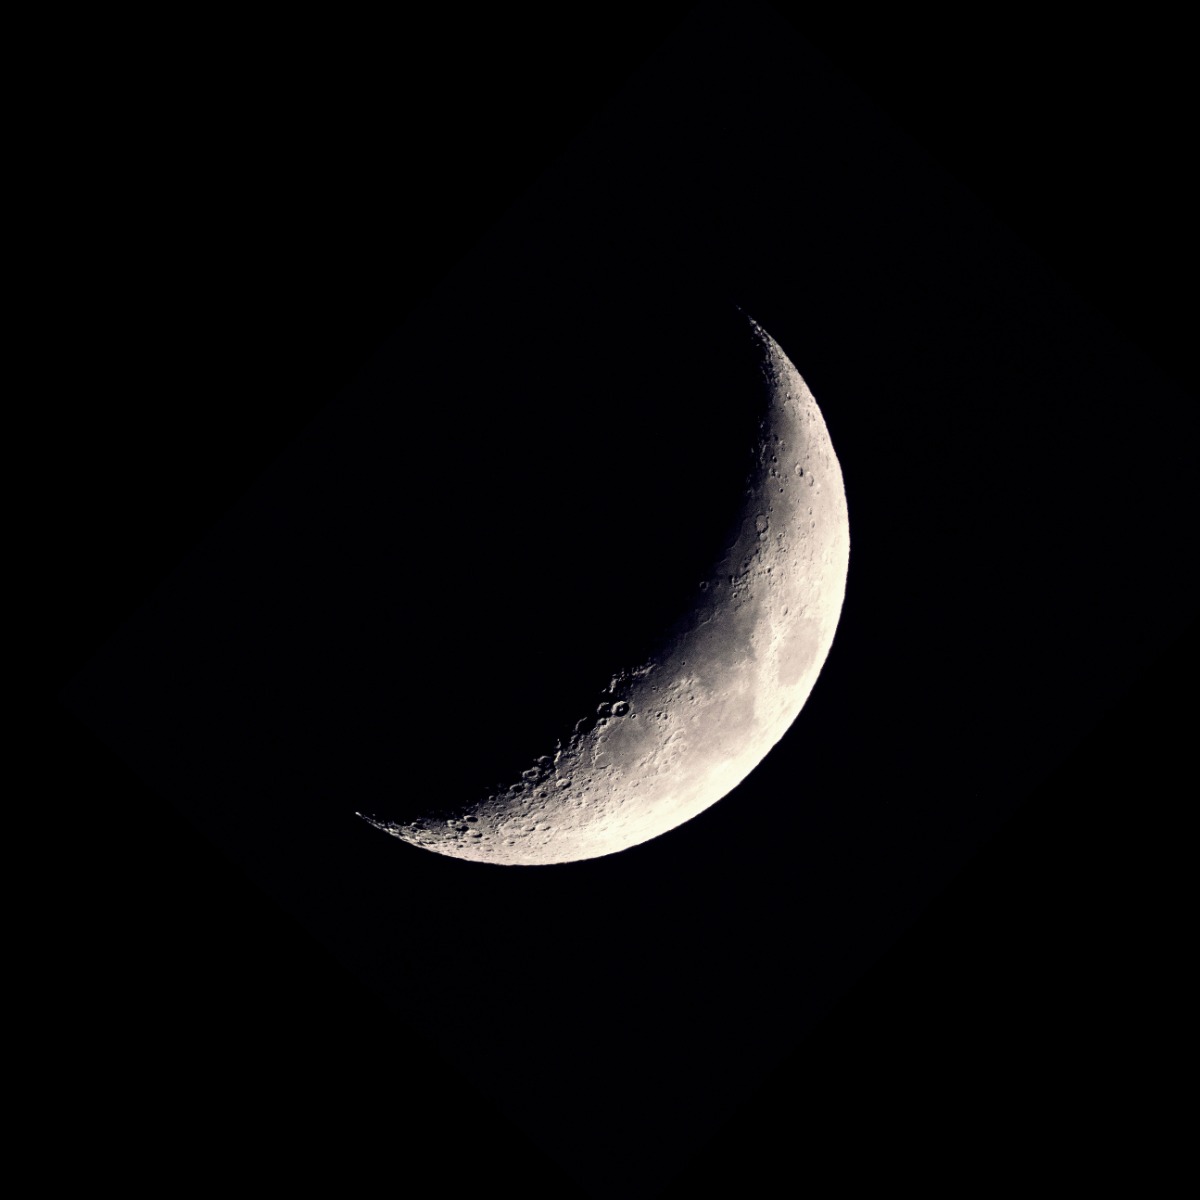
You’ve probably heard of the full Moon, new Moon, and crescent Moon, but what about the other phases of the Moon? It takes just under 30 days for the Moon to complete its cycle of phases: New Moon, Waxing Crescent, First Quarter, Waxing Gibbous, Full Moon, Waning Gibbous, Last Quarter, Waning Crescent, and then New Moon again.
A waxing Moon is when the Moon appears fuller, from day to day, and is visible in the evening sky. A waning Moon is when the Moon appears thinner from day to day and is visible in the morning sky.
The best time to look at the Moon is during the crescent phases and first/last quarters, as this is when shadows are cast over the craters on its surface and the Moon can appear quite spectacular. Conversely, the worst time for any kind of astronomy is when the Moon is full, or a gibbous, as it brightens the sky and makes it hard to see fainter stars and objects.
8. Learn to identify the planets
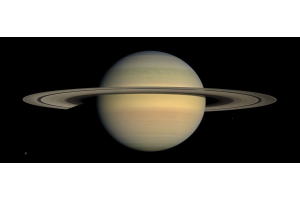
There are eight planets in the solar system, including the Earth, and five of those—Mercury, Venus, Mars, Jupiter, and Saturn—are visible to the naked eye. Mercury and Venus orbit closer to the Sun than the Earth, so they never stray far from the Sun in the sky and are only visible in the morning or evening twilight. Under the right conditions, Mars, Jupiter, and Saturn are each visible throughout the entire night.
On average, the planets appear brighter than stars, so if you’re just getting into astronomy, you’ll want to learn how to identify them to avoid confusing them with any of the surrounding stars. Plus, of course, you’ll want to observe them telescopically, and to do that, you’ll need to know how to identify them first. It’s also worth knowing that they each have their own colors, and unless they’re low over the horizon, planets don’t appear to twinkle.
9. Learn to identify the brightest stars
Tying in with Tip #8, you’ll want to identify the brightest stars, as they can act as markers in different ways. Firstly, when you’re learning astronomy, the brightest stars will help you to identify the constellation they belong to. Secondly, one of the first things amateur astronomers do when they step outside is to look for the brightest stars, as this gives us our bearings.
Lastly, if you’re using a GoTo telescope, you’ll need to align it with a few bright stars before you begin your observing session. For example, the telescope may ask you to align it with Arcturus and Spica, but if you don’t know how to find them, you may be out of luck.
(Incidentally, some GoTos will allow you to point the telescope toward any bright star in the sky, and it will identify it for you, but there’s a chance the telescope could misidentify the star in question.)
10. Learn to identify the constellations
Once you know how to find the brightest stars and planets, you can use this knowledge to identify the constellations. For example, the planets always move among the stars of the zodiac constellations, so knowing how to find the planets can help you identify the constellations they’re currently moving through.
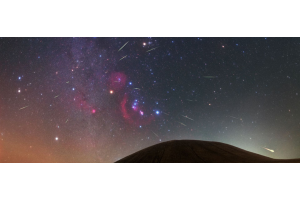
When it comes to the other constellations, it’s a good idea to first learn to identify Orion the Hunter and the Big Dipper (the seven brightest stars of Ursa Major, the Great Bear.) These, in turn, can help you to find other stars and constellations in the sky.
For example, the three stars of Orion’s belt point to Aldebaran in Taurus and Sirius in Canis Major, while the pointer stars of the Big Dipper famously point to Polaris, the Pole Star, located in Ursa Minor.
Part III - Learn to Navigate the Celestial Ocean
11. Learn the constellations of the seasons
There are a handful of constellations that, depending on your latitude, may be visible on almost any given night. Called circumpolar constellations, they appear to rotate around the celestial pole throughout the night. In the northern hemisphere, these constellations (Ursa Major, Ursa Minor, Cassiopeia, Cepheus, and Draco - plus a few much fainter ones) circle about Polaris.
However, the vast majority of constellations are seasonal. For example, in the northern hemisphere, Orion and Gemini are winter constellations, Leo and Virgo are best seen in spring, Sagittarius and Scorpius belong to summer, while Pegasus and Andromeda are visible throughout the fall. Knowing when these constellations are visible will give you a better idea of what you can observe on any given night.
12. Learn to star hop
When you star hop, you hop from star to star, essentially creating a path to the object you want to observe. This is an essential skill that will allow you to find faint targets that would otherwise remain difficult to locate. In fact, by using the Big Dipper or Orion to locate other stars and constellations, you’ve already had a little practice.
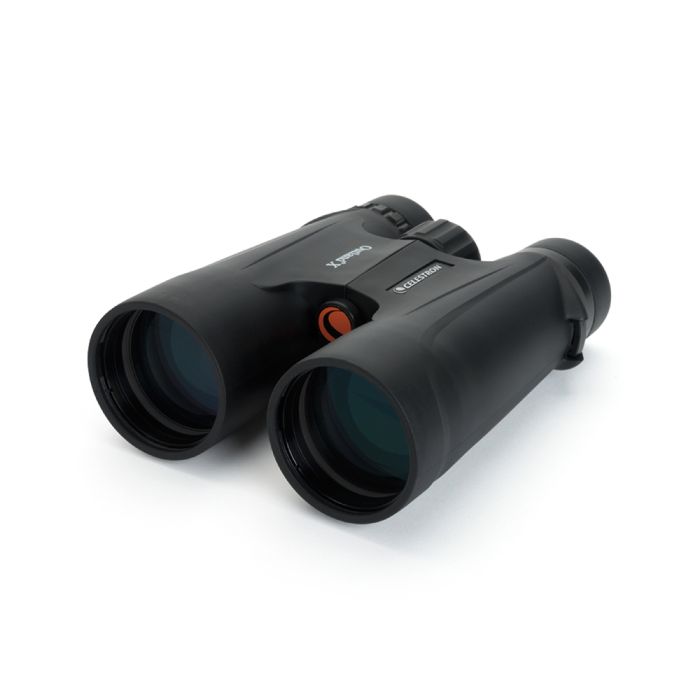
While a lot of deep sky objects can be found very close to bright stars, there are hundreds more that require a little star hopping. For example, to find the Coathanger, you should first start with the star Albireo, at the southern tip of Cygnus. Within the same 10x50 binocular field of view is Anser, the brightest star in Vulpecula. Keep moving in the same direction by about the same distance, and you’ll come to the Coathanger.
13. Learn the basic terms
Astronomy is full of terms that can sometimes sound quite technical, but the most common ones are easy to understand. For example, magnitude indicates the brightness of an object; the lower the number, the brighter it is. Opposition is when an object is directly opposite the Sun in the sky and is, therefore, visible throughout the night. You’ll hear that it is frequently used in relation to the planets Mars, Jupiter, Saturn, Uranus, and Neptune.
A conjunction is when two objects appear very close to one another, while an occultation is when one object passes in front of another, hiding it from view. You’ll often hear both these terms referring to an event involving the Moon. Gibbous is when the Moon is between half and full, while both transit time and culmination refer to when an object is at its highest in the sky.
14. Learn the different types of deep sky objects
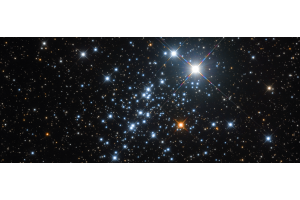
Besides the Moon and planets, there are thousands of objects just waiting to be found. For example, there are multiple stars, where a star that appears single to the naked eye can be split into at least two components through binoculars or a telescope. An open star cluster is an irregularly shaped group of young stars (often hundreds) gravitationally bound together, while a globular star cluster contains hundreds of thousands of older stars and is spherical in shape.
Emission nebulae and reflection nebulae are vast clouds of gas and dust from which the stars are born, while planetary nebulae are spherical shells of gas dispelled by stars in the final stages of their lives. Supernovae remnants are exactly that - the remains of a star that has exploded.
Lastly, galaxies come in all shapes and sizes. Irregular galaxies have no discernable shape, while elliptical galaxies are oval. Spiral galaxies have arms that wrap around their cores, while a barred spiral has a bar that crosses the center of the core.
15. Find your way with binoculars
You’ll probably want to jump right in and buy a telescope, but binoculars might be a better choice if you’re not already familiar with the sky. Unless you know what to look for, how to find it, and what it will look like, buying a telescope too soon can sometimes lead to frustration and disappointment. Although binoculars won’t provide the magnification of a telescope, they have a number of vital roles that astronomers of all experience levels can appreciate.
Firstly, they’re an excellent grab ‘n go option. Sometimes, there’s a brief gap in the clouds, or you simply don’t have enough time to properly set up your telescope. Or maybe you’re traveling and aren’t able to take your scope with you. Secondly, they can help you to find objects that you haven’t seen before or are having trouble locating. With their wider field of view, it’s much easier to star hop with binoculars than it is with even a low-powered eyepiece or finderscope.
Part IV - Learn How to Use a Telescope
16. Know the magnification of your eyepieces
When you’re shopping around for a telescope, you might want the most powerful one you can buy, but the telescope itself is really only half the story. Essentially, the magnification you’ll get depends on the focal length of both the telescope and the eyepiece you’re using. The focal length of the telescope should be printed on a label on the side of the telescope tube, usually close to where the eyepiece is attached, while the focal length of the eyepiece is typically printed on the barrel of the eyepiece itself.
To calculate the magnification, you’ll need to divide the focal length of the telescope by the focal length of the eyepiece. For example, if you’re using an eyepiece with a focal length of 10mm and a telescope that has a focal length of 1,000 mm, the magnification will be 100x (1,000 / 10 = 100). Obviously, then, different eyepieces will produce different magnifications, especially when used with different telescopes.
17. Align your finderscope and chill
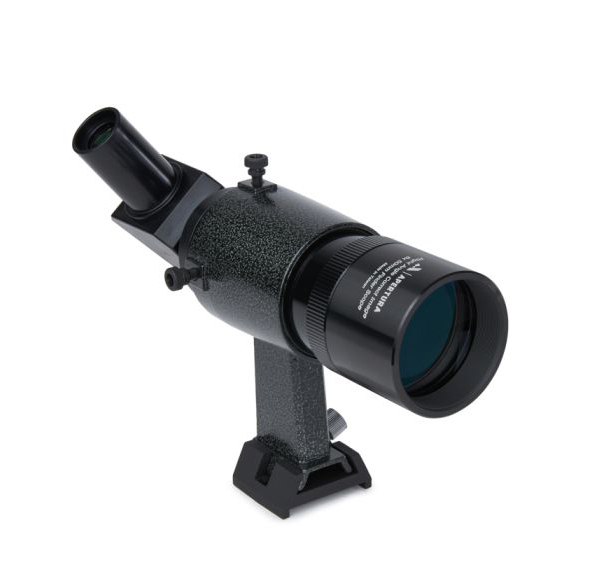
Once you have your telescope, you’ll want to get outside as soon as possible to try it out for the first time (this is called first light.) But before you do, you’ll need to align the finderscope, and this is best done during the day.
After attaching it to the telescope, aim the finder toward a terrestrial object, such as a distant building. Attach the lowest powered eyepiece (see tip #16) to your telescope and look to see if it’s in the center. If not, move the telescope until it is. You’ll then need to adjust the finderscope until your target is also in the center there. If you don’t first align the finderscope during the day, you’ll have a hard time locating any targets at night!
If you have a reflector telescope and you’re storing it indoors, you’ll also need to allow for “cool down” time. During the cooler months, the temperature indoors will likely be warmer than outside, and warm air will become trapped inside the telescope tube.
If you immediately start observing, this warm air can distort the image. By taking your telescope outside for an hour or more beforehand you allow time for the air inside the tube to cool down and reach the same ambient air temperature outside, resulting in a clearer image.
18. Use a low-magnification eyepiece first
When you first turn your telescope toward a target, always make sure you have your lowest-magnification eyepiece attached to the telescope. This will be the eyepiece with the longest focal length—see tip #16. For example, a 20mm eyepiece has a longer focal length than a 10mm and will give a lower magnification.
Your target might appear in the center of your finderscope, but your eyepiece will provide a much smaller view of the sky, and your target might well be off-center. If the finderscope needs re-aligning, your target might not even be within the field of view at all.
Using a low-powered eyepiece makes finding your target a lot easier, as there’s a much greater chance it’ll appear somewhere within the field of view. And if it’s just outside the field of view, it’s much easier to adjust the scope and have your target appear. Once your target is in the center, you can switch to a higher power. (Incidentally, another important aspect of using a low magnification eyepiece is that it’s generally easier to focus - see tip #19.)
19. Focus on a star
Focusing on the Moon, a planet, or a star cluster is relatively straightforward, but what if you’re looking at something that appears a little misty? Nebulae, galaxies, and globular clusters all tend to look ill-defined and almost smoky in appearance, which makes them harder to focus on. The solution is to focus on a star instead.
Although the star may be closer than your target, it makes little to no difference when it comes to focus, and by focusing on the star, you’re also bringing your target into sharp focus, too.
Just be aware that if you switch eyepieces, you’ll need to focus again. Rather than jumping straight to the highest magnification, use a mid-magnification eyepiece instead. This will make focusing easier, as you’re essentially focusing in stages rather than trying to make a large adjustment in a single go.
20. Lower your expectations and avert your vision
You may have become interested in astronomy after seeing images of space online, on TV, or in books, but it’s worth knowing that you won’t get the same views through your telescope. The images you’ve seen have been produced with expensive equipment that is far more sensitive to light and color than your own eyes, and the chances are you won’t see nearly as much detail, and what you see will be gray. (Stars, however, will show some color.)
If you want to see more detail, try using averted vision. This is when you look at something out of the “corner” of your eye. That’s because the rods in the outer edges of your retina are far more sensitive to light than the cones at the center, so if you look away but keep your attention on your target, you will most likely see more.
Part V - Accessorize Your Scope
21. Don’t be dazzled by the Moon
When you’re outside, you’ll want to protect your night vision at all costs. While a red flashlight (see tip #4) is essential, it’s hard to avoid the biggest source of night-time light there is - the Moon. You’ll naturally want to observe the Moon (and it comes highly recommended!), but if you simply turn your telescope toward it and look through the eyepiece, you’ll be dazzled, and your night vision will be ruined.
That’s where a Moon filter comes in. This inexpensive accessory is a life-saver, as it blocks the vast majority of light, allowing you to comfortably observe the Moon without being dazzled by it. Be aware that some will tint the Moon (often a greenish color) but that a neutral density filter will keep the Moon’s natural color.

22. Don’t settle for standard eyepieces
Your telescope manufacturer most likely shipped it with a couple of eyepieces, but realistically, you paid for the telescope. The eyepieces are simply there to get you started, and while they’re probably of acceptable quality, they’re certainly not the best. With this in mind, almost every amateur astronomer will invest in something better.
Realistically, you should probably have at least three eyepieces of long, mid-, and short focal lengths. For example, a good selection would be 20mm, 15mm, and 10mm eyepieces, as these will give you a decent range of magnifications (see also tip #23.)
However, be aware that eyepieces can be very expensive, and there’s little point in buying a top-of-the-range eyepiece if your telescope isn’t of similar quality. Set your budget and then check the reviews to find the ones best suited for you.
23. Power up with a Barlow
A Barlow lens is probably one of the best accessories any amateur astronomer can have, as it will multiply the magnification of any eyepiece attached to it. How much the magnification will be boosted depends on the Barlow itself, but they are commonly available as 2x, 3x, and 5x. In other words, a 2x Barlow will double the magnification of any eyepiece attached to it, a 3x will triple it, and 5x will increase the magnification by a factor of 5.
Better yet, you’ll retain the wide field of view that comes with eyepieces of longer focal length. For example, let’s say a 20mm eyepiece gives you a magnification of 50x, while a 10mm eyepiece gives you 100x. The 10mm gives you double the magnification, but the field of view is much smaller, and it can be harder to focus. By using the 20mm with a 2x barlow, you’ll get 100x while keeping the same field of view and ease of magnification.
24. Get a better view with filters
You’ve already heard of a Moon filter, but there are other filters available that can also help you bring the most out of your target. For example, most of us suffer from light pollution, which can make observing nebulae and galaxies difficult, to say the least. You can, however, purchase a light pollution filter that will block the wavelengths of light that are commonly associated with artificial lighting.
Colored filters can help to bring out details that would otherwise remain hidden and can be a particular boon when it comes to planetary observing. For example, a dark blue filter can help to prise out details in the cloudtops of Venus and Jupiter, and can be particularly useful when trying to observe Jupiter’s Great Red Spot.
Final Thought - Take Your Time
25. Patience is a virtue
The universe is an estimated 13.8 billion years old, and it’s not going anywhere anytime soon. With this in mind, there’s an awful lot to see, and you won’t see it all in one night or even one year. Some objects will take time and experience to track down, and when you do, you should reward yourself by taking your time at the eyepiece.
The longer you look, the more detail you’ll see, and it’s always worth coming back to the same target more than once. For one thing, some objects will become favorites you’ll return to every time they’re visible, while others will provide better views on different nights, depending on the conditions at the time.
And lastly, sometimes, it’s simply a matter of experience. The more you look, the more you’ll see. The more you see, the more you’ll learn, and ultimately, the more you’ll find yourself rewarded for your trouble. Before too long, you’ll find yourself wanting to simply sail that celestial ocean every night and will challenge yourself to discover and explore new shores.
Learn More
Interested in learning more about astronomy and astrophotography? Not sure where to begin? Check out our Astronomy Hub!


