- Please read this document to the end prior to starting any work.
- Be sure to carefully check the function of the new fan before doing any work.
- This process will require a couple of simple tools and a clean place to work.
- The telescope will need to be collimated after the fan has been replaced.
Step One
Remove the Phillips head screws that hold the primary mirror cell to the Optical Tube Assembly. Be sure to support the mirror cell and ring as you remove the last few screws so that the cell and mirror do not fall out of the telescope and become damaged.
Once the screws have been removed slowly and carefully, then remove the cell and mirror from the telescope and place on a flat, clean work area. Be careful not to touch the face of the mirror while doing this.
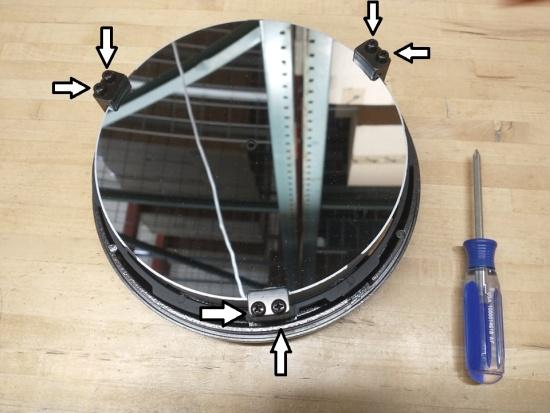
Step Two
Remove the two screws in each of the three mirror clips. Be careful to not slip with the screwdriver.
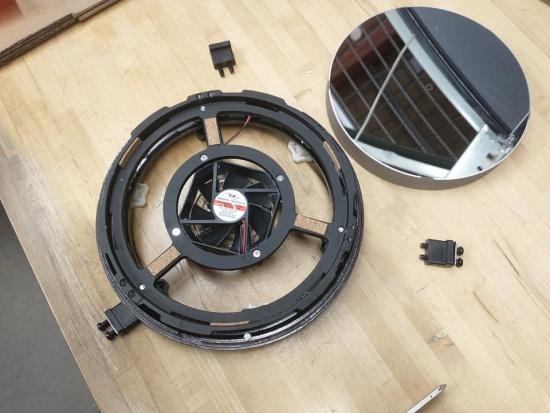
Step Three
Once the screws have been removed, lift each mirror clip out of the cell. Carefully remove the mirror from the cell by lifting it straight up out of the cell, and placing it down on a clean flat surface.
Step Four
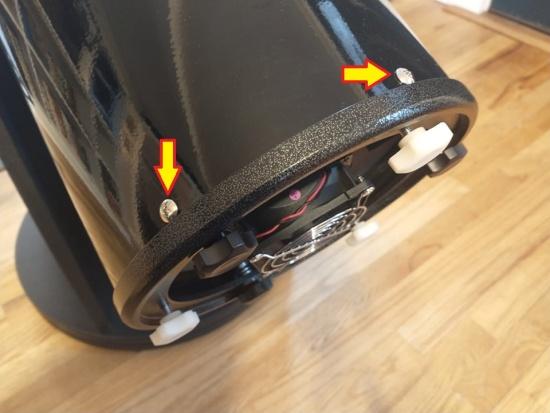
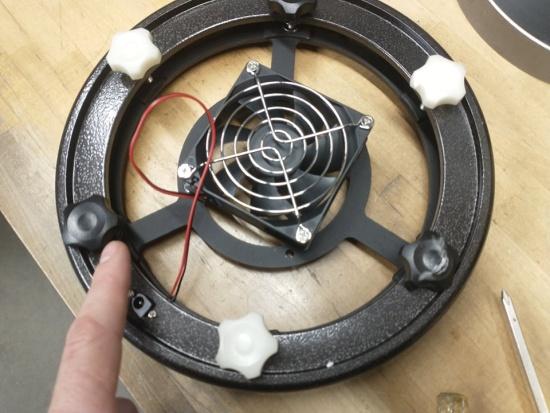
Flip the mirror cell over, face down, and remove the two small Phillips screws that hold the fan’s power connector in place.
Step Five
Turn each of the highlighted thumb screws 5 - 7 turns counterclockwise each to loosen. Do not loosen all of the screws by this amount – only the two indicated screws. This will allow the two rings to be separated enough to remove the power connector as seen in the next step.
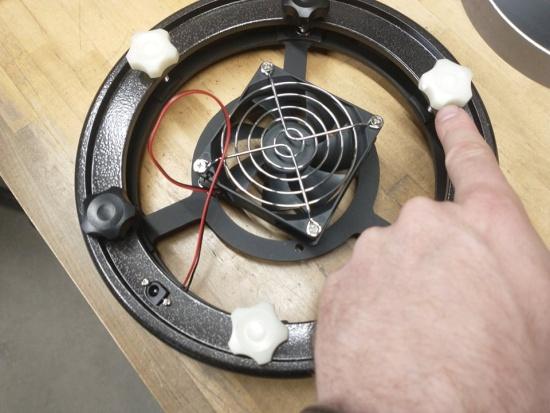
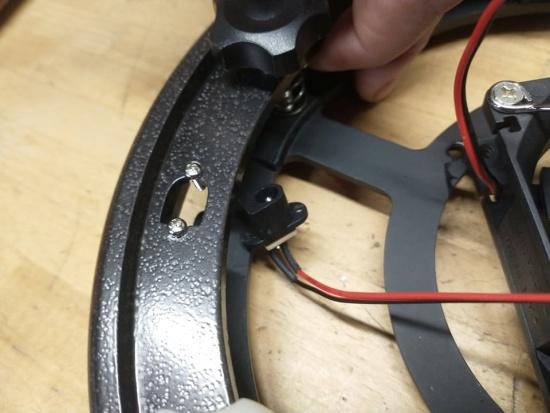
Step Six
Gently spread the two rings at the position of the connector so that it can drop down and be tilted out of the back ring.
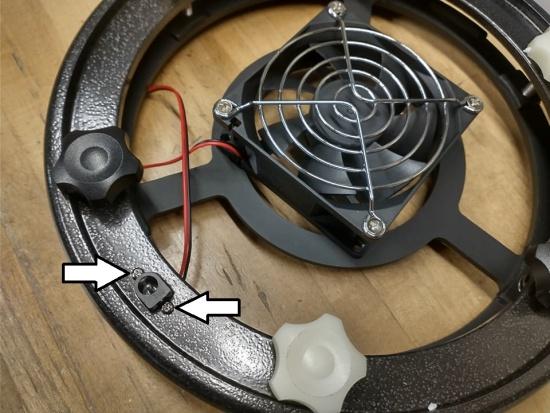
Step Seven
Flip the primary mirror cell and backplate back over, so that the four screws that hold the fan into place can be removed.
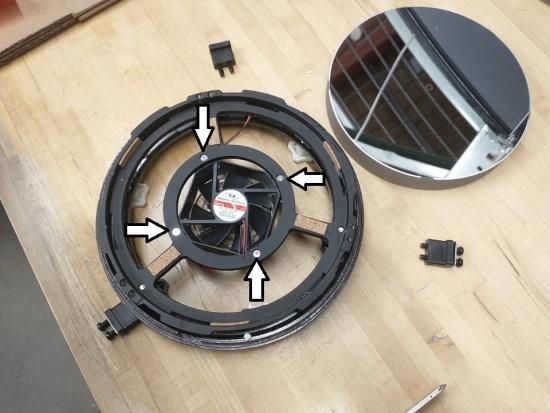
Step Eight
Install the four screws that hold the new fan in place – working backward through this procedure from here. Check the collimation of the primary mirror once the scope has been reassembled.

Questions? Contact Us!
If you followed this guide you should be all set; but if you run into any issues, don’t be afraid to contact us to take advantage of the lifetime tech support we offer with every purchase!