Did you know that your Sky-Watcher EQ6-R Pro Mount can be controlled from your PC? Our team has assembled this step-by-step guide breaking down exactly how you can connect your devices and improve your imaging sessions!
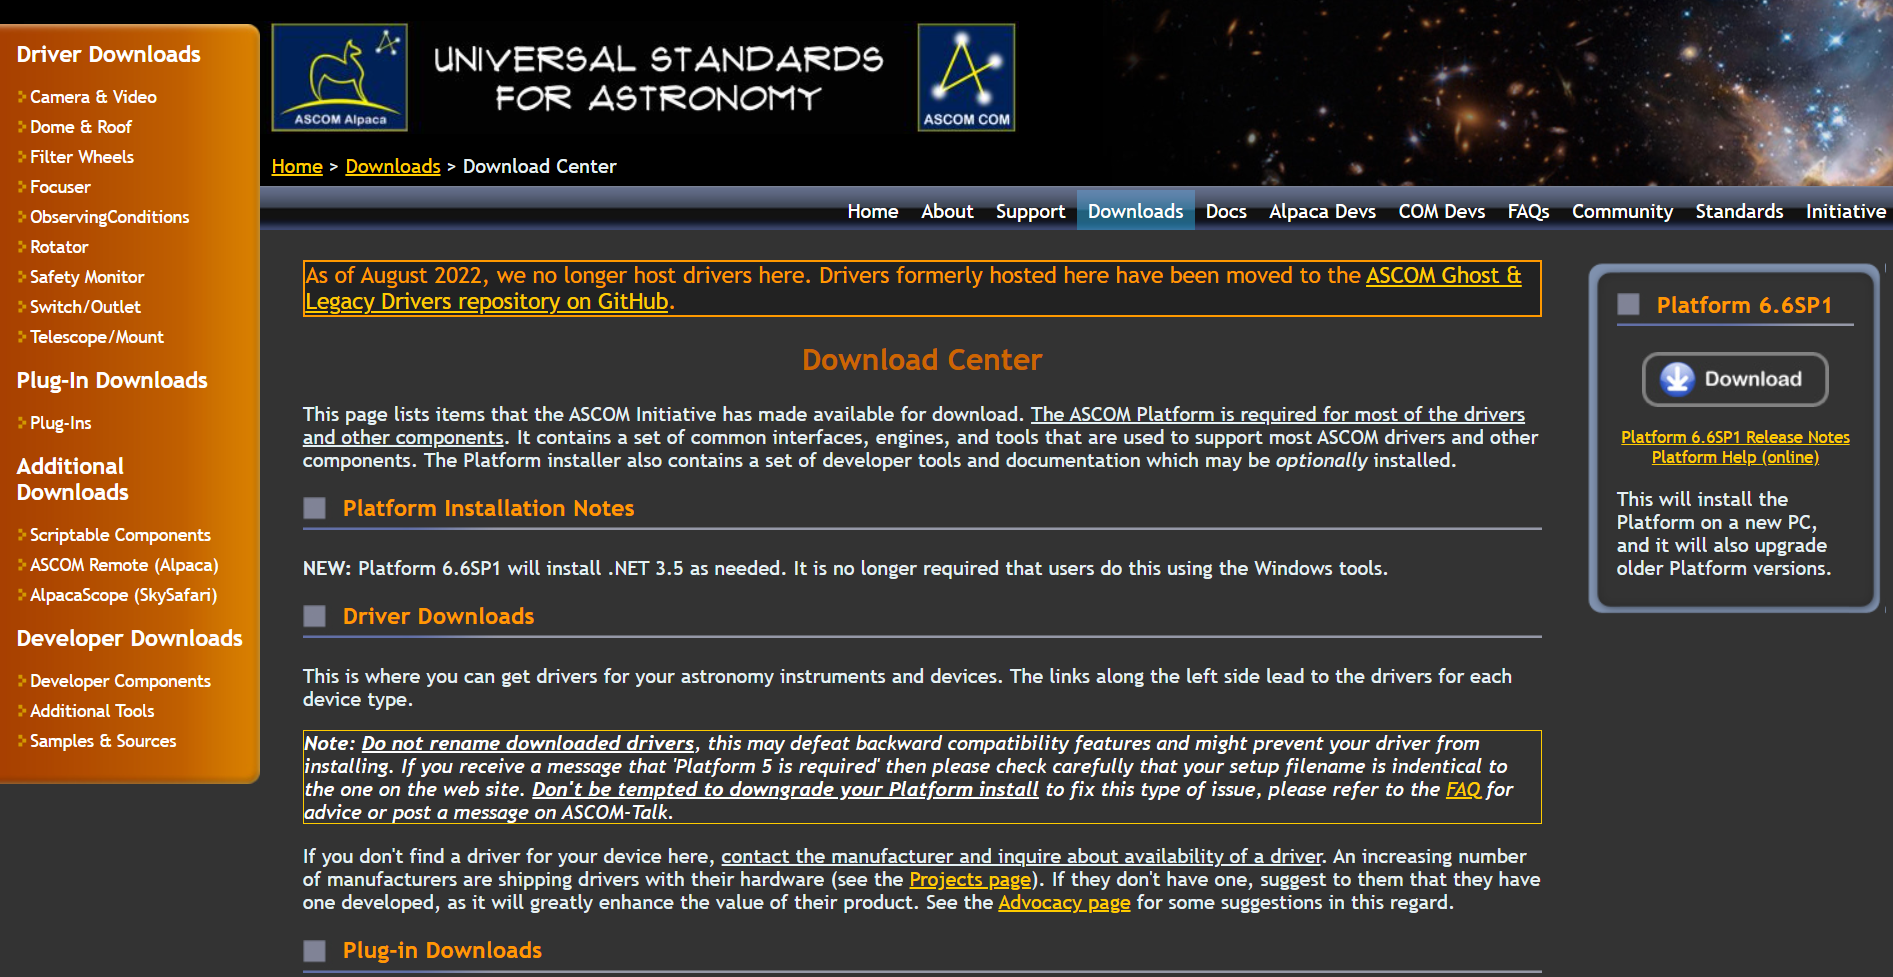
Step 1: Download and install ASCOM. The link should be on the right hand side of the page.
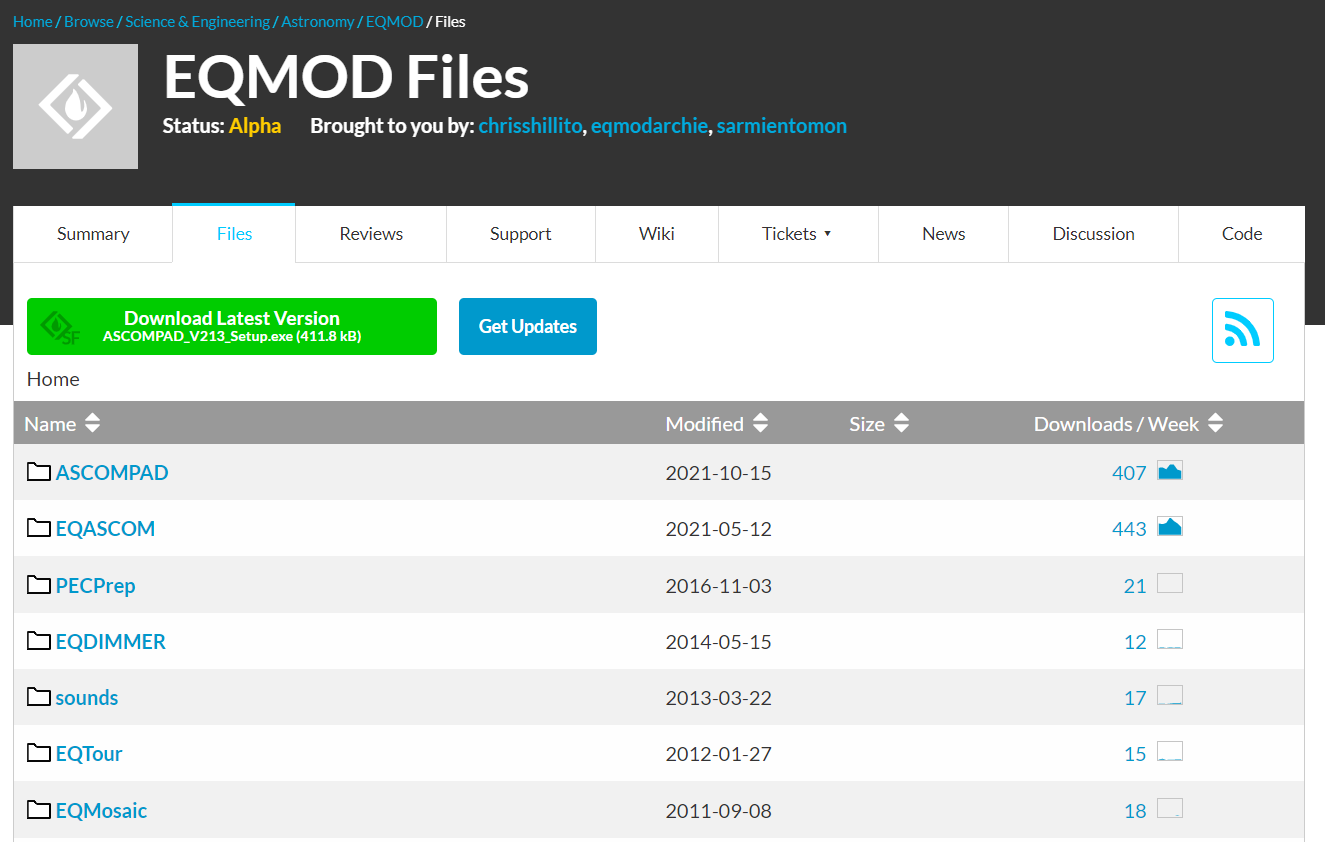
Step 2: Download and Install EQASCOM (Often referred to as EQMOD) from Sourceforge.com. Please note that this is not the first file listed.
Step 3: With everything now installed, it is time to connect the mount. Start by ensuring the mount is set in the "Home Position” (Upright and forward/North).
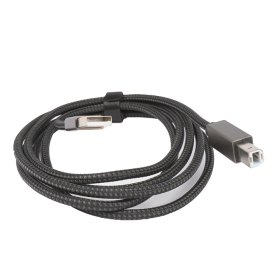
Step 4: Plug the mount into the PC using USB cable.
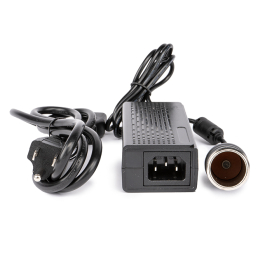
Step 5: Connect mount to Power and turn the mount on with the power switch on the side panel.
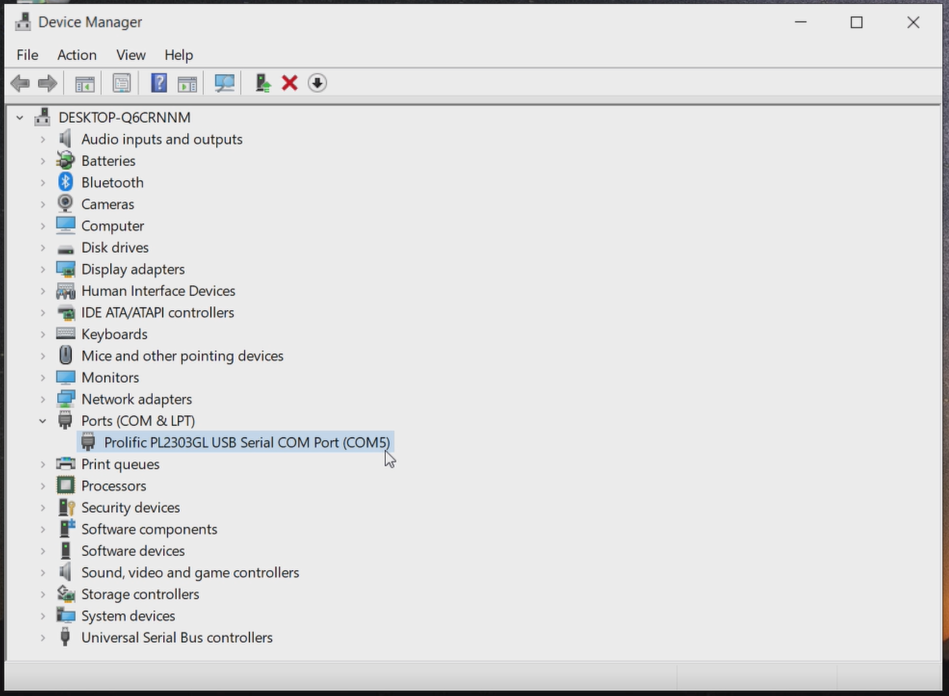
Step 6: On your Windows Computer, use the search bar to open "Device Manager". Look for the "Ports (Com and LPT)" tab. Find "Prolific PL2303GL USB Serial COM Port (COM#). It will be listed as (COM1) or (COM4) or other possible numbers. Write this COM# down for later use.
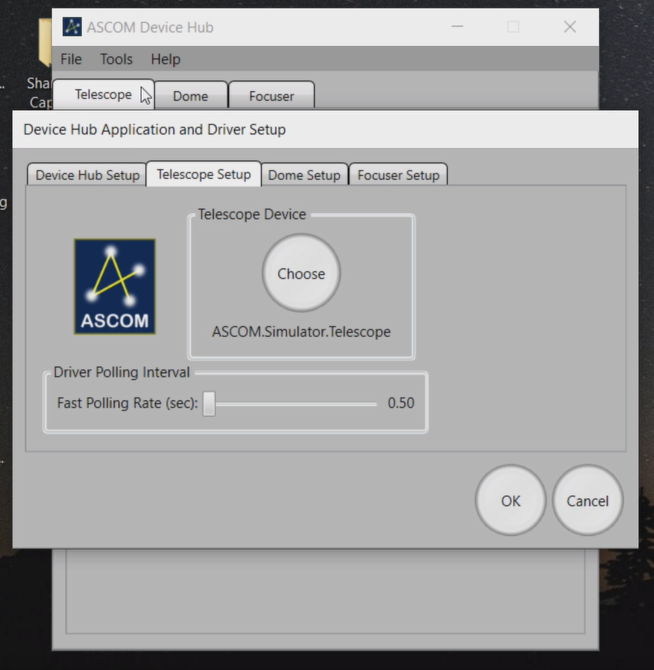
Step 7: Using the Windows Search Bar, open the ASCOM Device Hub. Select the Tools tab and select Setup. This will open the Device Hub Application and Driver Setup window. Select "Telescope Setup" tab. Under "Telescope Device" click on the "Choose" button.
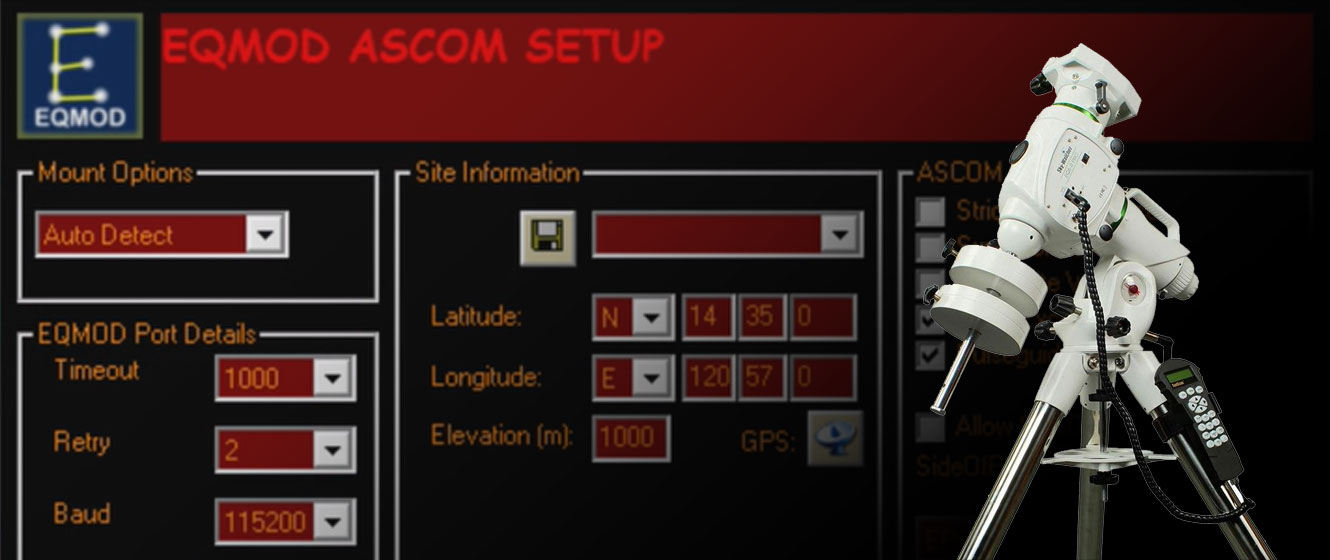
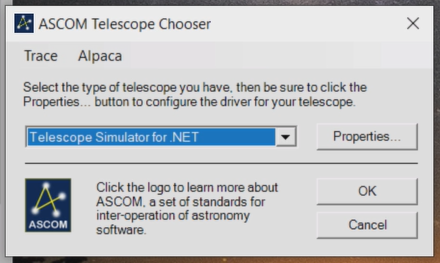
Step 8: The ASCOM Telescope Chooser window should now be open. Select "EQMOD ASCOM HEQ5/6, then click on "Properties."
 Click to Enlarge Image
 Click to Enlarge Image
 Click to Enlarge Image
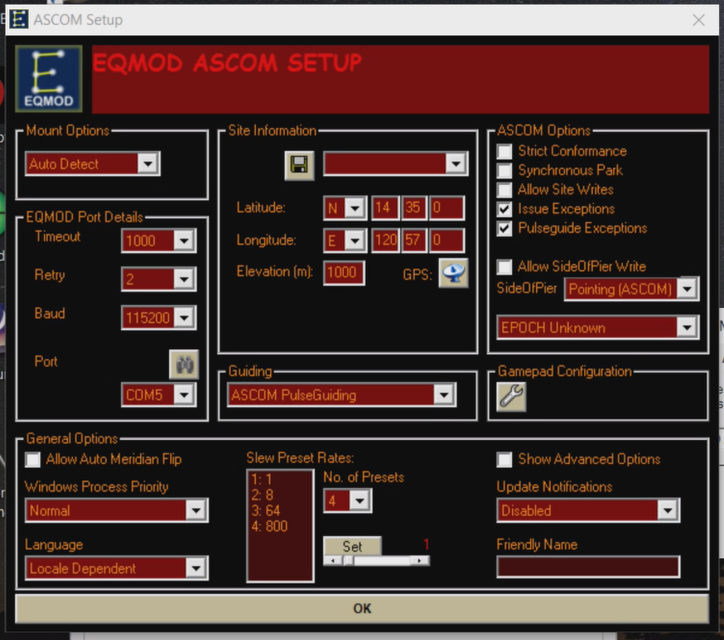
Step 9: The ASCOM Setup window should now be open. You will see black and red coloring. Mount options should say "Auto Detect."
Step 10: Adjust the settings of the EQMOD Port Details as follows: Timeout - 1000, Retry - 2, Baud - 115200, Port - Insert the COM# from Step 6 earlier in this guide.
Step 11: The Site Information section can be found at www.websiteforlatlongelevation.com. Use this website to determine the latitude, longitude, and elevation.
Step 12: For Guiding, select ASCOM Pulse Guiding.
Step 13: All other setting can be left as they are.
Step 14: Click the "OK" bar across the bottom of this window. Click "OK" in the ASCOM Telescope Chooser window. Click "OK" in the Device Hub Application and Driver Setup window.
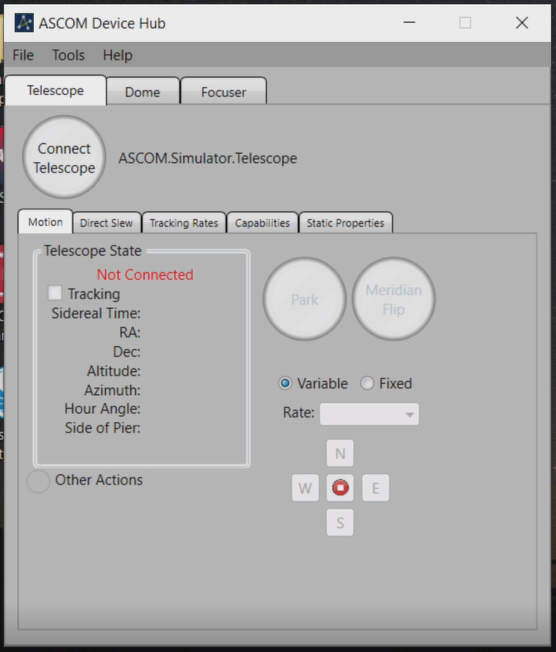
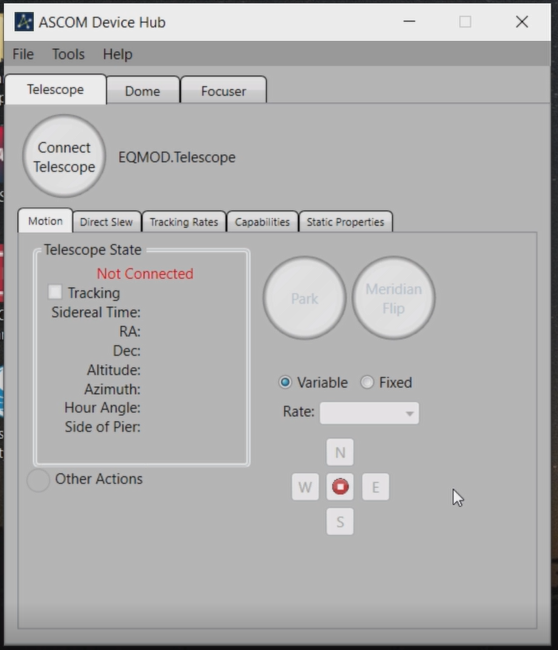
Step 15: Click Connect Telescope in the ASCOM Device Hub window.
 Click to Enlarge Image
 Click to Enlarge Image
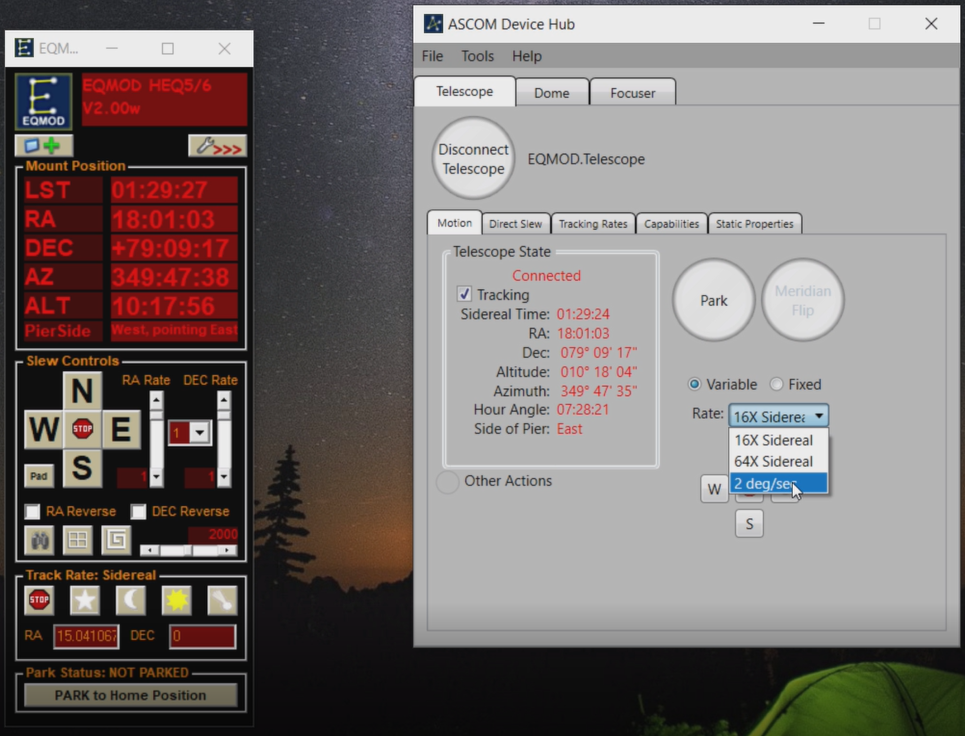
Step 16: Telescope State should change to red lettering "Connected" and show positional information below it. On the bottom right side of the window there is a "Rate" drop down menu. Click on this and select 2deg/sec. Press any of the four directions and watch the telescope move under commands from your PC!
Step 17: You might have also noticed that a tall and narrow "EQMOD HEQ5/6" window had opened when you connected to the mount. This is normal and the main "Command Center" for the mount. Slew rates and directions can also be selected from this window. In this window, be sure that "Sidereal" is selected under the "Track Rate" section.
 Click to Enlarge Image
You can now set up your favorite astronomy software to interface with the EQ6-R Pro Mount! From here out the connection process is much simpler and would generally occur directly in the astronomy software of your choosing.
Did you know you can also control your Sky-Watcher EQ6-R through Wi-Fi? Check out our step-by-step guide to learn how!

Contributing Writers
 Vincent
Giordano
This Article was Last Updated on 07/20/2023