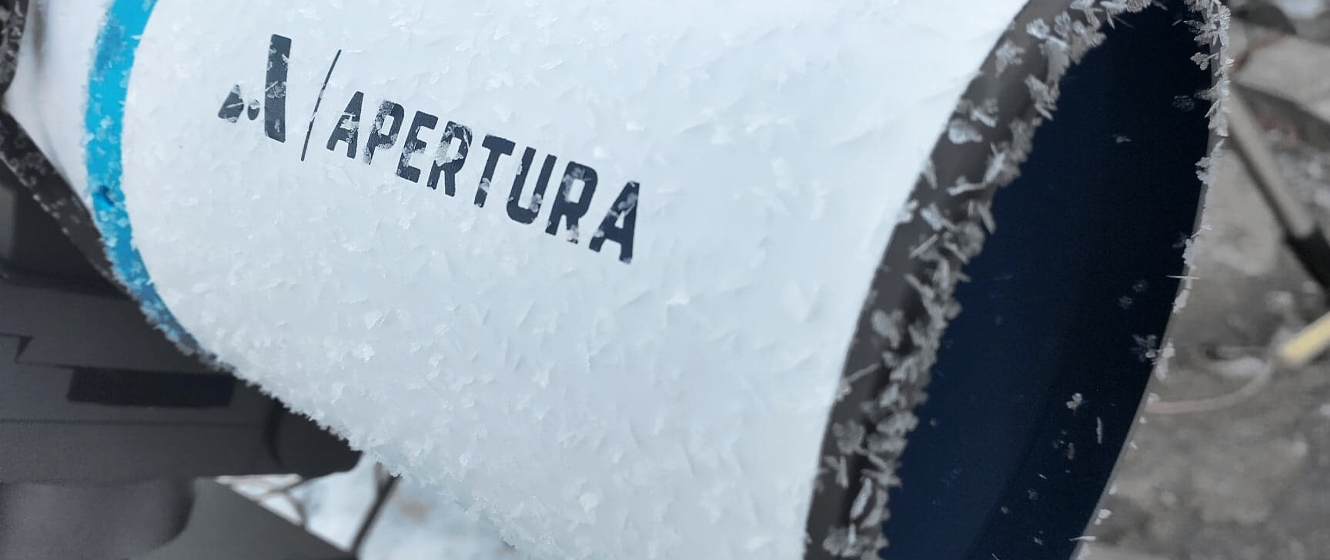
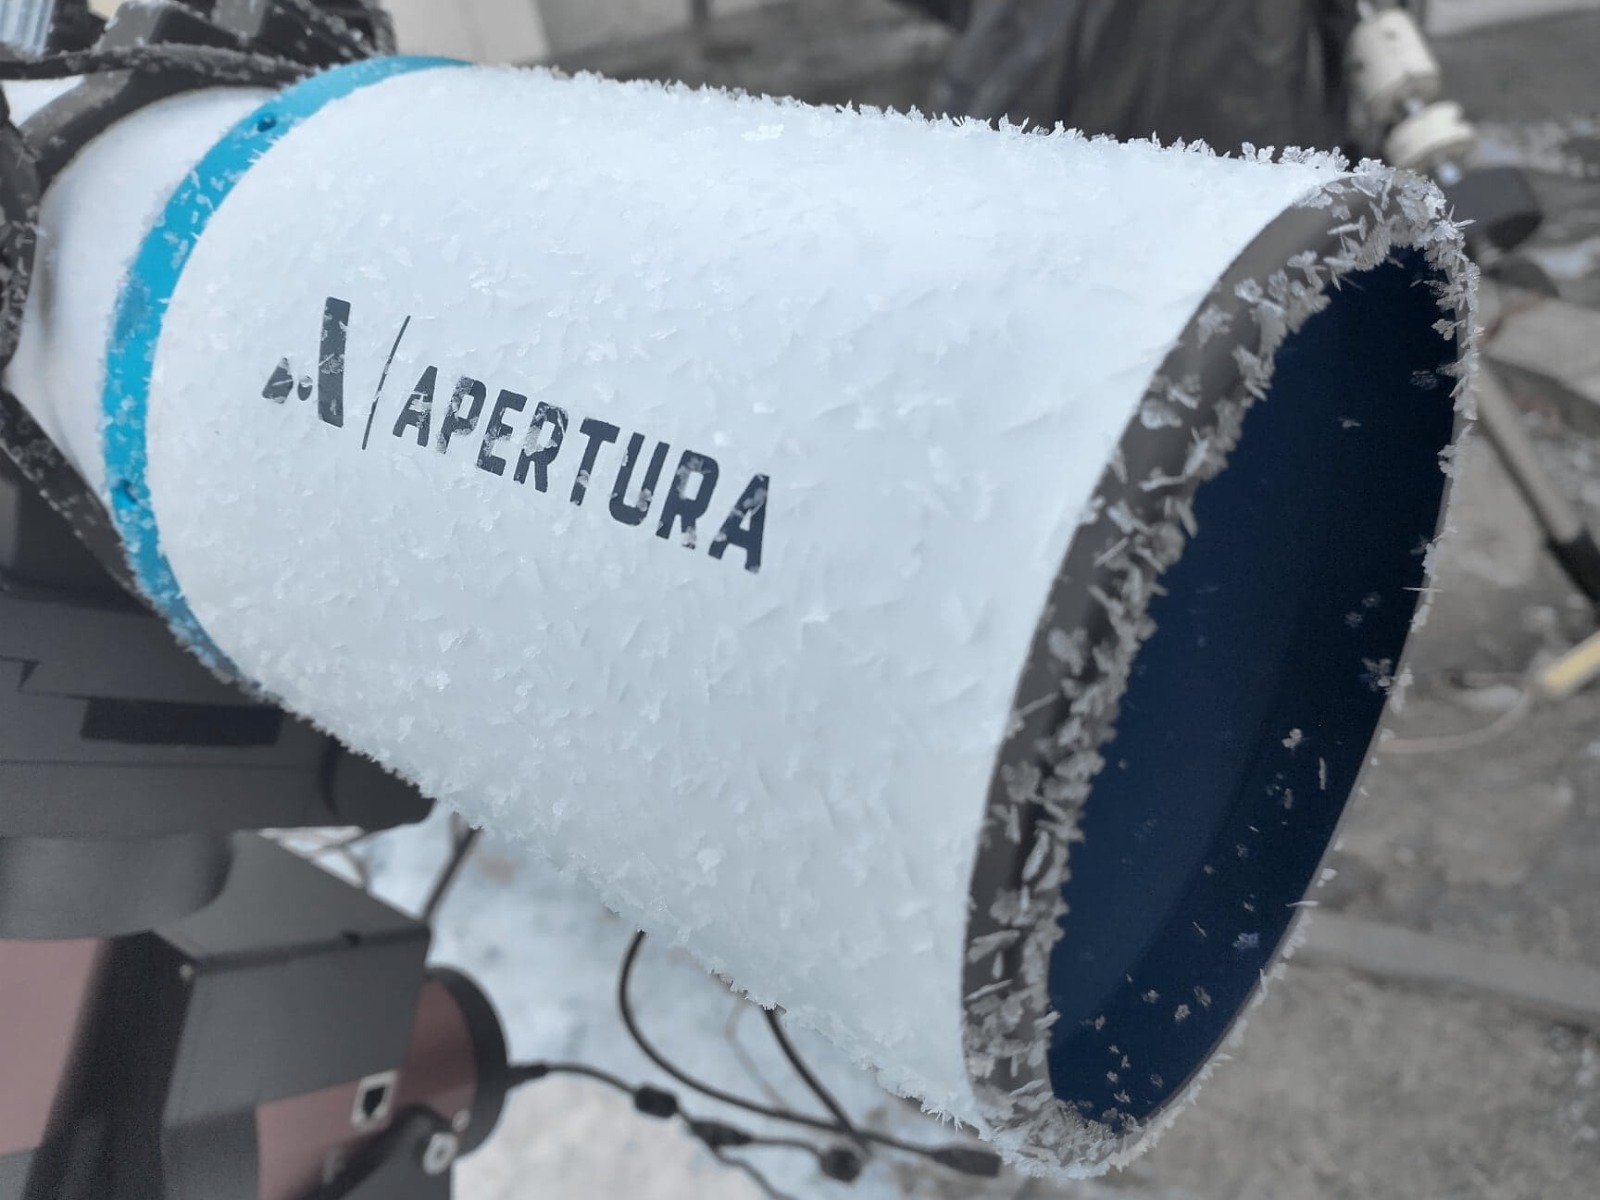
Dew can be an absolute nightmare for any amateur astronomer; this includes visual astronomers as well as astrophotographers. Looking through your eyepiece, you’ll notice that the views will be significantly less clear, with what appears to be a film drawn across your field of view. Many objects will completely disappear, and planets and bright stars will have weird fuzzy halos around them.
Imagine that it was a clear, starry night and you were getting ready for an imaging session with your telescope. You had been preparing for this night for weeks, as you had just received a new ZWO ASI 533MC Pro camera. Everything was set up and ready to go. You were so excited to capture the beauty of the night sky. As you began to adjust the optics, you noticed that there was dew on the lenses. Your heart sank. You knew that dew would ruin your photos. Then, you remembered a tip you had read online about using a hair dryer to remove dew.
You quickly grabbed a hair dryer, set it to low heat, and gently blew warm air on the lenses. It took a few minutes, but as the dew evaporated, the lenses became clear and you were able to continue your astrophotography session, for a little while. After some time your photos began to fuzz again and the optics required more gentle heat. This repeated heating continued every half hour, throughout the night. The sky was incredible, the stars were shining bright and the Milky Way was in all its glory. You were able to capture some beautiful shots and couldn't be happier. But while the hair dryer saved that night, it required constant maintenance and there are other, much more efficient methods to mitigate dew buildup that this article will discuss.
What is Dew?
Dew is a form of precipitation in which water vapor deposits and forms droplets on surfaces such as grass, leaves, and other objects. You can most noticeably see it when you wake up shortly after sunrise. Your grass, car, and other objects might be saturated to the point where you might think it just rained.
How Dew and Frost Forms
Dew primarily is a concern on warm, humid nights; however, it can form on any night where the temperature drops and objects cool. Dew forms when the temperature of the surface is lower than the dew point, the temperature at which air becomes saturated with water vapor. Dew is most commonly formed at night. Dew is also formed when air is cooled by contact with a colder surface, such as a metal or, more concerning for us, a glass surface like our lenses and mirrors.
Frost is formed when the temperature of the surface that the moisture condenses on is below freezing. Frost forms when the surface is cooled by contact with cold air, and it is usually formed on surfaces that are above the ground, such as windows, car windshields and metal surfaces. Frost droplets are typically larger and more crystalline than dew droplets. However, both have potential to ruin your astronomy for the night, and this article's recommended prevention methods will be applicable to both.
The Dew Point
The dew point is the temperature at which air becomes saturated with water vapor and dew begins to form. At this point, the air can no longer hold all of the water vapor it contains, and the excess vapor condenses into droplets on surfaces close to the ground, such as grass, leaves, and other objects. The dew point temperature is a measure of the amount of moisture in the air, and it is related to the relative humidity. The higher the relative humidity, the closer the air temperature is to the dew point, and the more likely it is that dew or frost will form.
Have you ever noticed that areas that are covered usually don't have dew on them?
Why is that? Well, there are several explanations for this. One could be radiation and reflection of heat. All objects emit thermal radiation, your gear (especially powered on) is no exception. On the electromagnetic spectrum, this is known as infrared radiation, and all bodies emit thermal radiation, including your gear. This heat will keep the temperature of a body above the dew point, thus preventing some dew buildup. Adding a cover to this area can help to keep this heat in place, forming an insulative boundary of air.
To the contrary, wind can prevent dew from building up by mixing the air and causing the air temperature to rise above the dew point. When wind moves over a surface, it causes the air to mix, which can raise the temperature of the air and prevent it from reaching the dew point. As a result, dew will not form on the surface. Even a weaker wind can also carry moisture away from the surface, further reducing the chance of dew forming. The downside of relying on a steady breeze to prevent moisture buildup is that we leave the optics exposed to the ambient air, which increases the possibility of dew deposition once that breeze settles.
Methods of Dew Prevention
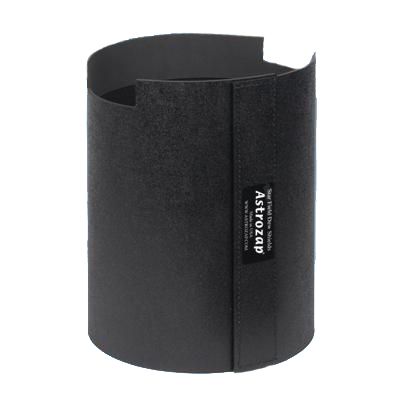
Dew Shields
A dew shield is a quick, easy, and affordable way to lengthen the amount of time you can spend outdoors. While it might not prevent dew buildup the entire night, a dew shield will prevent dew from immediately forming on your front objective lens or corrector plate. The dew shield will also help insulate your telescope by acting as a thermal barrier, keeping it warmer and the temperature of your optics just above ambient temperature. The dew shield also has the added benefit of helping to prevent stray light from entering your optical path, which can increase the contrast of your views. If you live in a climate where dew is not common, then a dew shield might be all you ever need.
Dew Heaters
A dew heater is by far the single best method to prevent dew from building on the optics of small refractors, and is also an excellent method for larger scopes. Dew heaters use electricity to generate heat, which can be precisely controlled to keep the surface of the telescope lens or mirror above the dew point. The use of a dew heater allows for longer observing sessions without interruption, whereas a dew shield may only provide limited protection. This ensures that the telescope optics stay above the dew point for the entire duration of your night. The downside to this is that a dew heater requires some sort of power supply to be able to run.
Some Situations Might Require Both Dew Heaters and Dew Shields
The use of a dew heater in combination with a dew shield is a highly effective method of combating dew because it provides a two-pronged approach to preventing dew formation. The dew shield blocks the flow of cool air over the lens or mirror, and the dew heater raises the temperature of the surface, making it less likely for dew to form. This approach is much more effective than using just one method on its own, as it provides a more comprehensive solution to the problem of dew. For those with a refractor, a dew shield is usually included, thus all you would need to be able to take this two-prong approach is a dew heater. For those with a Schmidt-Cassegrain in a humid or very cold climate, a dew shield and dew heater might be the only way to combat dew forming on the corrector plate.
Picking the Right Dew Heater
“If dew heaters are necessary, how do I find the right one?”
That’s a great question with an easy answer; Dew-Not
Dew-Not Dew Heater Strips are tried and true solutions for combating pesky dew. With the variety of sizes available, you’re sure to find the perfect fit for your eyepiece, guidescope, or telescope!
How do I know what dew strip size to use?
You’ll need to match the size of the dew strip to your telescope. To do this, measure the circumference of your telescope tube with a tape measure. If you find it difficult to wrap the tape measure around your telescope, you can wrap a string around the telescope and mark the string where the ends of the string overlap each other. Then, simply measure the distance between the two marks with the string laid out flat on a table. If you measure the OTA to be about 15 inches in circumference, then you should pick a dew heater that’s at least 15” in length.
Below you will find a list of the different Dew Not dew strip models, and the different measurements of each dew strip. Please note the heating element within the dew strip is 1" shorter than the length of the entire strip. This is important to consider to ensure the chosen heating strip will evenly heat your telescope or eyepiece.
| Designed to Fit | Total Dew Heater Strip Length |
|---|---|
| 30mm Guide Scopes and 1.25" Eyepieces | 6.5” |
| 50mm Guide Scopes and 2" Eyepieces | 9.0” |
| 3” Telescopes | 13.0” |
| 4” Telescopes | 15.4” | 5” Telescopes | 16.75” |
| 6” Telescopes | 20.5” |
| 7" Telescopes | 25.0” |
| 8” Telescopes | 30.0” |
| 9” Telescopes | 33.0” |
| 10” Telescopes | 38.0” |
| 11” Telescopes | 40.0” |
| 12” Telescopes | 43.0” |
| 14” Telescopes | 49.0” |
This Article was Last Updated on 06/10/2024