When it comes to celestial wonders, there are two that are simply unmissable: a total eclipse of the Sun, and its counterpart, a total eclipse of the Moon. However, while total solar eclipses are more spectacular, they’re only visible from within a very narrow path of totality, and totality itself typically only lasts for a few minutes.
In comparison, a total lunar eclipse is visible from anywhere the Moon is above the horizon, and totality can last for over an hour, giving you plenty of time to both enjoy the eclipse and capture the event for posterity.
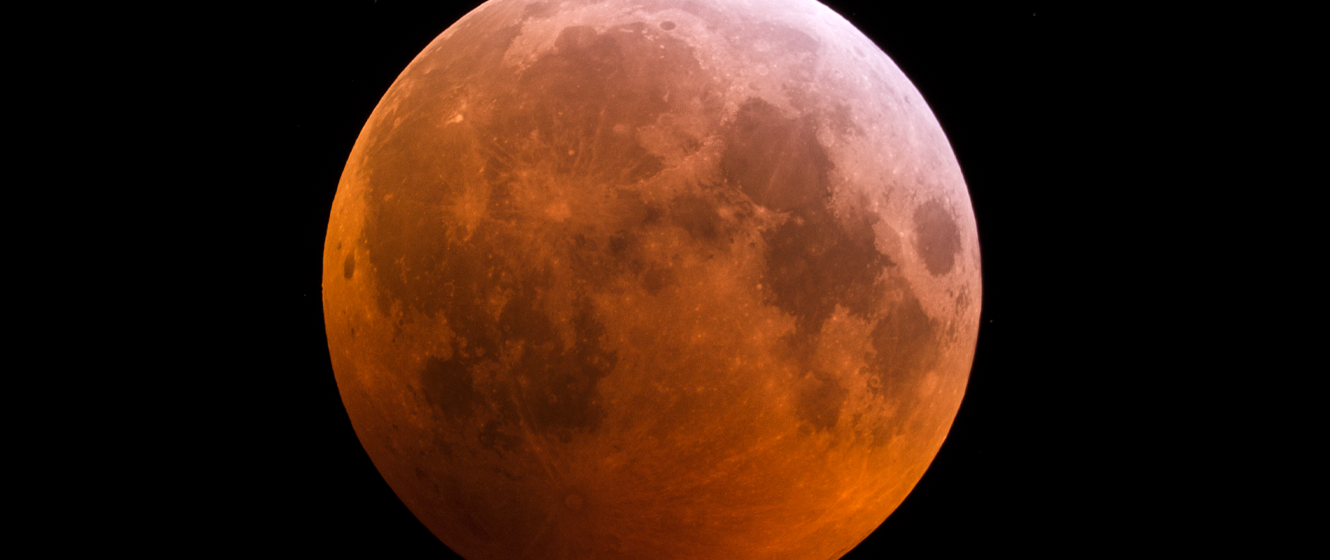
A total lunar eclipse occurs when the Moon passes through the Earth’s shadow, causing the Moon to turn a deep, dark red color (hence its nickname - the “blood moon.”) Although the Moon is in shadow, we can still see it thanks to the Earth’s atmosphere diffracting sunlight. The color is due to the Earth’s atmosphere scattering the shorter wavelengths of light but allowing the longer wavelengths (orange and red) to pass through.
If you’re new to astrophotography, you’re probably looking for ways to photograph a total lunar eclipse for yourself. You can attempt this with just a smartphone, but you’ll probably be disappointed to see the Moon appearing as nothing more than a red blob in your image.
To do better, you’ll need a telescope and a digital camera. This being the case, for the purpose of this article, we’re going to assume you already own some kind of digital camera, such as a Nikon, Canon, or something similar.
1. Automate your eclipse photography
Our first tip is to find some way to automate your eclipse photography. Fortunately, if you have a macOS, you’re in luck. Lunar Eclipse Maestro calculates your exposure time and controls your imaging sequence from start to finish, including adjusting the exposure for you.
Lunar Eclipse Maestro works with most Nikon DSLRs and many Canon DSLRs, but be sure to read their website to learn if your camera is supported. The downside is that the software is only compatible with versions of macOS prior to Catalina.
If you’re using a Windows PC, you’ll need to find another way to automate your photography. For example, you could try your hand at creating your own XML script with DigiCamControl. Alternatively, you can use a script we’ve created as a baseline, and then experiment with it to get the results you want.
If you want a more basic setup and you’re okay with adjusting the exposure manually, you can simply use an intervalometer and adjust the exposure upwards to 2-4 seconds as needed. Doing this should ensure you have nice images of the entire eclipse from start to finish.
2. Find a good foreground object to include in your shot
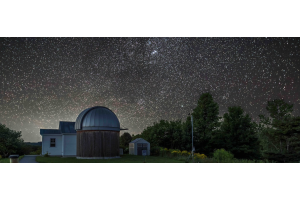
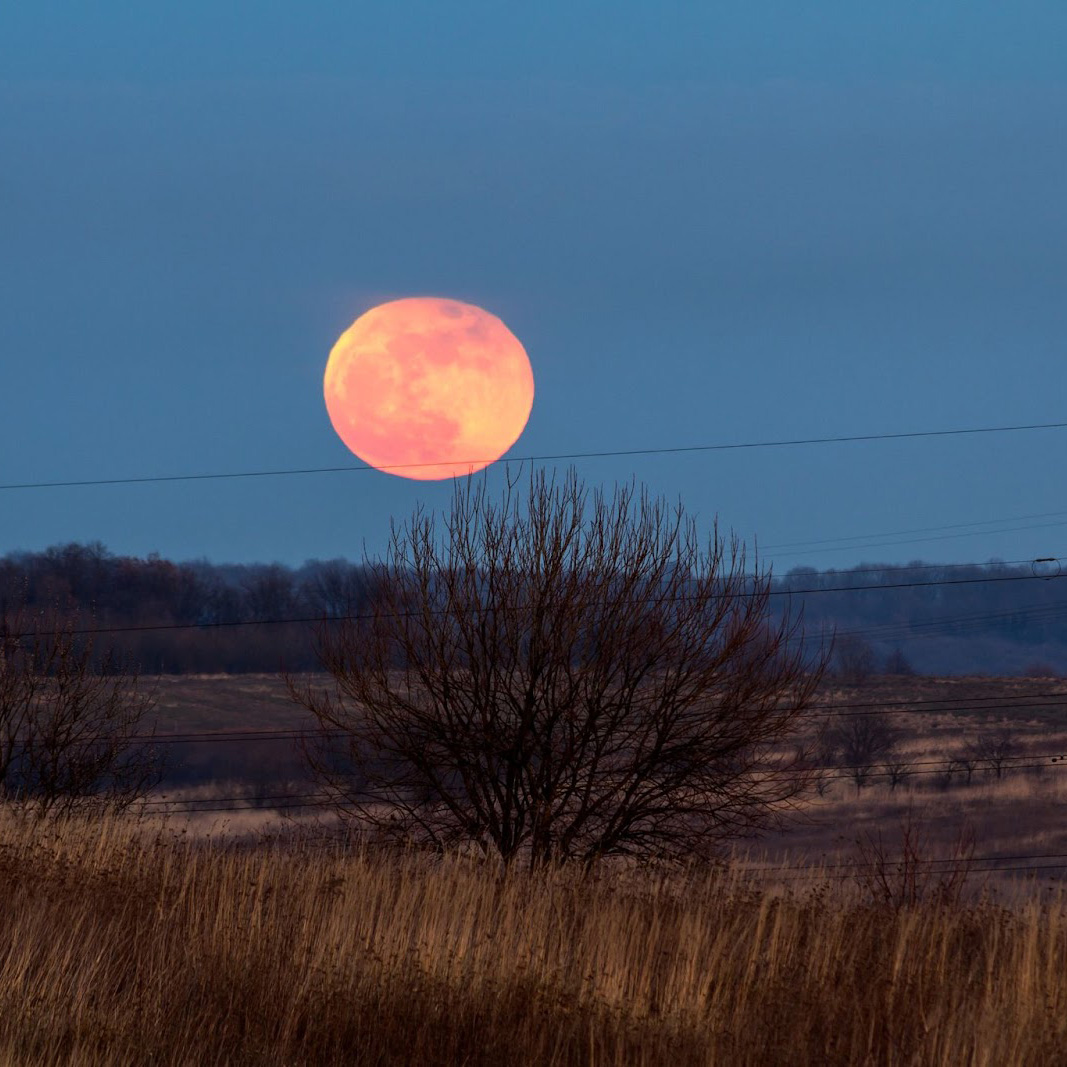
The next tip on our list is to try to frame the Moon with an appealing foreground image. This adds more subject matter to your image, which, in turn, increases its visual appeal. We’ve seen astrophotographers use things like lighthouses, mountains, treelines, and buildings in alignment with the Moon.
You can figure out this alignment by using an app like Photopills, which can aid in your alignment process.
3. Use a focal length between 400-800mm
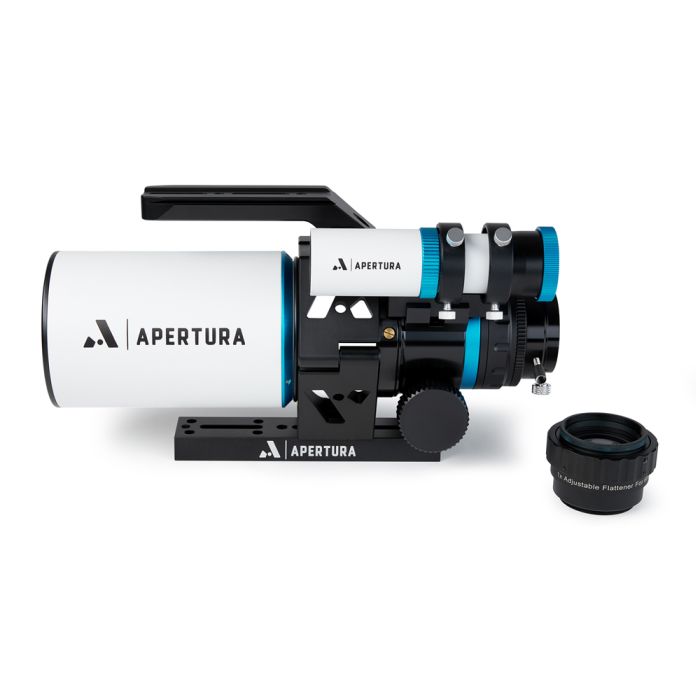
Number three on our list is to use a telescope with a focal length of anywhere from 400-800mm. For example, the Apertura 72EDR has a focal length of 430mm and would be a great choice to frame up the Moon with an APS-C sensor, or something similar.
Astrophotographers with a Schmidt-Cassegrain or a similar, longer focal length telescope may wish to consider a focal reducer to fit the Moon in your field of view. One example of a great focal reducer is the Celestron f/6.3 Focal Reducer, which reduces your effective focal length by 0.63x.
If you’re not sure what the Moon will look like at your focal length, we recommend plugging your camera settings and telescope’s focal length into Stellarium; alternatively, check out the Field of View Calculator from the Astronomy Tools website.
4. Track at Lunar Rate instead of Sidereal Rate
Number four on our list is to make sure your tracking rate is set to lunar instead of sidereal. Sidereal rate refers to the constant movement of the stars across the sky as the Earth spins about its axis. Despite appearances, the Moon doesn’t actually move at the sidereal rate but rather drifts slightly against the motion of the stars in the sky.
This is a problem if you want to take a timelapse of the eclipse, as you’ll find the Moon will gradually drift out of the field of view throughout the night. The good news is that most tracking mounts feature a lunar tracking rate to compensate for this drift.

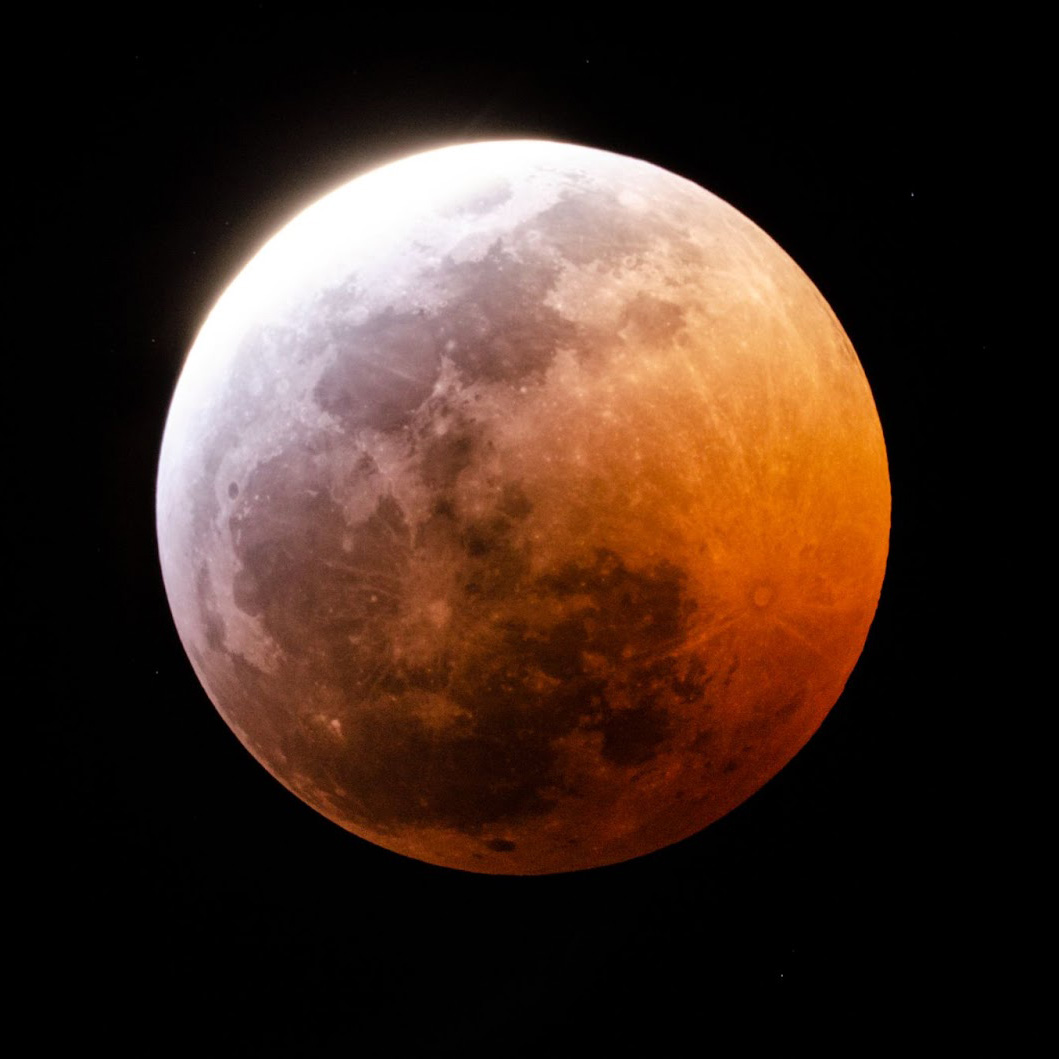
5. Take an HDR shot
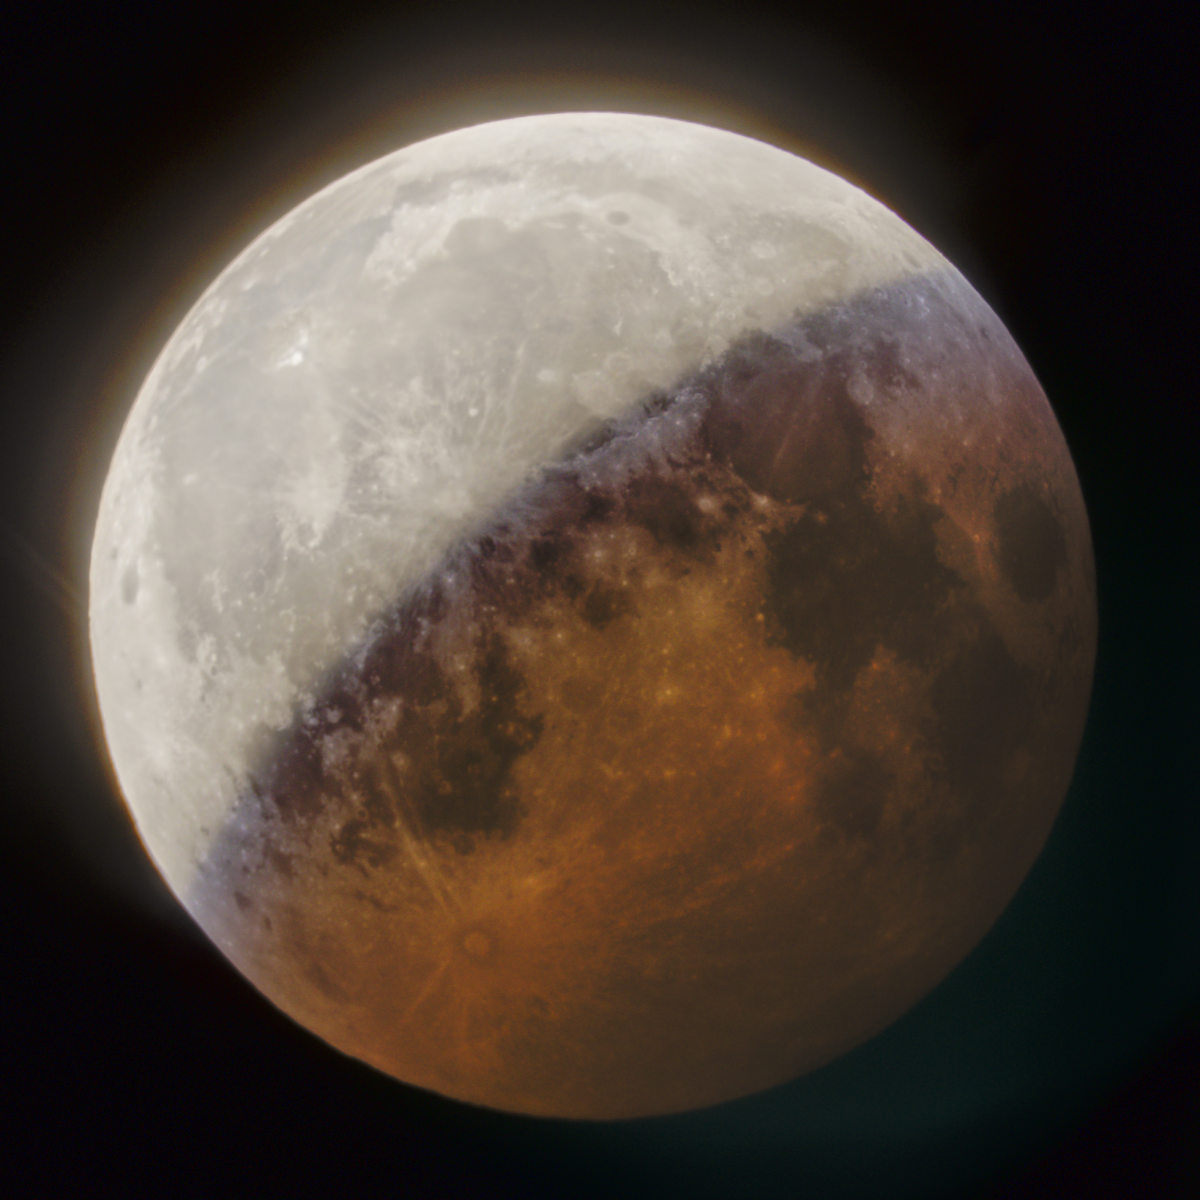
Our final tip is to take a high dynamic range (HDR) shot. During a lunar eclipse, there’s a lot of dynamic range going on, especially during the partial phase. If you want to capture the partially eclipsed Moon, with both the coppery hues of the eclipsed portion and the pearly white uneclipsed portion, you’ll need to take two different exposures.
About 15-20 minutes before totality, take one exposure of the Moon that captures only the uneclipsed portion of its surface with a relatively fast shutter speed. Then, quickly take another exposure of at least 2-3 seconds showing the eclipsed portion. A program like Photoshop can then easily bring the two together into a beautiful HDR image.
Extra Tip: Have Fun!
If this is your first time photographing an eclipse, don’t worry about getting an excellent shot. Just try your best and enjoy the experience! Lunar eclipses happen fairly regularly, and plenty of other astrophotographers will be documenting the event.
In our experience, the best way to maximize your enjoyment of the eclipse is to keep it simple: don’t worry about automation, shutter speeds, or anything else. Just have a pair of binoculars, look up, and enjoy the celestial spectacle! That said, if you’ve seen an eclipse before and you want to capture this one for yourself, we hope the above tips will help you get an absolutely out-of-this-world shot.
In this video, Kyle shares with you 5 tips to improve your photographs of the upcoming eclipse!

Contributing Writers
 Kyle
KyleDenny
This Article was Originally Published on 05/05/2022