


All coupons, tax, shipping, store credit and gift cards will be applied during checkout.
Lunar
Table of Contents
x
Contents
Lunar Photography
×
![]()
Bring your lunar photography skills into focus!
Being one of the biggest and brightest objects in our sky, the Moon has caught the imagination of our culture since the beginning. So, it’s no surprise the first photographers aimed their bulky cameras at the night sky in hopes of capturing the luminous features of our cosmic companion. Since those first days of lunar photography, much has changed. If the constant innovations have you feeling dizzy, don’t worry, we’ve got you covered! Below you'll find all the info you need to master the marvels of lunar photography. Use the below menu to navigate directly to the information you're looking for or simply scroll through to learn more!
Looking for Specific Gear Recommendations?
If you want to image the Moon through a telescope, you'll need the right tools for the task, but finding a telescope that fits your needs can feel a bit daunting. That's why our gear experts have been hard at work to curate a selection of categories that cater to various needs and preferences. So, whether you’re a newcomer ready to jump into lunar photography or a seasoned stargazer on a mission to expand your skillset, we will help you find a scope that delivers impressive results!
When you’re ready to launch into lunar photography, simply choose one of the options from the menu below or scroll through to learn what each category has to offer!
Check Out the Basics
How far away is the Moon? Is the Moon Earth's only natural satellite? Are the phases of the Moon predictable? If you are looking for answers to these questions and more, we have the resource for you! Our Astronomyhub is constantly growing with content that will sate your curiosity! From imaging and processing guides to interactive lunar calendars and so much more. On the nights you can't spend imaging, stay in and explore the wonders of the Moon from the comfort of your home!
| Lunar Articles in Our AstronomyHub | |||||
|---|---|---|---|---|---|
| Types of Moon | What is a Blue Moon? | What is a Blood Moon? | What is a Harvest Moon? | What is a Super Moon? | |
| Moon Phases and Features | What Can You See on the Moon? | What Is a Crater? | Why Does the Moon Have Phases? | How to Predict the Phases of the Moon | |
| Imaging Basics | How to Photograph the Moon | How to Create a Lunar Mosaic | 5 Tips for Photographing the Lunar Eclipse | Astrophotography With a Dobsonian | |
About Lunar Eclipses
When the Moon, Earth, and Sun align on the ecliptic plane during the full moon phase of the lunar cycle, the Moon’s appearance undergoes an extraordinary transformation known as a lunar eclipse. This celestial event occurs as the Moon traverses through the region of space shaded by the Earth. When the alignment is precise, the light reflected by the surface of the Moon shifts to hazy hues of orange and red.
While a lunar eclipse is undoubtedly a sight to behold, the short duration of totality can make these experiences feel fleeting. However, with the right equipment, you can easily capture a stunning photograph of a lunar eclipse that will last a lifetime. Moreover, imaging an eclipse can reveal rich details of the Moon that can be difficult to see with your naked eye or even a telescope. So, what do you need to image a lunar eclipse? The following recommendations are carefully curated by our team of astrophotography experts to help you find the gear that best suits your needs, from tracking mounts to lunar filters and more. Once you find the gear you need, check out these articles from our AstronomyHub to learn more about viewing and imaging a lunar eclipse!
Built for Beginners: The Celestron StarSense Explorer Series
If you want to capture stunning images of the Moon, get lost in the beauty of deep sky objects, and view the planets, then look no further than the Celestron StarSense Explorer series. These scopes are ready to go right out of the box, and finding the Moon or other deep sky objects will be a breeze with the innovative StarSense Explorer App. Simply attach your smartphone and GO! The Celestron Starsense Explorer series offers more than a simple visual system, so any of these scopes will be a great option for those looking to embark on an astrophotography journey, starting with our closest neighbor, the Moon! Pair any of the options with a Apertura 2x T-thread Barlow and the corresponding M42 DSLR Camera T-ring, and that's it! You'll be ready to image the Moon and so much more!
Enthusiast: Brighter Optics, Bigger Aperture, Classic Style!
If you want to image the Moon through a telescope with a large aperture and the most light gathering power per dollar spent, then nothing will compare to a traditional Dobsonian. Renowned for their Newtonian optical design and rocker-box mount, Dobsonians deliver! If you’re ready to embrace tradition and capture stellar radiance in style, this is the category for you!
Below, you’ll find the complete Apertura AD series. These timeless scopes offer a modern touch to the traditional Dobsonian design with incredibly smooth altitude and azimuth (up/down, left/right) movements, a cooled parabolic primary mirror, and diffraction limited optics. When paired with an Apertura 2x T-thread Barlow and a DSLR T-ring, you'll turn any of these light buckets into a massive telephoto lens! With any of the AD series scopes, you’ll get unbelievably close to the lunar surface and capture clear, high-contrast images of even the smallest crater! But with a myriad of accessories options, imaging is just one of the many things you’ll love about the AD series scopes.
Feature Rich: Rewarding results, inspiring design, unforgettable optics!
Are you looking for an industry-leading telescope packed full of features that will keep you engaged for decades? Then you are in luck! Below, you’ll find a selection of unforgettable scopes, from the Celestron Nexstar SE and Advanced VX series, handpicked by our gear experts.
These feature-rich scopes provide the best of the above categories with their user-friendly design, fully “GoTo” mounts, and powerful optics. With their thorough and thoughtful design, these scopes deliver breathtaking images of the Moon, but you won’t want to stop there! Each of the scopes in this category offers endless imaging potential with fully automated GoTo mounts that can not only locate and track numerous celestial objects but can also be effortlessly operated with a hand controller or smartphone app, allowing you the freedom to focus on the results. These scopes also feature a simplistic 3-piece design, meaning they can be easily broken down and packed up, giving you the freedom to explore the cosmos from wherever you want!
Capturing the cosmos with these scopes is incredibly straight forward. Just attach an
Smart Telescopes
The latest smart telescopes are ready to support your astrophotography journey like never before! These innovative all-in-one imaging systems are well suited to help you capture detailed images of the Moon and so much more! Check out the listings below to find out how a smart telescope can help you dive into the wonderful world of astrophotography!
Accessories
Capturing the an image of the Moon doesn't require a lot of gear, but if you plan to use a telescope, you'll want to make sure you have the tools for the job. Review this straightforward guide to learn everything you need to know about Connecting a Camera to Your Telescope!
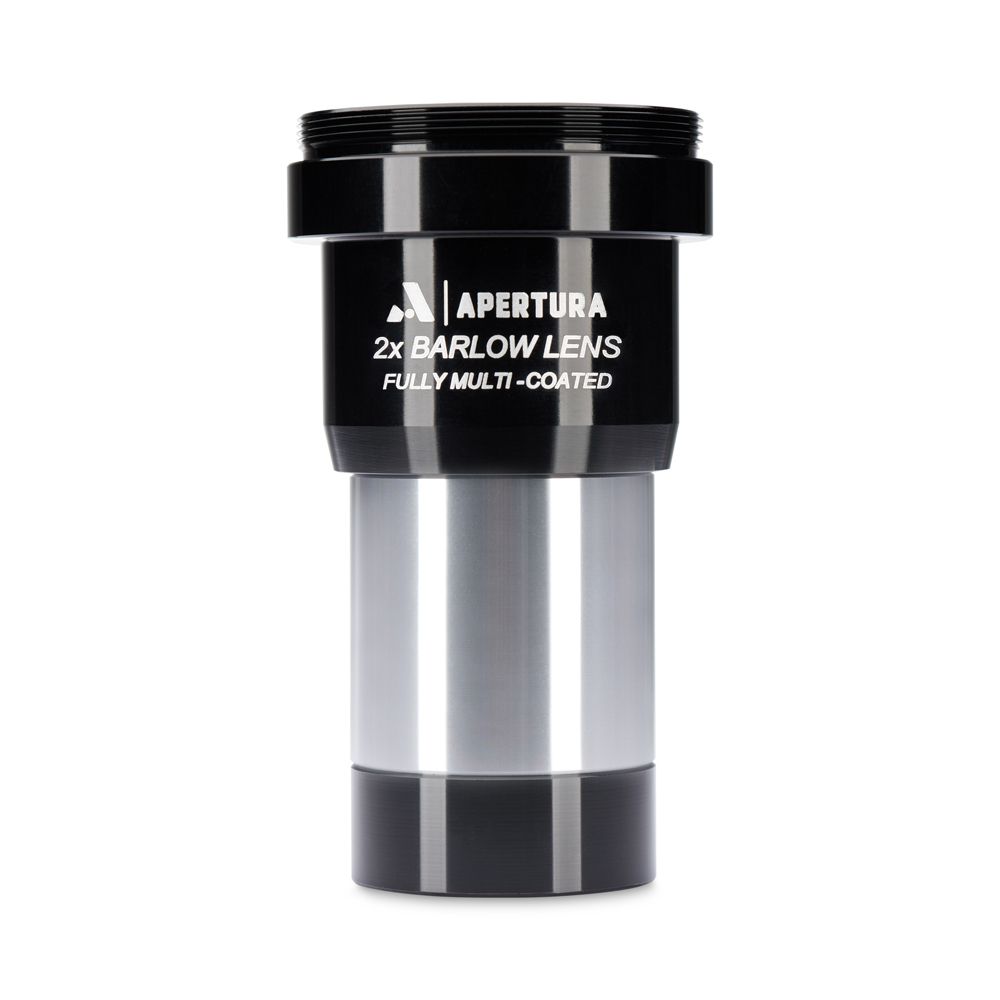
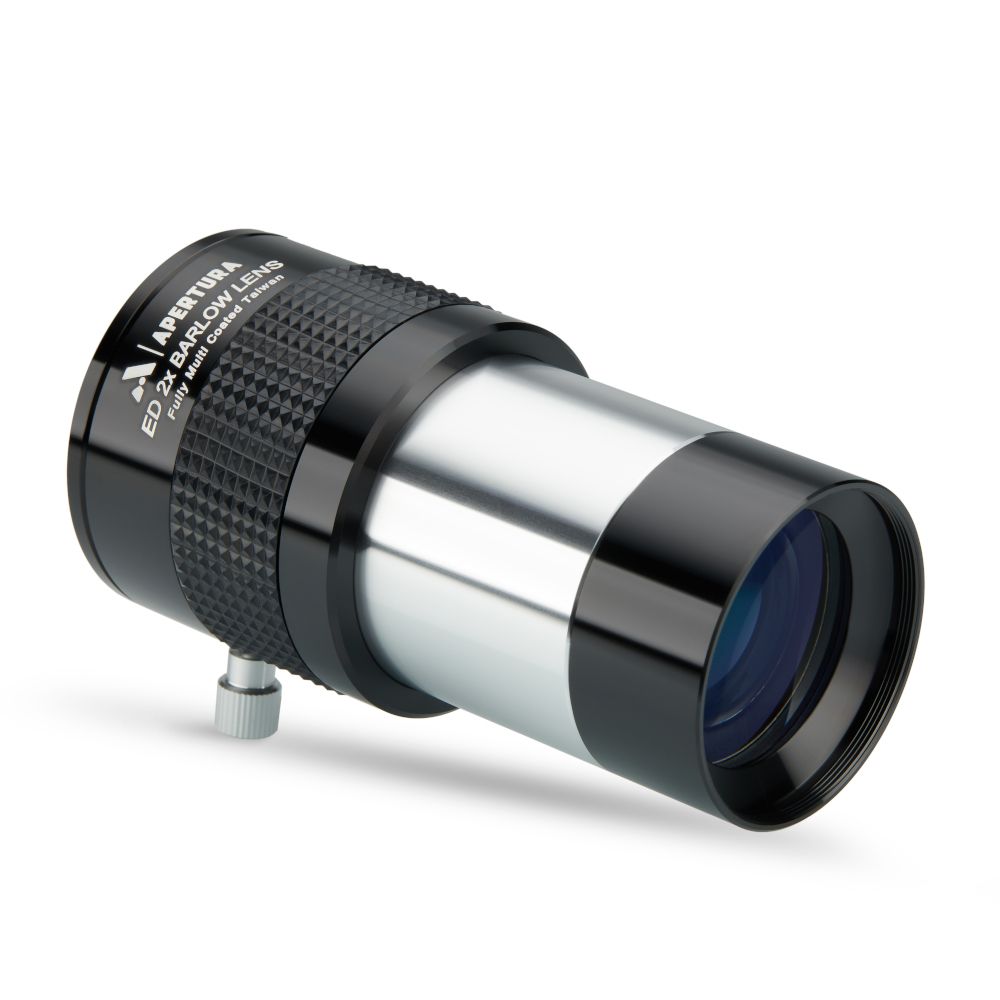
Barlow Lens
If you are imaging our cosmic companion with a short focal length telescope, or want to capture close ups of the lunar surface, try using an Apertura 2x Barlow with T-2 Threads - 1.25" or a Apertura 2x ED Barlow - 2"! This will increase the magnification of your view and make the appear Moon twice as large! If your using a DSLR or mirrorless camera, make sure you pick up and T-adapter, as this will allow you to thread a compatible Barlow (with T-2 threads) directly to the camera!
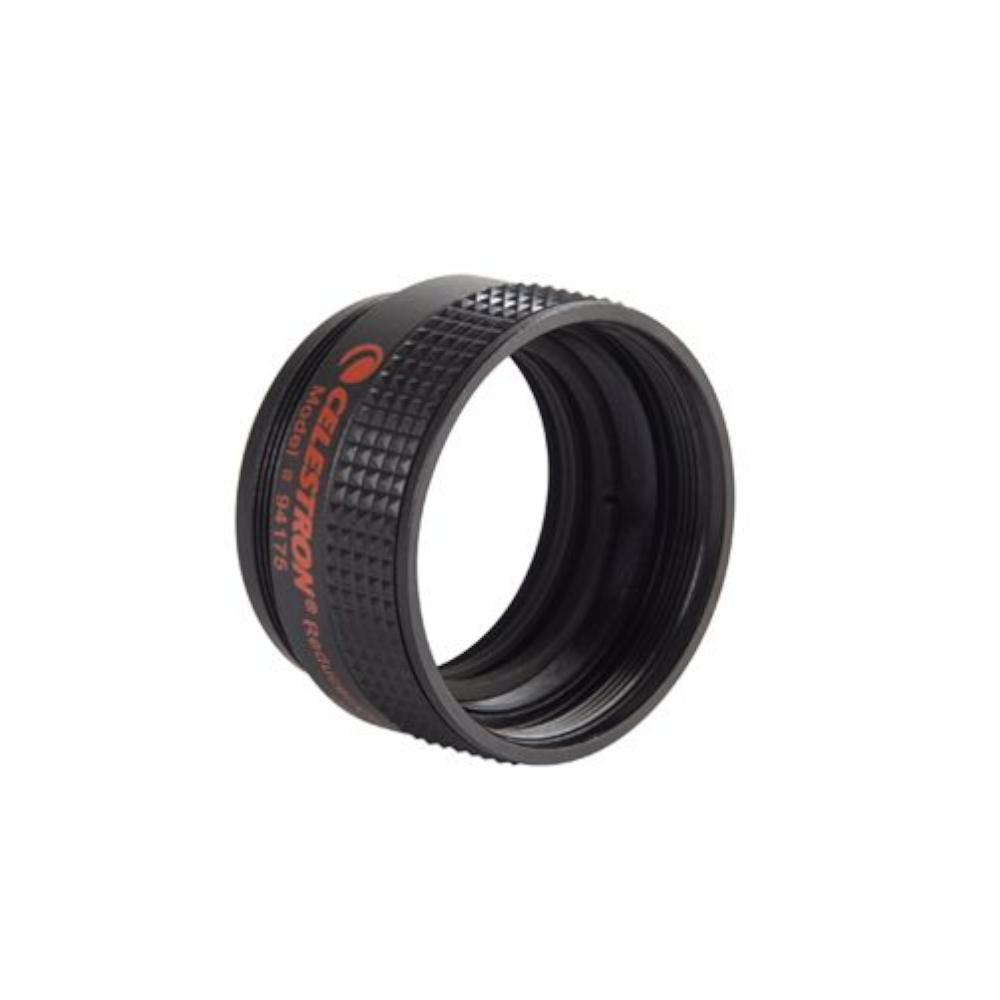
Adapters for SCTs
If you're using an SCT like the Celestron NexStar 8SE to image the Moon, you may need a focal reducer like the Celestron SCT Focal Reducer. This nifty optical accessory will reduce the focal length of your scope, allowing you more room to frame the Moon how you see fit!
If you plan to incorporate a focal reducer in your imaging train, we highly recommend picking up the versatile Apertura Ultimate SCT T-Adapter. This additional accessory will expand your imaging abilities by allowing you to attach a DSLR or mirrorless camera and a focal reducer to your SCT!
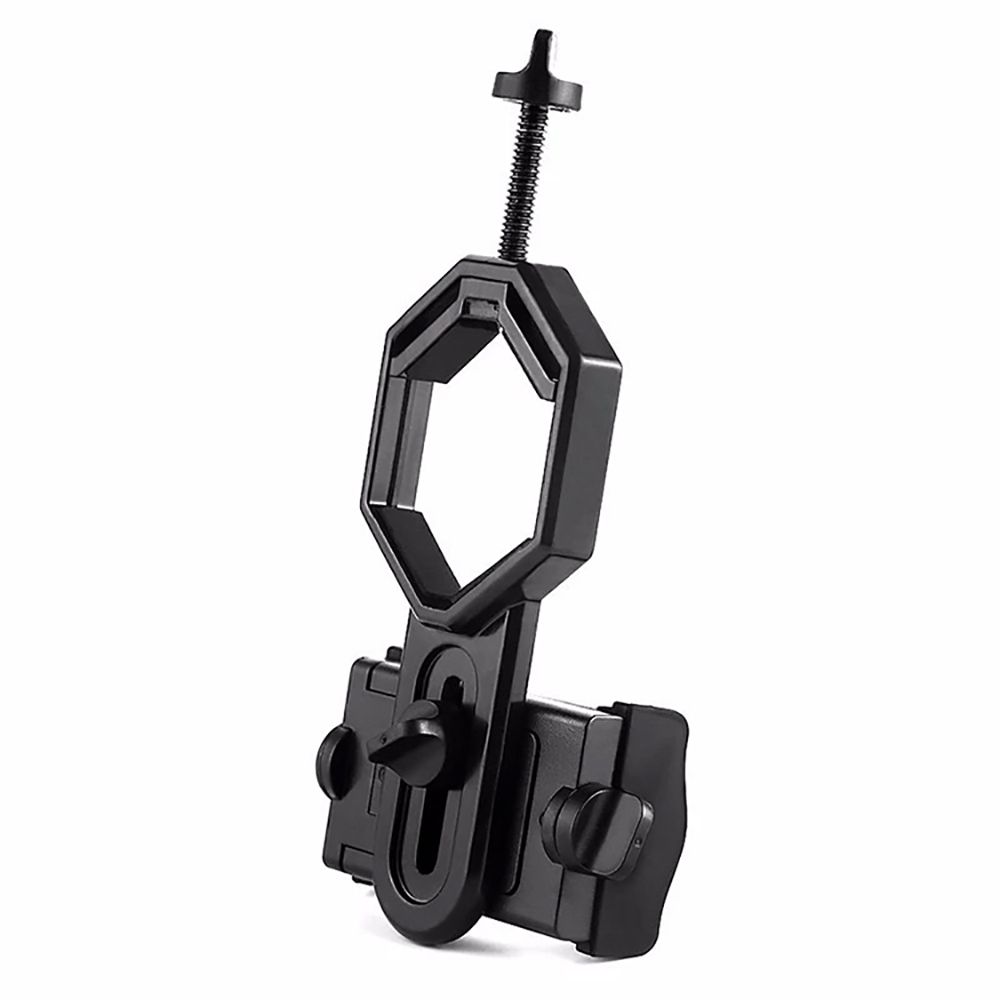
Smartphone adapters
With their innovative cameras and unapparelled ease of use, its no surprise that smartphones can capture stunning images of the Moon! By attaching a smartphone adapter to your telescope, such as the Apertura Smartphone Astrophotography Adapter or Celestron NexYZ Smartphone Adapter, you can easily convert your smartphone into a astro-imaging dream machine! You'll be able to capture the features of the lunar surface, record videos to share with your friends, and so much more!

T-Ring Adapters
If you want to connect your DSLR or mirrorless camera to your telescope, you'll need to use a T-Ring adapter in place of the lens. These simple adapters attach to your camera's lens mount, and allow you to thread a Barlow or nose piece adapter to you camera, which can be inserted into your telescopes focuser just like an eyepiece. Once attached, you'll be able to use you telescope as massive lens perfect for imaging the rich details of our closest cosmic companion!
If you want a detailed overview of T-Rings, like the Apertura Canon Ultimate T-Ring or Apertura Nikon Ultimate T-Ring check out our full guide on Connecting a Camera to Your Telescope!


How to Image the Moon
Navigating the countless ways to capture an image of our cosmic companion doesn't need to be complicated. Follow along with the basic imaging guide below to learn how to use your gear to capture the lunar photograph you've been dreaming of!
Still waiting for your gear to arrive?
Fill out the box below to gain access to a Dropbox folder where you can download a complimentary package of lunar data for any of the capture methods in our processing tutorial! You’ll find numerous options for each image type, giving you the freedom to experiment with different styles and create a unique image. By the time you process your own data, you’ll have already mastered the post-processing workflow!
In the Drop Box folder, you'll find all the data you need to follow along with the guides below. Each folder will be labeled by the corresponding processing method, and you'll be able to download the full folder by navigating to the dropdown menu in the top right corner.
Capture Methods
 Candid
For this style of lunar photography, you'll follow a straightforward process to capture a single image of the Moon. Don’t let the simplicity fool you; these photos often look great!
 Simple Stack
By stacking multiple frames, you can create a stunning image of the Moon! This is a great method for those looking to learn the ins and outs of advanced image processing.
 HDR
HDR
Get the best of both sides of the Moon with the High Dynamic Range method! By combining elements from multiple photos, you can craft a composite image that balances the bright and dark areas of the lunar surface.
Planning Your Shot
While capturing the Moon on a whim can be a great way to jump into lunar photography, a little bit of planning can make all the difference. Therefore, the first step to capturing an image of the Moon is deciding the type of image you intend to capture. You don’t need to know exactly what the final product should look like but having a rough idea will save you time and effort. Review the list of the common lunar images to the right and decide which piques your interest most.
Overview of Settings
The next step is understanding how to control your camera. While there is variation between models, every DSLR, mirrorless, and astrophotography camera uses the same elementary settings: ISO, shutter speed, aperture, and file type. Here’s what you need to know about your camera’s settings to successfully photograph the Moon:

ISO
ISO is the name of the standardized numerical system used to define the sensitivity of your camera sensor to incoming light. Increasing the value of this setting increases the sensitivity of the sensor. When imaging the Moon, you (almost always) want to shoot with the lowest ISO values possible (50-800). Higher ISO settings (1600+) result in unnecessary noise, making the image appear grainy and poorly defined. The only exception to this rule is when using the HDR method to build a composite of the dark and light faces of the Moon.

Shutter Speed
The shutter speed setting controls how long the lens aperture stays open when taking an image. When imaging the Moon without a tracking mount, you’ll need to shoot at faster speeds, as it prevents the image from being over exposed and blurry. If you are tracking the Moon with a motorized mount, you’ll be able to lower the shutter speed and ISO, because the mount corrects the movement caused by the rotation of the Earth. Faster speeds will result in better quality images.

Aperture
The aperture setting, or f-stop, controls the size of the lens aperture. This setting controls both the amount of light reaching your sensor and the depth of field. When imaging the Moon, it’s best to increase the f-stop value, as it will prevent your image from being over exposed. Additionally, increasing this setting will make more of the image appear in focus, which results in properly focused images of the Moon.

File Type
Roughly speaking, file type refers to the instructions your camera uses to process the data received by the sensor. Some file types (jpeg & png) compress the data received by the sensor, while others (RAW) preserve all the information. When imaging the Moon, more data means more details, so it’s best to set the file type to RAW.
Setting Up
Once you’ve mastered the settings, the next step is to set up. Your setup procedure will depend on the equipment you’re using. It’s a good idea to practice setting up (and breaking down) in a well-lit area before your imaging session. This will help you get know your gear and increase your setup efficiency, meaning more time spent imaging. Check out the tips below to learn more about setting up for a lunar photoshoot!
Choose an imaging location: If you plan to use a tripod or tracking mount, make sure you find a good location with a clear view of the sky. That way, you won't need to move your set up if the Moon move behind an object or out of sight.
Inspect your lens or telescope: Ensure that there are no dust particles, smudges, or fingerprints that could impact image quality.
Secure your camera: Attach your camera to a tripod or tracking mount to prevent any movement during the shoot. However, even when mounted, you might encounter some blurry frames. This is due to atmospheric turbulence and you can account for it by taking multiple images over a short period of time!
Locate the Moon: Like the Sun and the Stars, the Moon moves across the sky from east to west and will stay above the horizon for approximately 12 hours. If you are having trouble locating the Moon, try using a celestial simulator like Stellarium or Star Walk!
Frame your shot: After you locate the Moon, experiment with the framing. You'll want to keep the Moon centered if possible, as optical distortions can become more apparent near the edge of your optics.
Remember, the quickest way to learn is by making mistakes! Don't be afraid to just get out there and capture some images. With time, you’ll develop a set up procedure that works best for you!
What's next?
After setting up, capturing your images, and breaking down, all that’s left is processing the data. Upload the image files to your computer and start editing! If you need help, we've got you covered, check out the full guide by accessing our "How to Photograph the Moon" article.
Lunar Imaging FAQ: What You Need to Know
Like many pursuits of passion, lunar photography comes with its fair share of challenges. If you’re struggling to capture the image you desire, don’t worry. We’re here to cast some moonlight on your path! Read on below to learn more!
What is astrophotography?
Broadly speaking, any image of a celestial object in the night sky could be considered an astrophotograph—from the Milky Way, the Moon, other planets in our solar system, to galaxies, star clusters, nebulae and more! While the process and equipment used for capturing all these objects can differ, all these fall within the same exciting and ever expanding amateur astrophotography hobby.
What goes into making an astrophotograph? How do we capture these images?
This process varies depending on what we’re trying to image, but on a basic level, an object is tracked across the sky while data is collected by the camera, and then this data is all combined into a single image through a process known as stacking. This process allows us to capture fine, faint details that only reveal themselves with enough time spent imaging/recording a target!
Can you take a picture of the Moon during the day?
Yes, you can photograph the Moon during daylight hours. The Moon's brightness makes it visible even during the day. However, its visibility depends on its position in its 29.5-day lunar cycle. For example, you cannot image the full moon during daylight hours, as it is opposite the Sun during this phase.
How can I increase the resolution of a lunar image?
There are several methods to enhance the resolution of your lunar images. The simplest approach is to improve the perceived resolution. This involves refining the fine details without necessarily increasing the spatial resolution. While it’s possible to increase spatial resolution, it’s often not required to improve image quality. For instance, a 10-megapixel camera sensor is more than capable of producing 4K images. So, before attempting to increase spatial resolution, address the factors that affect perceived resolution. Ensure your optics are clean and your camera is secured to a stable mount or tripod. If possible, aim to photograph on a clear night with low humidity when the Moon is at your zenith (the point directly overhead). Additionally, using high-quality optics (ED, Fully Coated, Fully Multicoated, etc.) is crucial, as low-quality glass can significantly reduce the perceived resolution of your images.
To boost spatial resolution, you can use a stacking technique known as super-resolution. This method stacks 4-8 images of the Moon taken from slightly different angles to double the spatial resolution. Some advanced camera models can achieve this through sensor shifting, but it can also be done with editing software. Adobe, for example, offers a super-resolution feature that uses artificial intelligence to infer additional details, and free software like Autostakkert can be used to stack multiple images of the Moon to enhance the final image’s resolution. However, it’s important to remember that increases in spatial resolution don’t always equate to improved perceived resolution and may impact your ability to further process the image.
How do you create a composite image of the Moon?
Creating a composite image of the Moon is a great way to explore lunar photography creatively. One approach is HDR (High Dynamic Range) imaging, where you combine multiple exposures to create an image that more closely resembles what our eyes perceive. Another favored technique is the phase composite, which involves merging images captured at different points in the lunar cycle into a single frame. Lunar imaging demands careful planning, particularly when you intend to combine multiple images during post-processing. If you’re unsure where to begin, check out our Astronomy Hub to learn more about the techniques for capturing and assembling lunar composites.
Can you see the far side of the Moon with a telescope?
No, you cannot see the far side of the Moon from Earth, even with a telescope, binoculars, or a long focal length lens. This is due to the nature of the Moon's tidally locked orbit. Tidal locking can occur when a smaller celestial object orbits a larger celestial object. In the case of the Moon, its orbital period is synchronized with its rotational period, a phenomenon known as synchronous rotation. As a result, the same side of the Moon always faces Earth.
Why does the Moon look large in some photographs?
The size of the Moon in a photograph depends on the focal length of the lens or telescope used. Longer focal lengths provide higher magnifications, making the Moon appear larger. For traditional camera lenses, a focal length of at least 200mm is recommended. When using a telescope, a Barlow lens can be added to increase the overall focal length and magnification.
Why does the Moon look small in some photographs?
A common reason why the Moon appears small in a photograph is the use of the wrong focal length lens. For example, If you are using a smartphone to capture images of the Moon, it will likely appear small. This is because the lens used in smartphone cameras are fixed at a wide angle. You can solve this problem by attaching your smartphone to a telescope with an adapter, which will effectively increase its focal length. However, the smaller sensor size in smartphone cameras will still be a limiting factor. While you can increase the focal length of your smartphone's camera, making the Moon appear larger, the smaller sensor size means less light, and less light means less details. By using a DSLR, mirrorless, or dedicated astrophotography camera, you can significantly increase the quality of you lunar images.
Can you take an image of the Moon during an eclipse?
Yes, you can photograph the Moon during an eclipse. During a total lunar eclipse, the Moon takes on red and orange hues, and you'll need to adjust your camera settings for the reduced light. For a total solar eclipse, the Moon is silhouetted by the Sun, making it more challenging and potentially dangerous to photograph. With the right equipment, however, you can safely capture stunning images of both lunar and solar eclipses. Check out our lunar eclipse imaging guide and our solar eclipse imaging guide for more detailed instructions!
Can you take a picture of the craters on the Moon?
Yes, you can photograph the Moon's craters, but you'll need large a telescope with significant light-gathering power to resolve the fine details of the lunar surface. Also, manually tracking the Moon at high magnifications can be challenging, so It’s best to use a mount that tracks the Moon's movement for you. Check out our Astronomy Hub to learn more about the Moon's craters!
How can I photograph the Moon without glare?
There are a few ways to reduce glare in your lunar images. First, make sure your lens is clear of dust or smudges, if that's not the problem, you'll need to adjust your camera settings. You can increase the shutter speed, lower the ISO, or adjust the lens aperture. Since the lens aperture controls both the amount and angle of light that reaches your camera sensor, a smaller aperture (higher f-stop number) will bring more of the Moon into focus and effectively eliminate glare. For lunar photography, an aperture of f/11 or higher is recommended, especially if you are imaging the full moon.
Lunar Imaging Terms To Know
Annular Eclipse
“Annulus” refers to a ring shaped object, and is where the Annular Eclipse gets its name. As the Moon has an elliptical orbit around the Earth, it is not always the same distance away. An annular eclipse occurs when the Moon is at or near its farthest point from the Earth, making it appear smaller in the sky. Due to this, when the moon passes in front of the Sun it does not block it as entirely resulting in a thicker ring around the Moon than what is visible in a total eclipse. While still rare, this type of eclipse is more frequent than a total solar eclipse.
Aperture
Aperture is the diameter of a telescope's primary mirror or lens listed in millimeters or inches. The bigger the aperture of a telescope, the more light it will gather, allowing the observer to see more detail on celestial objects and ascertain finer details that a telescope of lesser aperture may not see.
Apparent Magnitude
Apparent magnitude refers to the brightness of a celestial object as it appears to the person observing on Earth. For example, the Sun has an apparent magnitude of -26.7. The lower the magnitude, the brighter the object appears.
Arc Minute
An arc minute is a unit of measurement that denotes the angular size of an object within our night sky. There are 60 arc minutes within a degree of the night sky, and 60 arc seconds within an arc minute. For instance, the Moon is 31 arc minutes in apparent size, and therefore approximately 0.5 degrees.
Arc Second
An arc second is a unit of measurement that denotes the angular size of an object within our night sky. There are 60 arc seconds within an arc minute, and 60 arc minutes within a degree. For instance, the Moon has an apparent size of 1860 arc seconds, 31 arc minutes, and about 1/2 a degree.
Auto-Focus
Automatic focusing utilizes software to shift the focus of a telescope in and out to determine the precise focal point of the optics. It does this by reading the star size at each focus point, creating a graph of this data, then finds the minimum star size; bringing the optics into sharp focus.
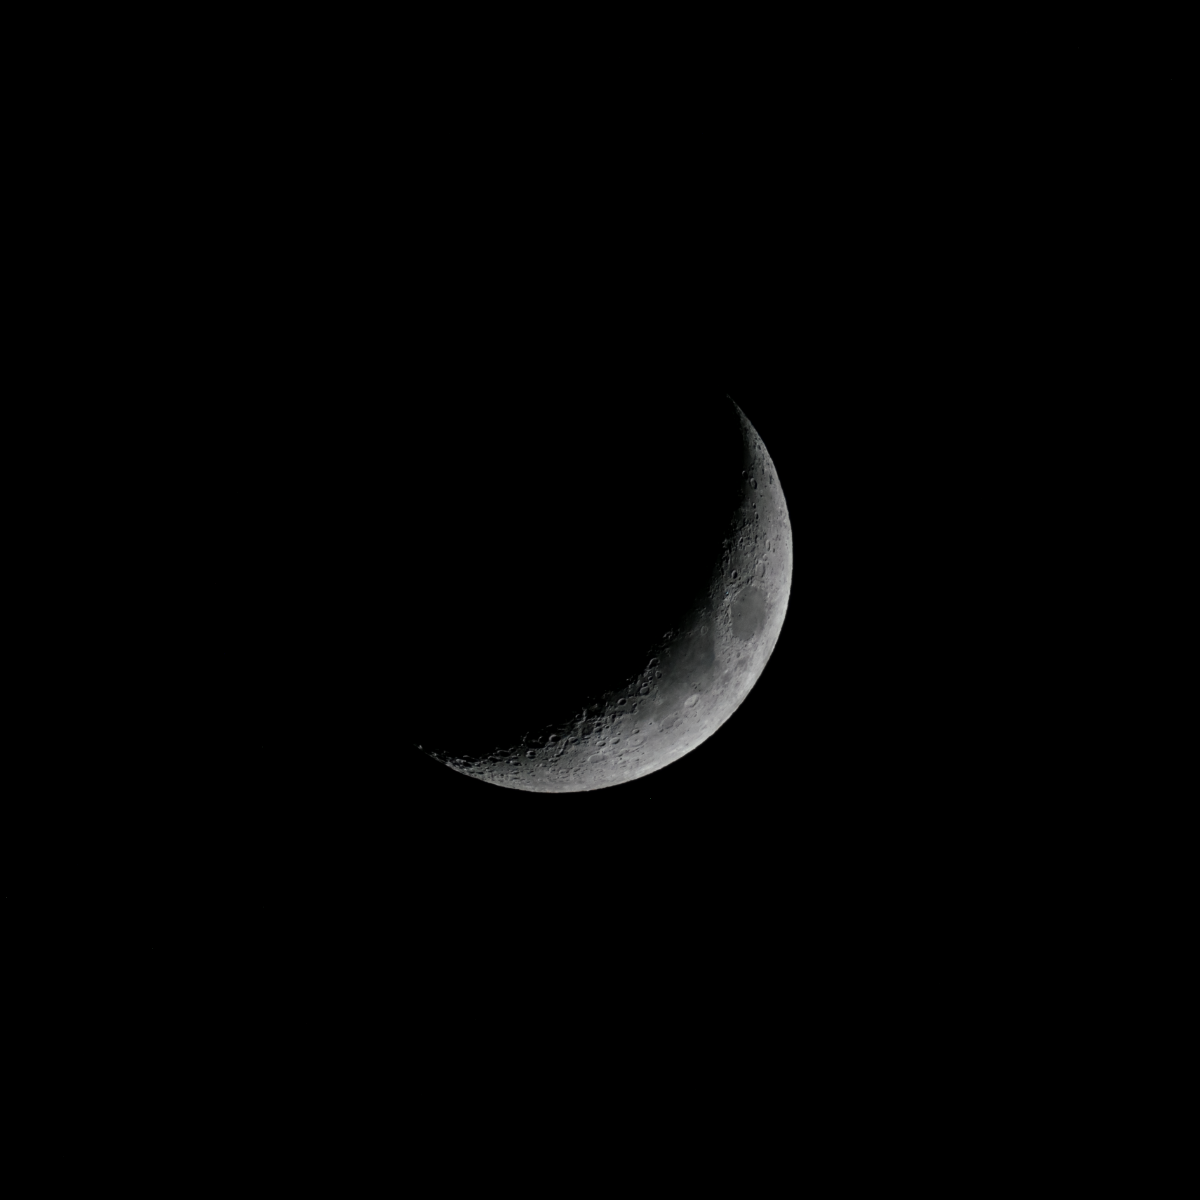
Crescent Moon
A crescent moon refers to two of the eight major phases of the Moon. When the Moon is in a crescent phase, the illuminated side faces away from the earth, making the Moon appear slim and inwardly arced.
Dedicated Astronomy Camera
These cameras don’t look like what one traditionally thinks of when imaging a camera; instead taking the form of cylinders or pucks, with no physical controls, displays, or viewfinders to speak of. These require a computer or WiFi control device to take images, with more advanced models additionally requiring external power. What they give in return for all of these concessions is granular control over the sensor settings, increased sensitivity to wavelengths that more traditional cameras filter out, options for deBayered sensors (true monochrome), designs that easily connect with astronomy equipment, and in some cases cooling for increased performance.
Dobsonian Telescope
The Dobsonian telescope consists of a Newtonian reflector optical tube assembly mounted on a very simple alt-azimuth box-style mount with a lazy susan base. This base was invented by John Dobson to encourage people to make their own telescopes from start to finish. Up until that time, telescopes required a heavy equatorial mount that produced a financial or weight barrier for some otherwise enthusiastic budding astronomers. John Dobson and his base changed all that, and even today, Dobsonian telescopes still provide the most light-gathering dollar for dollar.
EdgeHD Telescope
EdgeHD is Celestron's top of the line flat field aplanatic Schmidt-Cassegrain telescope series. You can buy a variety of apertures, from 8 to 14 inches, as an OTA or as part of a telescope/mount package. EdgeHD telescopes are great for visual use but they really shine for astrophotography. With a wide field of view that is three times flatter than a standard SCT, you will see beautiful, pinpoint stars across the entire field, even if you have a full frame (35 mm) CMOS or CCD camera sensor to satisfy.
Eclipse
A solar eclipse occurs when the Moon passes between the Earth and the Sun, causing the Sun to be obscured by the Moon in the process. Since the Moon has to pass directly between the Earth and the Sun, a solar eclipse can only occur at the new Moon. While new Moons occur about once a month, the moon’s orbit is tilted resulting in many months where perfect alignment of the Sun, Moon, and Earth doesn’t occur. This means that even for those who land in the path of an eclipse (the band around the Earth where the Moon will pass in front of the Sun) may not see an eclipse; as this phenomena can be over in mere seconds. The longest a total solar eclipse can last is seven and a half minutes.
Ecliptic Plane
First described by the Greek astronomer and mathematician Hipparchus, the ecliptic plane is an imaginary two dimensional plane on which planets orbit their host star. Not all celestial objects are confined to the ecliptic plane. For example, Pluto's orbit is titled by about 17° when compared to the other planets and dwarf planets, making is the largest object to deviate from the ecliptic plane.
Eyepiece
An eyepiece is a group of lenses housed in a small package that is closest to the eye when used with a telescope, microscope, or spotting scope. The eyepiece provides a particular magnification when paired with a telescope, therefore most amateur astronomers use a variety of eyepieces to change magnification for different types of objects. The eyepiece nomenclature is expressed in its focal length in millimeters. To figure out the magnification, simply divide the focal length of the eyepiece into the focal length of the telescope. The result is the magnification provided in your particular telescope or one with the same focal length.
Exposure Time
Exposure time is the amount of time the camera sensor is allowed to collect light. In general, the longer the exposure time, the more light collected, and the brighter the image will become. This should be selected with caution though, as an exposure time that's too long can oversaturate the pixels and blow out the image, resulting in a loss of signal. Determining the correct exposure time is highly dependent on the aperture of the optics as well as the gain settings used. A larger aperture will produce a brighter image than that of a smaller aperture with the same exposure time. In a similar fashion, an image with a higher gain setting will be brighter than a lower gain setting image with equal exposure time. Finding the perfect balance between the aperture, gain, and exposure time will maximize image quality.
Field of View (FOV)
In simple terms, your field of view is the amount of sky that is witnessed by your telescope/camera combination, or telescope/eyepiece combination. This measurement is calculated in angular degrees. To calculate how much of the sky you can image with your astrophotography rig, take the width of your camera chip, multiply it by 57.3, then divide that product by the focal length of your optics. If you want to determine how much of the sky you can view through your eyepiece, take the apparent field of view of your eyepiece (provided by the manufacturer), then divide it by the quotient of your telescope’s focal length & the focal length of your eyepiece.
Finder Scope
A finder scope fits on top of the main telescope and is used to help you find and center objects in your eyepiece. A finder can be as simple as a red dot finder or it can be a high quality small telescope in its own right.
Focal Length
The focal length is the distance, usually measured in millimeters, between the primary mirror or lens and the point at which the image comes to focus. Generally, classic refractors have a longer focal length, Newtonian reflectors tend to have a focal length that is shorter, and Schmidt-Cassegrain fall somewhere in the middle.
Focal Ratio
The focal ratio is calculated by dividing the aperture (mm) of the primary mirror or lens into the focal length. Example: 2500 mm divided by 254 mm (10") equals an f/ratio of 9.84, which is usually rounded off, in this case to f/10. The focal ratio signifies how quickly a telescope gathers light and tells us something about the telescope's field of view, how long exposures will take during astrophotography sessions, and how much magnification the eyepiece will produce for that telescope.
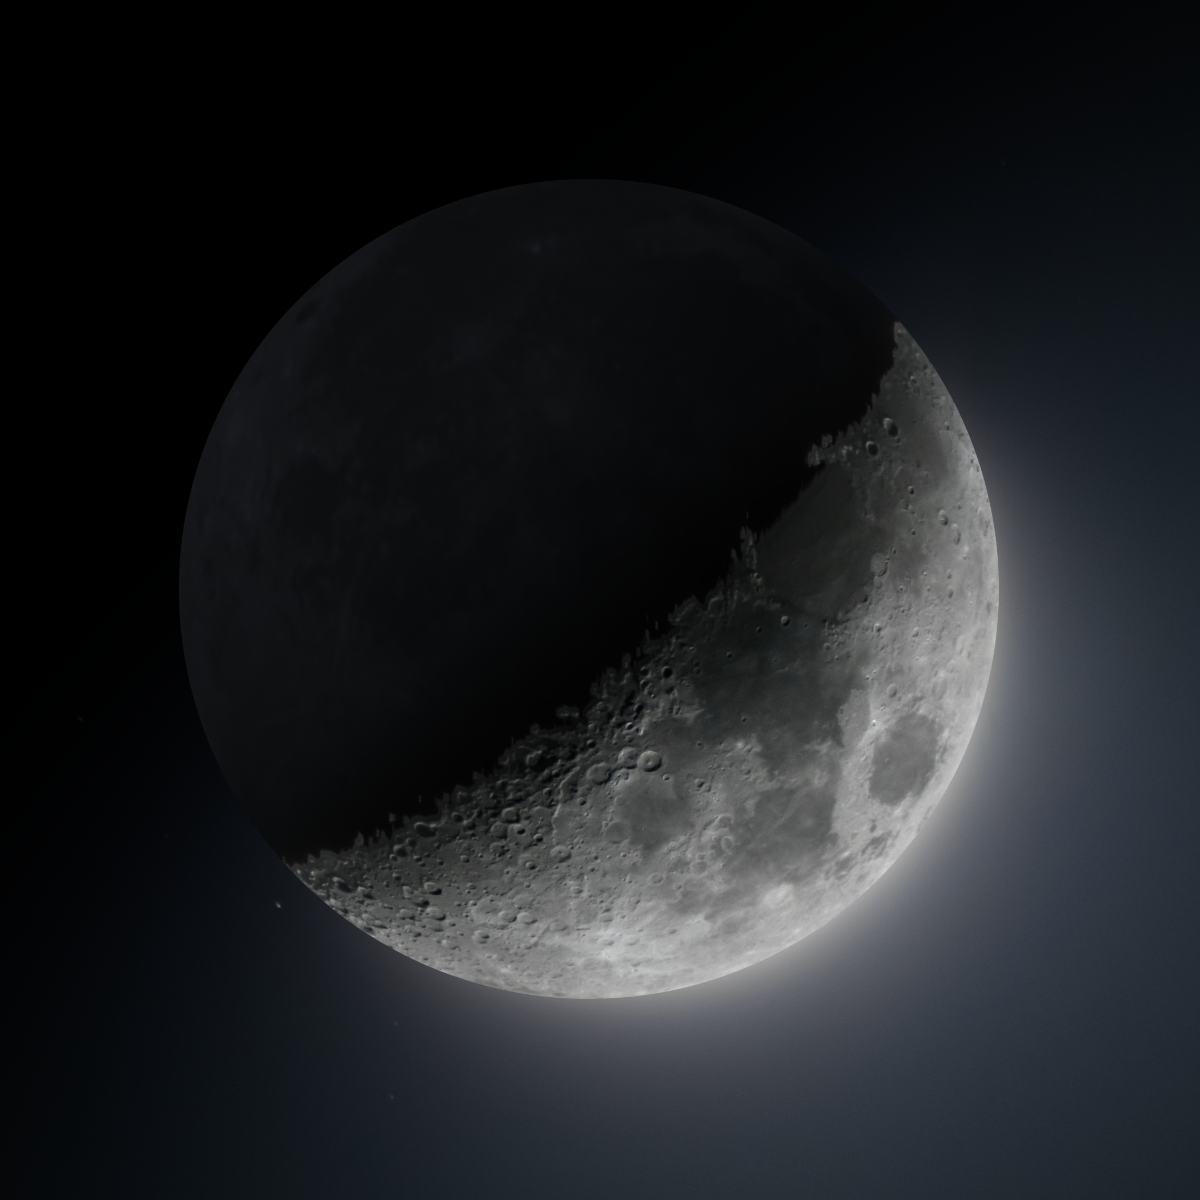
Full Moon
When the Moon passes through the far side of its orbit, and it is completely illuminated by the sun, it's considered a full moon. Since the shadow is no longer visible, the Moon appears as a bright disc in the night sky.
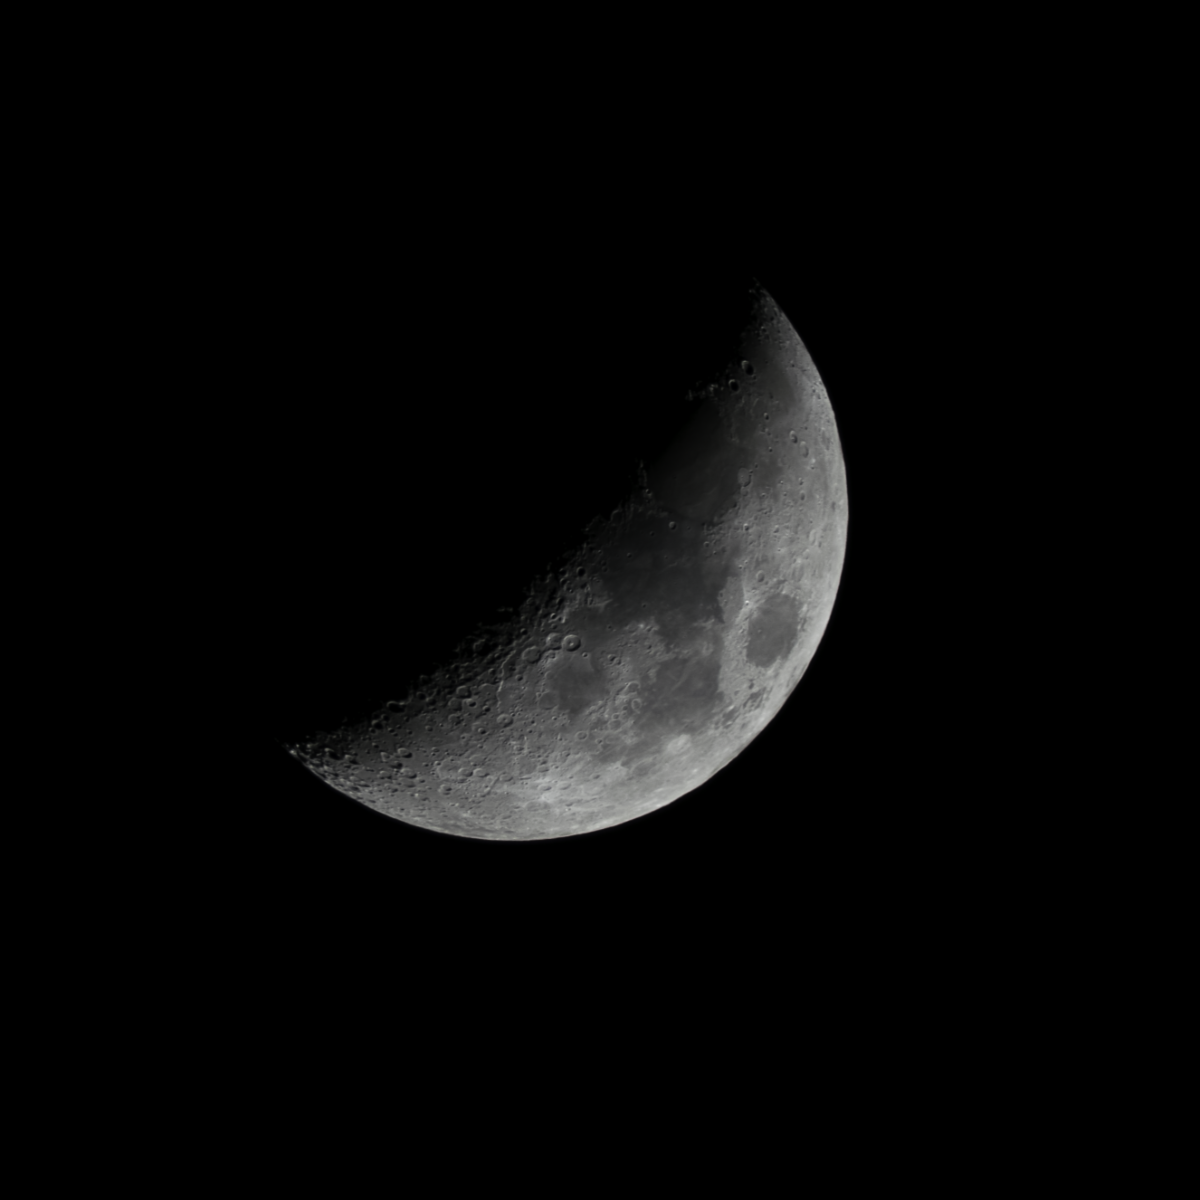
Gibbous Moon
A gibbous moon refers to two of the eight major phases of the Moon. When the Moon is in a gibbous phase, the illuminated side appears to bulge outward, but does not look quite as circular as a full moon.
Highest Useful Magnification
The term Highest Useful Magnification is used by telescope manufacturers to describe the most magnification you can typically be expected to use on a normal night and still bring an image to sharp focus. A basic rule of thumb for maximum magnification is 40X-50X per inch of aperture, with max magnifications generally topping out at 500X or so regardless of the aperture. You will find that maximums vary depending on the night. Observing conditions change constantly and will cause a once sharp view to become blurry or allow a blurry view to clear up in seconds. It is the nature of telescope observing on a planet with an atmosphere.
Imaging Newtonian
An Imaging Newtonian is a fast reflector telescope that is normally optimized for astrophotography or astro-imaging. Most Imaging Newtonian telescopes have an f/5 focal ratio or less, and some are not meant for visual use at all but rather, were designed to be dedicated imaging telescopes. It is common to find fast imaging Newtonian reflectors for sale as optical tube assemblies only, allowing the astro-imager to use his choice of equatorial mount.
Lunar Cycle
A lunar cycle refers to the 29.5 day orbital period of the Moon around our planet, in which the Moon transitions through all 8 of its main phases.
Lunar Eclipse
A lunar eclipse occurs when the Moon passes through Earth’s shadow. One of the reasons for this celestial event is orbital inclination of the Moon to the ecliptic plane of the solar system. Since this orbital inclination is constantly shifting, lunar eclipses can happen at various different times of year and have been historically difficult to predict.
Lunar Phases
Lunar phases are the various shapes caused by the shadow of the Moon as it moves around our planet. These phases are normally categorized into eight major phases: waxing crescent, 1st quarter, waxing gibbous, full moon, waning gibbous, 3rd quarter, waning crescent, and new moon.
Moon
A moon is a naturally occurring object that orbits a planet or other celestial bodies (excluding stars). These are also called natural satellites. The Moon, capitalized is the Earth's only natural satellite and is the brightest object in the night sky. The Moon stabilizes the tilt Earth's orbit, causing the seasons, and tides.
New Moon
New moon marks the beginning of a new cycle of moon phases. This is where the Moon seemingly disappears from the sky, as its non-illuminated side is facing us. Because of the lack of moonlight shrouding dim celestial objects, this phase of the Moon is important to astronomers and astrophotographers. The moon will soon appear as a crescent as it continues to orbit the Earth.
Node
When describing the Moon's position in relation to a solar eclipse, a node is a point along its orbit that would place the Moon in line with the Sun. This isn't necessarily where an eclipse will happen, just a location where it can happen as the Moon still needs to be in the New Moon phase when passing through this point for eclipse to occur. There are two nodes in the Moon's orbit, one where a solar eclipse can happen and one where a lunar eclipse can happen.
Optics
In basic terms, this refers to the system that “collects” and focuses incoming light down to a smaller, brighter, magnified image that is then viewed through an eyepiece or captured by a camera. There are different ways to accomplish this, most commonly with glass elements (refractor) or with systems of mirrors (reflector). Each approach comes with its own set of tradeoffs, whether that be chromatic aberration, coma, etc. which can sometimes be mitigated with upgraded optical components (ED glass) or additional corrective components (like coma correctors). Numbers of standard optical designs have emerged as well, such as doublets, triplets, Petvals, Newtonians, SCTs, RCs, and more.
Orbit
An orbit is a predictable and periodic path an object follows as it moves through space-time warped by a more massive celestial object. We have known about celestial orbits since early antiquity, however, it was not until Johannes Kepler formalized the three laws of planetary motion that we gained the ability to acutely predict the orbits of our planetary neighbors.
Orbital Incline
An orbital incline is the degree to which a celestial body tilts above or below the ecliptic plane of the solar system. These tilts are caused by the conservation of the celestial body’s momentum as it’s pulled towards a massive star or planet. Our Moon has a slight orbital incline of around 0.5°.
OTA
The acronym OTA stands for Optical Tube Assembly. An OTA is simply the telescope portion of a telescope/mount/tripod package. Some telescope users prefer to buy the OTA separately so they can create a custom astrophotography set-up or use a mount they already own.
Path of Totality / Centerline
As the Earth is constantly spinning and orbiting the Sun, with the Moon continuously orbiting the Earth, the area on Earth's surface where the Moon appears to line up with the Sun shifts over the course of an eclipse. This traces a path across the Earth, where an eclipse will be visible at different times. This can have several "sections" or "lanes", to denote where a total solar eclipse will be visible vs only a partial solar eclipse. The section where a total eclipse is visible is known as the path of totality. Within this path, the line running directly in the middle of the path of totality is called the centerline. Locations that fall along the centerline will experience a total solar eclipse that lasts longer than areas further out in the path of totality.
Reflector Telescope
A reflector is a telescope design in which mirrors are used to gather and focus light. Reflector telescopes are commonly called Newtonian Reflectors, or simply a Newtonian in deference to their inventor, Sir Isaac Newton.
Refractor Telescope
A refractor is a telescope design that uses lenses to gather and focus light. While there are some exceptions to the rule, achromatic refractors use two lenses in their design, and while they are economical, achromats are only capable of focusing two out of three wavelengths of light. An APO telescope, or apochromatic refractor, uses 3 lenses to bring all three wavelengths of light to a single focus to produce an image virtually free of extraneous color.
SCT
The acronym SCT stands for Schmidt-Cassegrain Telescope, one of the most popular telescope designs in amateur astronomy today. A Schmidt-Cassegrain, which belongs more broadly to the Catadioptric telescope type, uses a folded optical design incorporating both mirrors and lenses to gather and bring the light to focus. The folded light path allows for a short tube assembly even with relatively large apertures of 8" or more. A shorter tube length makes the SCT far more portable than a classic Newtonian or refractor of the same aperture.
Sensor Size (Full Frame, APS-C, Micro 4/3, Etc)
Imaging sensors come in many different proportions, such as 4:3 or 1:1, and physical sizes. There are some common combinations that have received a name - full-frame, APS-C, micro four thirds (4/3). The most important component of sensor size for astrophotography is the measurement from corner to corner (diagonal) of the sensor, which can then be compared to a telescope/ corrective element's image circle to assess how well the two may pair.
Stacking
A method used to bring out what would otherwise be faint or invisible detail and contrast in an astrophotography image. When imaging a target, the longer an exposure is, generally the more faint detail will become visible. However as exposure time becomes longer several complications emerge - motion blur due to compounding small deviations or errors in tracking, increased sensor noise and glow, and overexposure of the bright areas of an image. Stacking mitigates these issues by combining a number of shorter exposure images, commonly called sub exposures, sub frames, or simply “subs”, into one image that effectively has a longer exposure time. The stacking process can further improve the resulting image with the use of calibration frames that help identify and compensate for visual artifacts introduced by the optics or sensor itself.
Umbra
An umbra is the darker section of a shadow. When discussing a solar eclipse, this refers to the darker section of the eclipse which is the section that will observe a total solar eclipse. The path the umbra will trace along the Earth's surface as an eclipse progresses is what is known as the path of totality.
Wanning Moon
As the Moon begins to move towards the sun in its orbit around the earth, the illuminated side appears to shrink with each passing day. This period of the lunar cycle is labeled “waning” to distinguish it from the opposing, yet similar, waxing phases.
Waxing Moon
As the Moon begins to move away from the sun in its orbit around the earth, the illuminated side appears to grow larger each passing day. This period of the lunar cycle is labeled “waxing” to distinguish it from the opposing, yet similar, waning phases.