


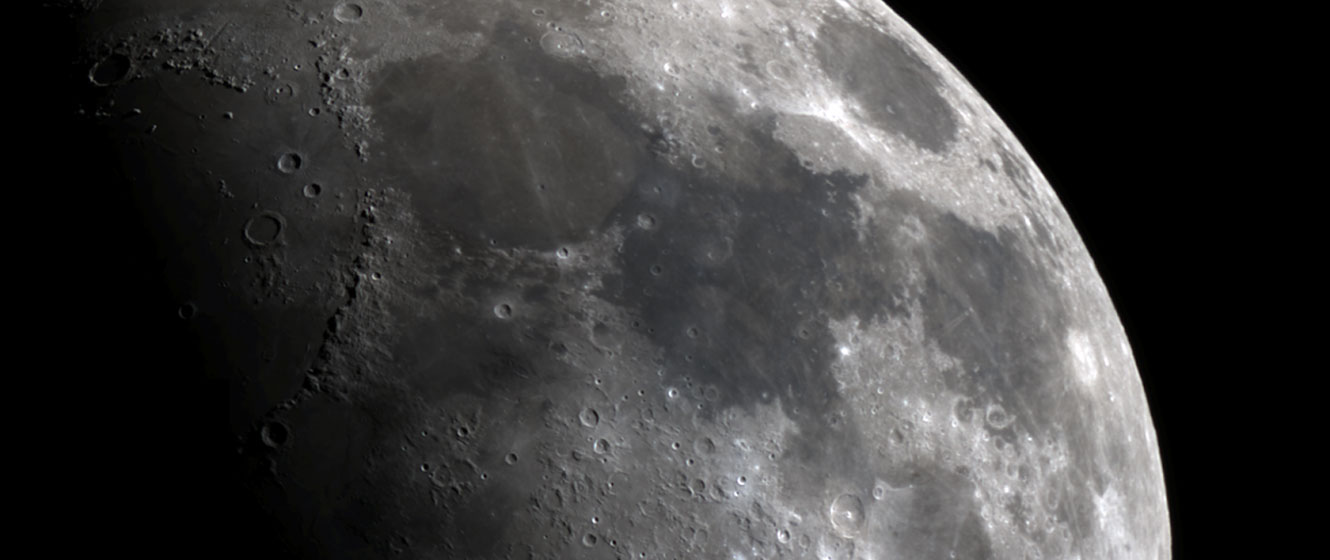
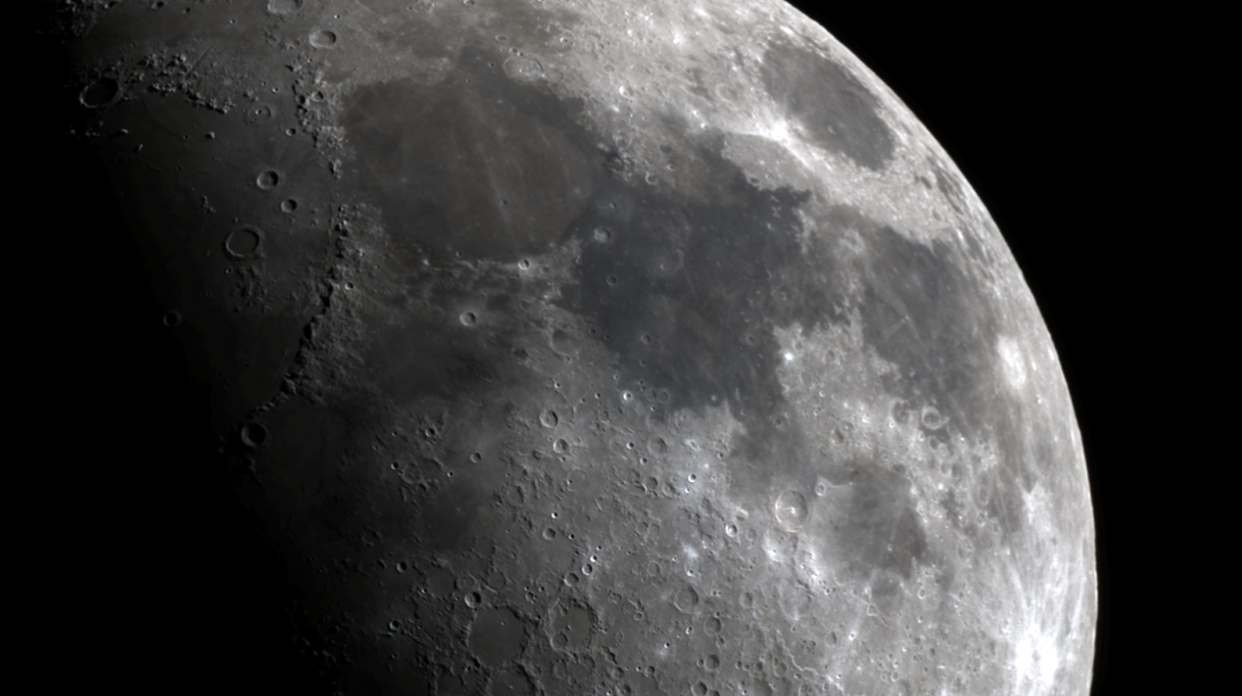
Have you ever wondered how to create a really high-resolution image of the Moon? Something that looks straight out of the Apollo missions? The easiest way to do this is to combine panels at high magnification. This means stitching as many as 4 to 5 panels of the Moon together in a program like Microsoft ICE, Photoshop, et cetera. Let’s walk through the best way to create a lunar mosaic!
Creating The Mosaic
1. Taking The Frames
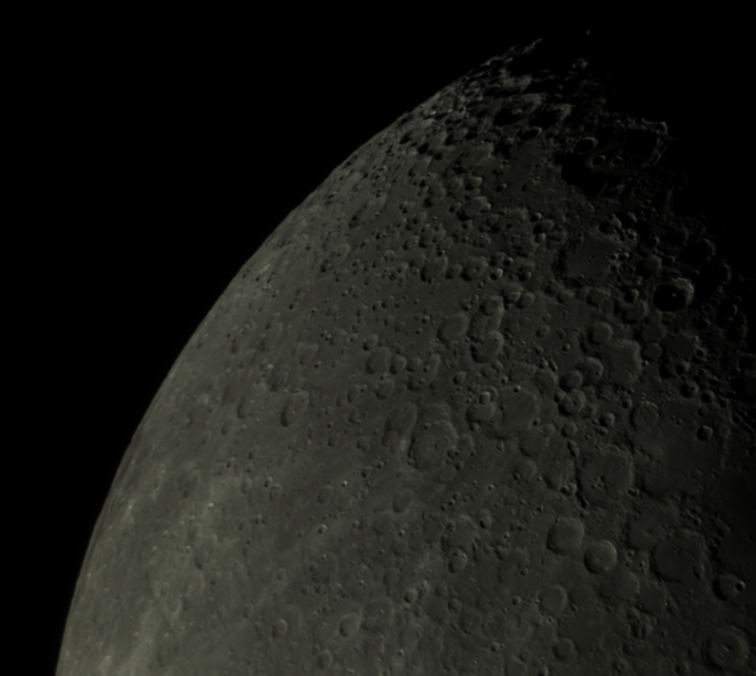
The first step in this process is actually taking your images of the Moon. In our YouTube tutorial above, we used a dedicated astrophotography camera. However, this process can be done with a DSLR in video mode as well. We strongly recommend using a color camera if you want color data, however, this is also possible with a monochrome camera and filters. It’s important to use video, not stills, for this process as you want to capture as many frames as possible. The most important detail here is that we capture tons of data, not necessarily data that’s the size of a raw data file. Having a telescope with a longer focal length (an SCT, Dobsonian, et cetera) is also important. Use a 2x Barlow to increase the magnification. When taking your data, it’s also essential to have a good understanding of the lunar geography. Make sure you understand the different mare & large impact craters. These will serve as useful “anchor points” for your mosaic. Depending on how much magnification you have, you may need to take as many as 4-10 frames of the Moon.
2. Editing The RAW Photos
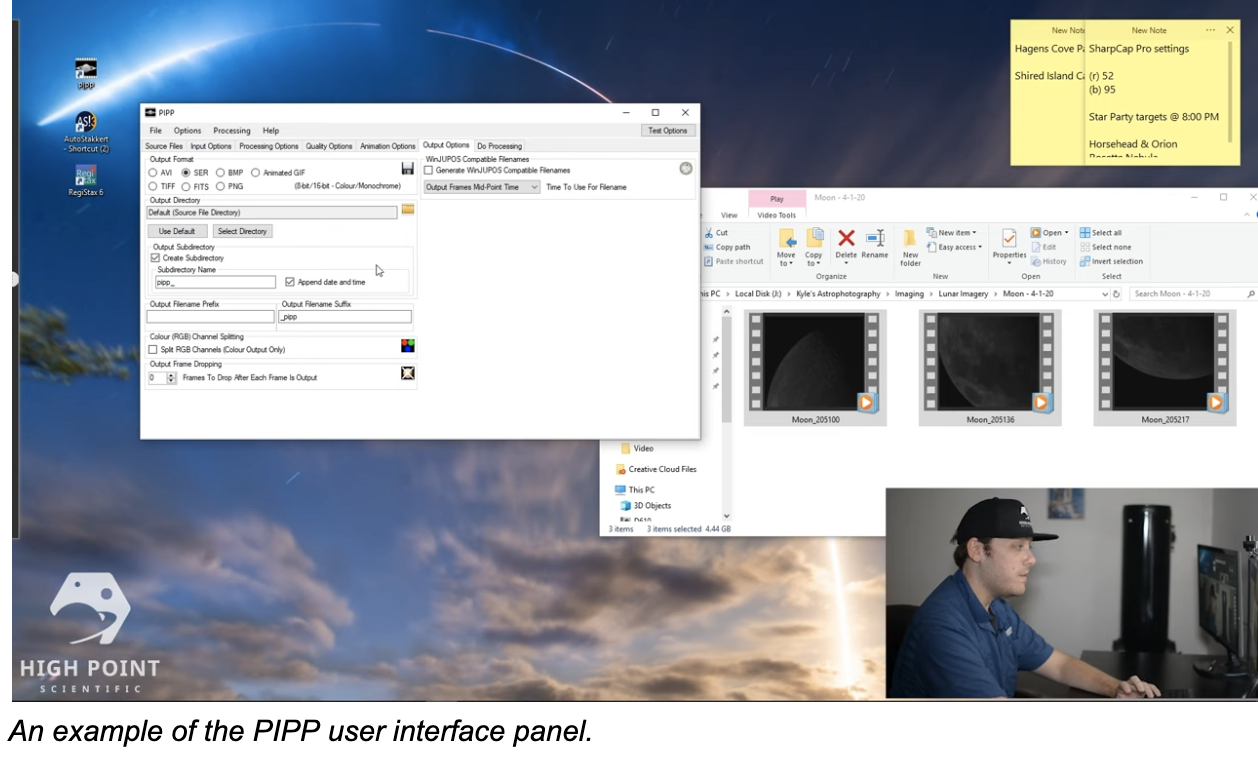
The next step is to drop your raw files into a program known as Planetary Imaging PreProcessor (PIPP). PIPP is a Windows application designed to help process your planetary and lunar images before we stack them. PIPP will help you crop your frames, select the best quality images, and more. Drag your files into PIPP’s “Image Files List”, process the image with a bayer pattern (if applicable), and leave it in “Batch Mode”. Go to “Processing Options” and make sure that “Convert Color to Monochrome” is unchecked. Leave “Enable Quality Estimation” as checked, and process about 80% of the frames. Ensure the output format is an .avi or a .ser file. Then begin processing!
3. Stacking The Processed Files
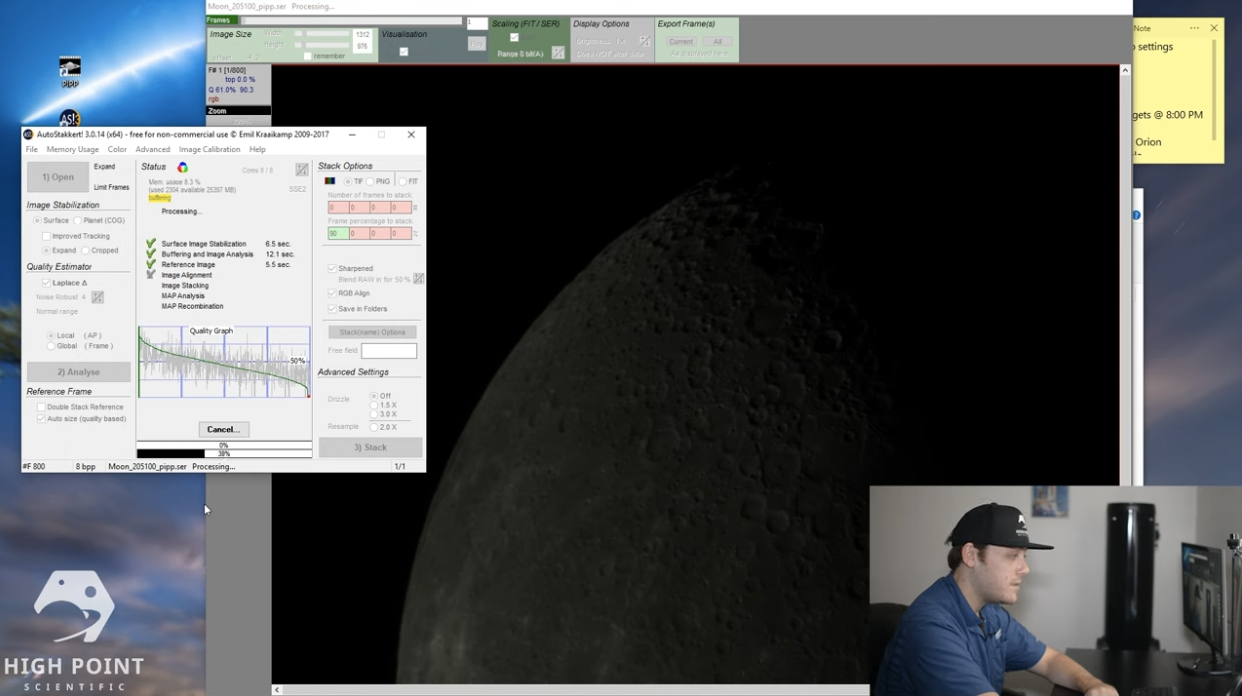
Next up is actually stacking those files. We’ll be using AutoStakkert for this process. First, we’re going to drop our first frame into AutoStakkert. A preview of the video file should pop up. Keep “Image Stabilization” checked as “Surface”, then click “Analyze” to sort out which would be the best frame to use as a reference. Now we’ll add our alignment points to the image. Increase the AP size from 24 to 200, then click “Place AP grid”. Then select the output as a .tif, 90% percent of frames stacked, then click “Stack”. Repeat this process for all of your frames.
4. Sharpening The Final Image
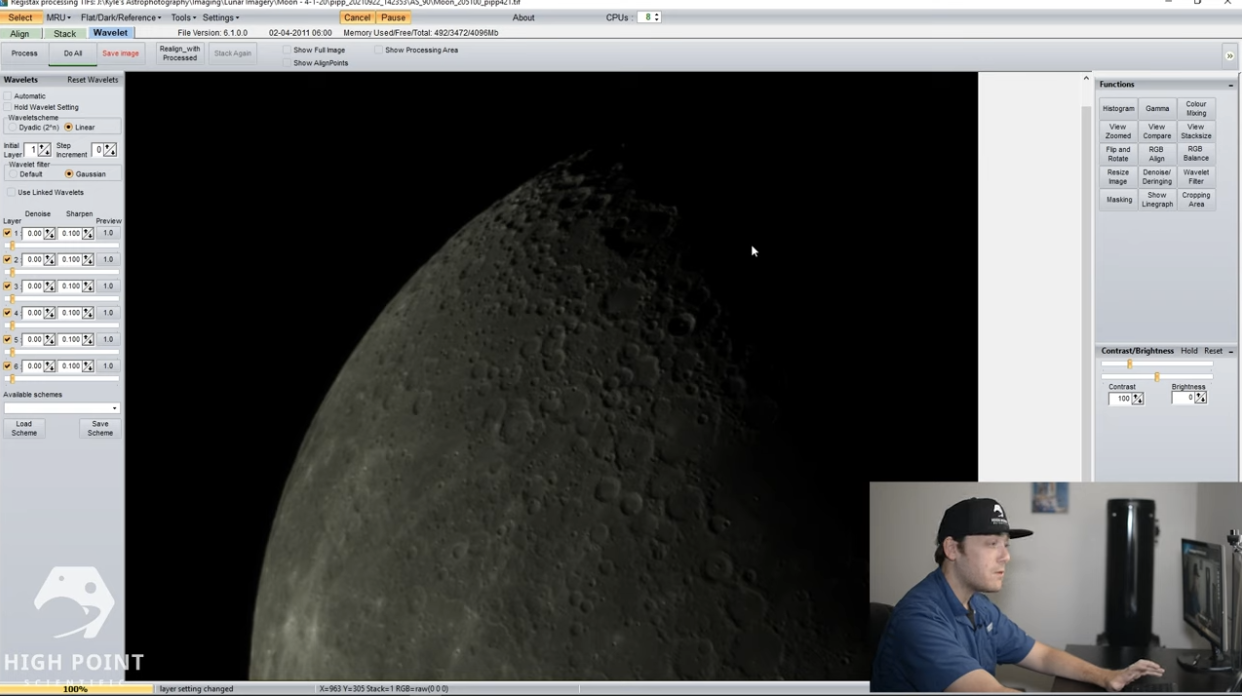
Now that we’ve stacked the images, it’s time to sharpen them. There are a few different ways to stack, but we’ve found that RegiStax is usually the best way to go. Drop your .tif files into RegiStax. You should be sent to the wavelet menu. Adjust the first & second layers (this is where most of your data will be contained) to your content. You will see your images of the Moon begin to sharpen as you increase the wavelets. Now save your final wavelets as a scheme, then repeat the process for the rest of the frames by loading them into the scheme.
5. Stitching the Panorama & Final Edits
Next, we’ll want to stitch the panels together. To do this, you’ll want to use Photoshop or a similar program. In the video above, we used Microsoft ICE - however, since uploading the tutorial, Microsoft ICE is no longer available. Photoshop will easily be able to stitch the panels together for a final image. Lastly, we’ll load the final sharpened, stitched image into Photoshop. From here, you can make whatever adjustments you’d like to create your final image. What we’ve found usually looks best is selecting the “Auto Color” function, then adjusting the saturation upwards to reveal some of the “mineral colors” in the Moon.

This Article was Last Updated on 08/07/2023


