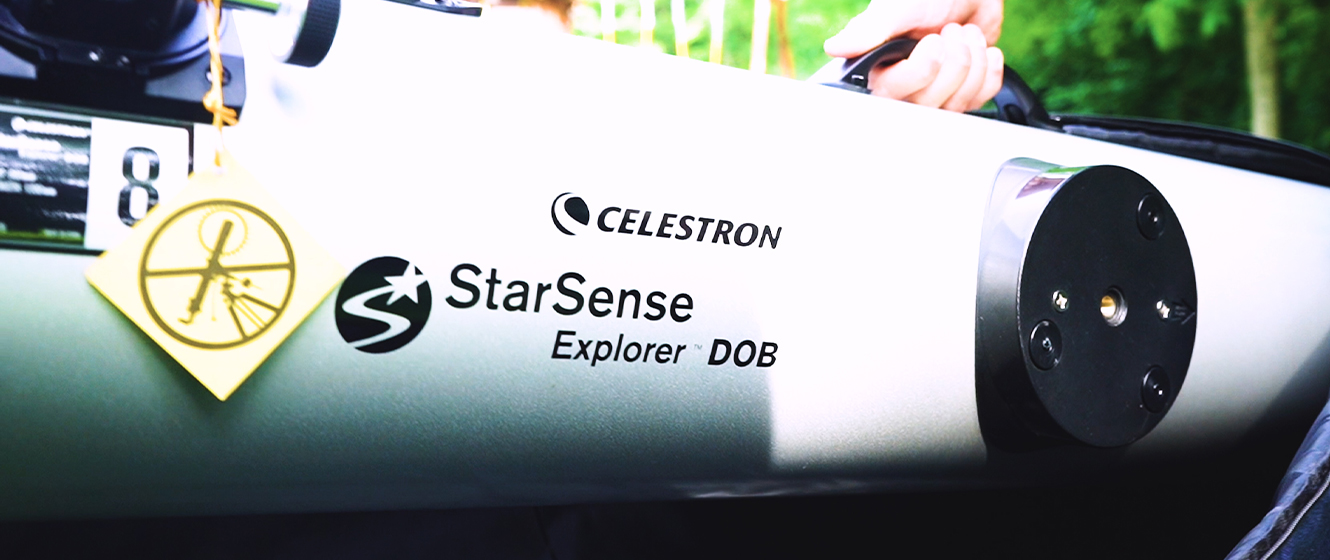
The StarSense Explorer Dobs. You may argue that Celestron has completed their series of StarSense Explorer line of telescopes with these two additions. The 8" Dobsonian and the 10" Dobsonian are the largest in the StarSense Explorer series and are made for those who find themselves wanting to peer further into the universe to see those dimmer and smaller deep sky objects. Fainter objects are now within reach and the brighter objects will reveal detail like never seen before from a StarSense Scope. The integrated StarSense App makes searching for these objects easier than ever.
 Click to Enlarge Image
 Click to Enlarge Image
I had the pleasure of taking the 8" StarSense Explorer Dobsonian out to my backyard to put the app and aperture to the test. I wanted to see how many deep sky objects I could view in a 15 minute time span and I also wanted to see how faint of an object I could see. I knew I would be hard pressed to find something extremely dim given my bortle 7 skies but I was willing to give it a try! This article will provide you with all of the information that you’ll need in regards to the 8" and 10" StarSense Dobsonian. I’ll be sure to include the types of amatuer astronomers best suited for such a system. Let’s start with the basics.
The Setup
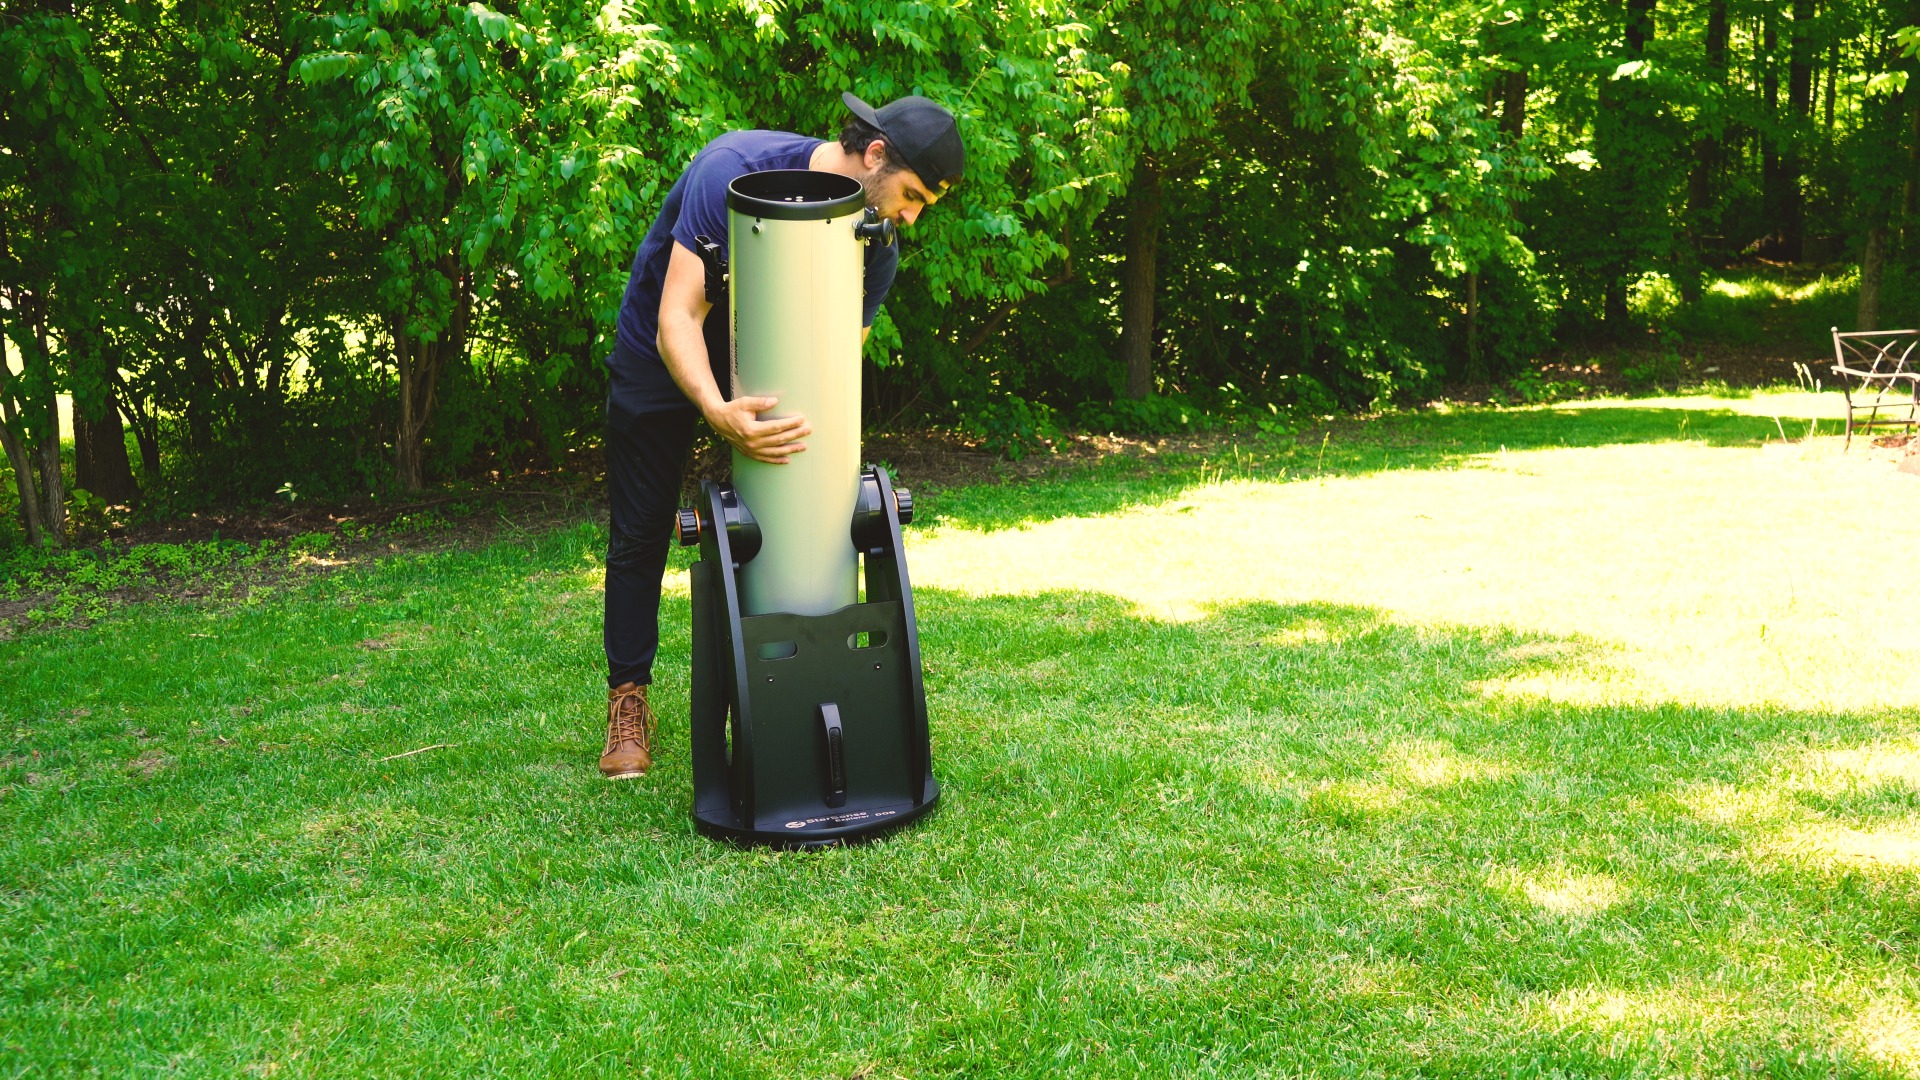
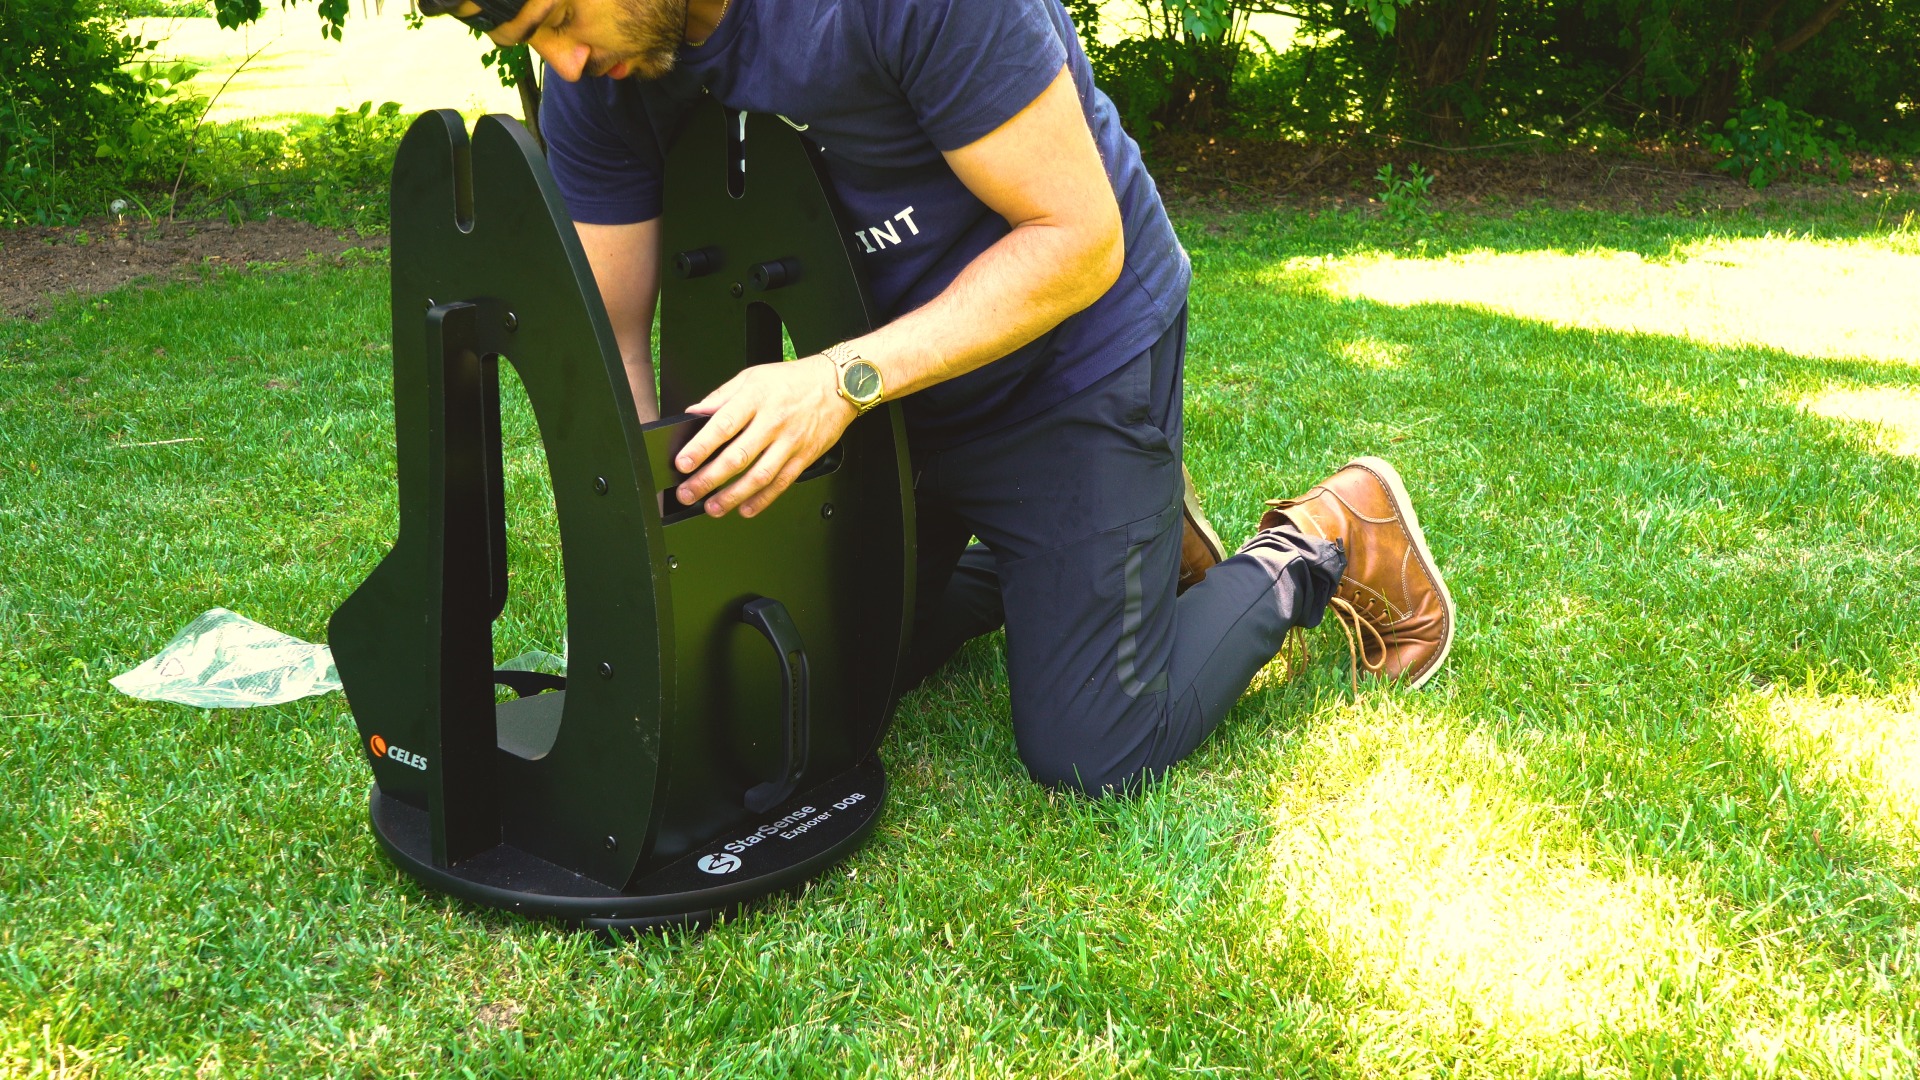
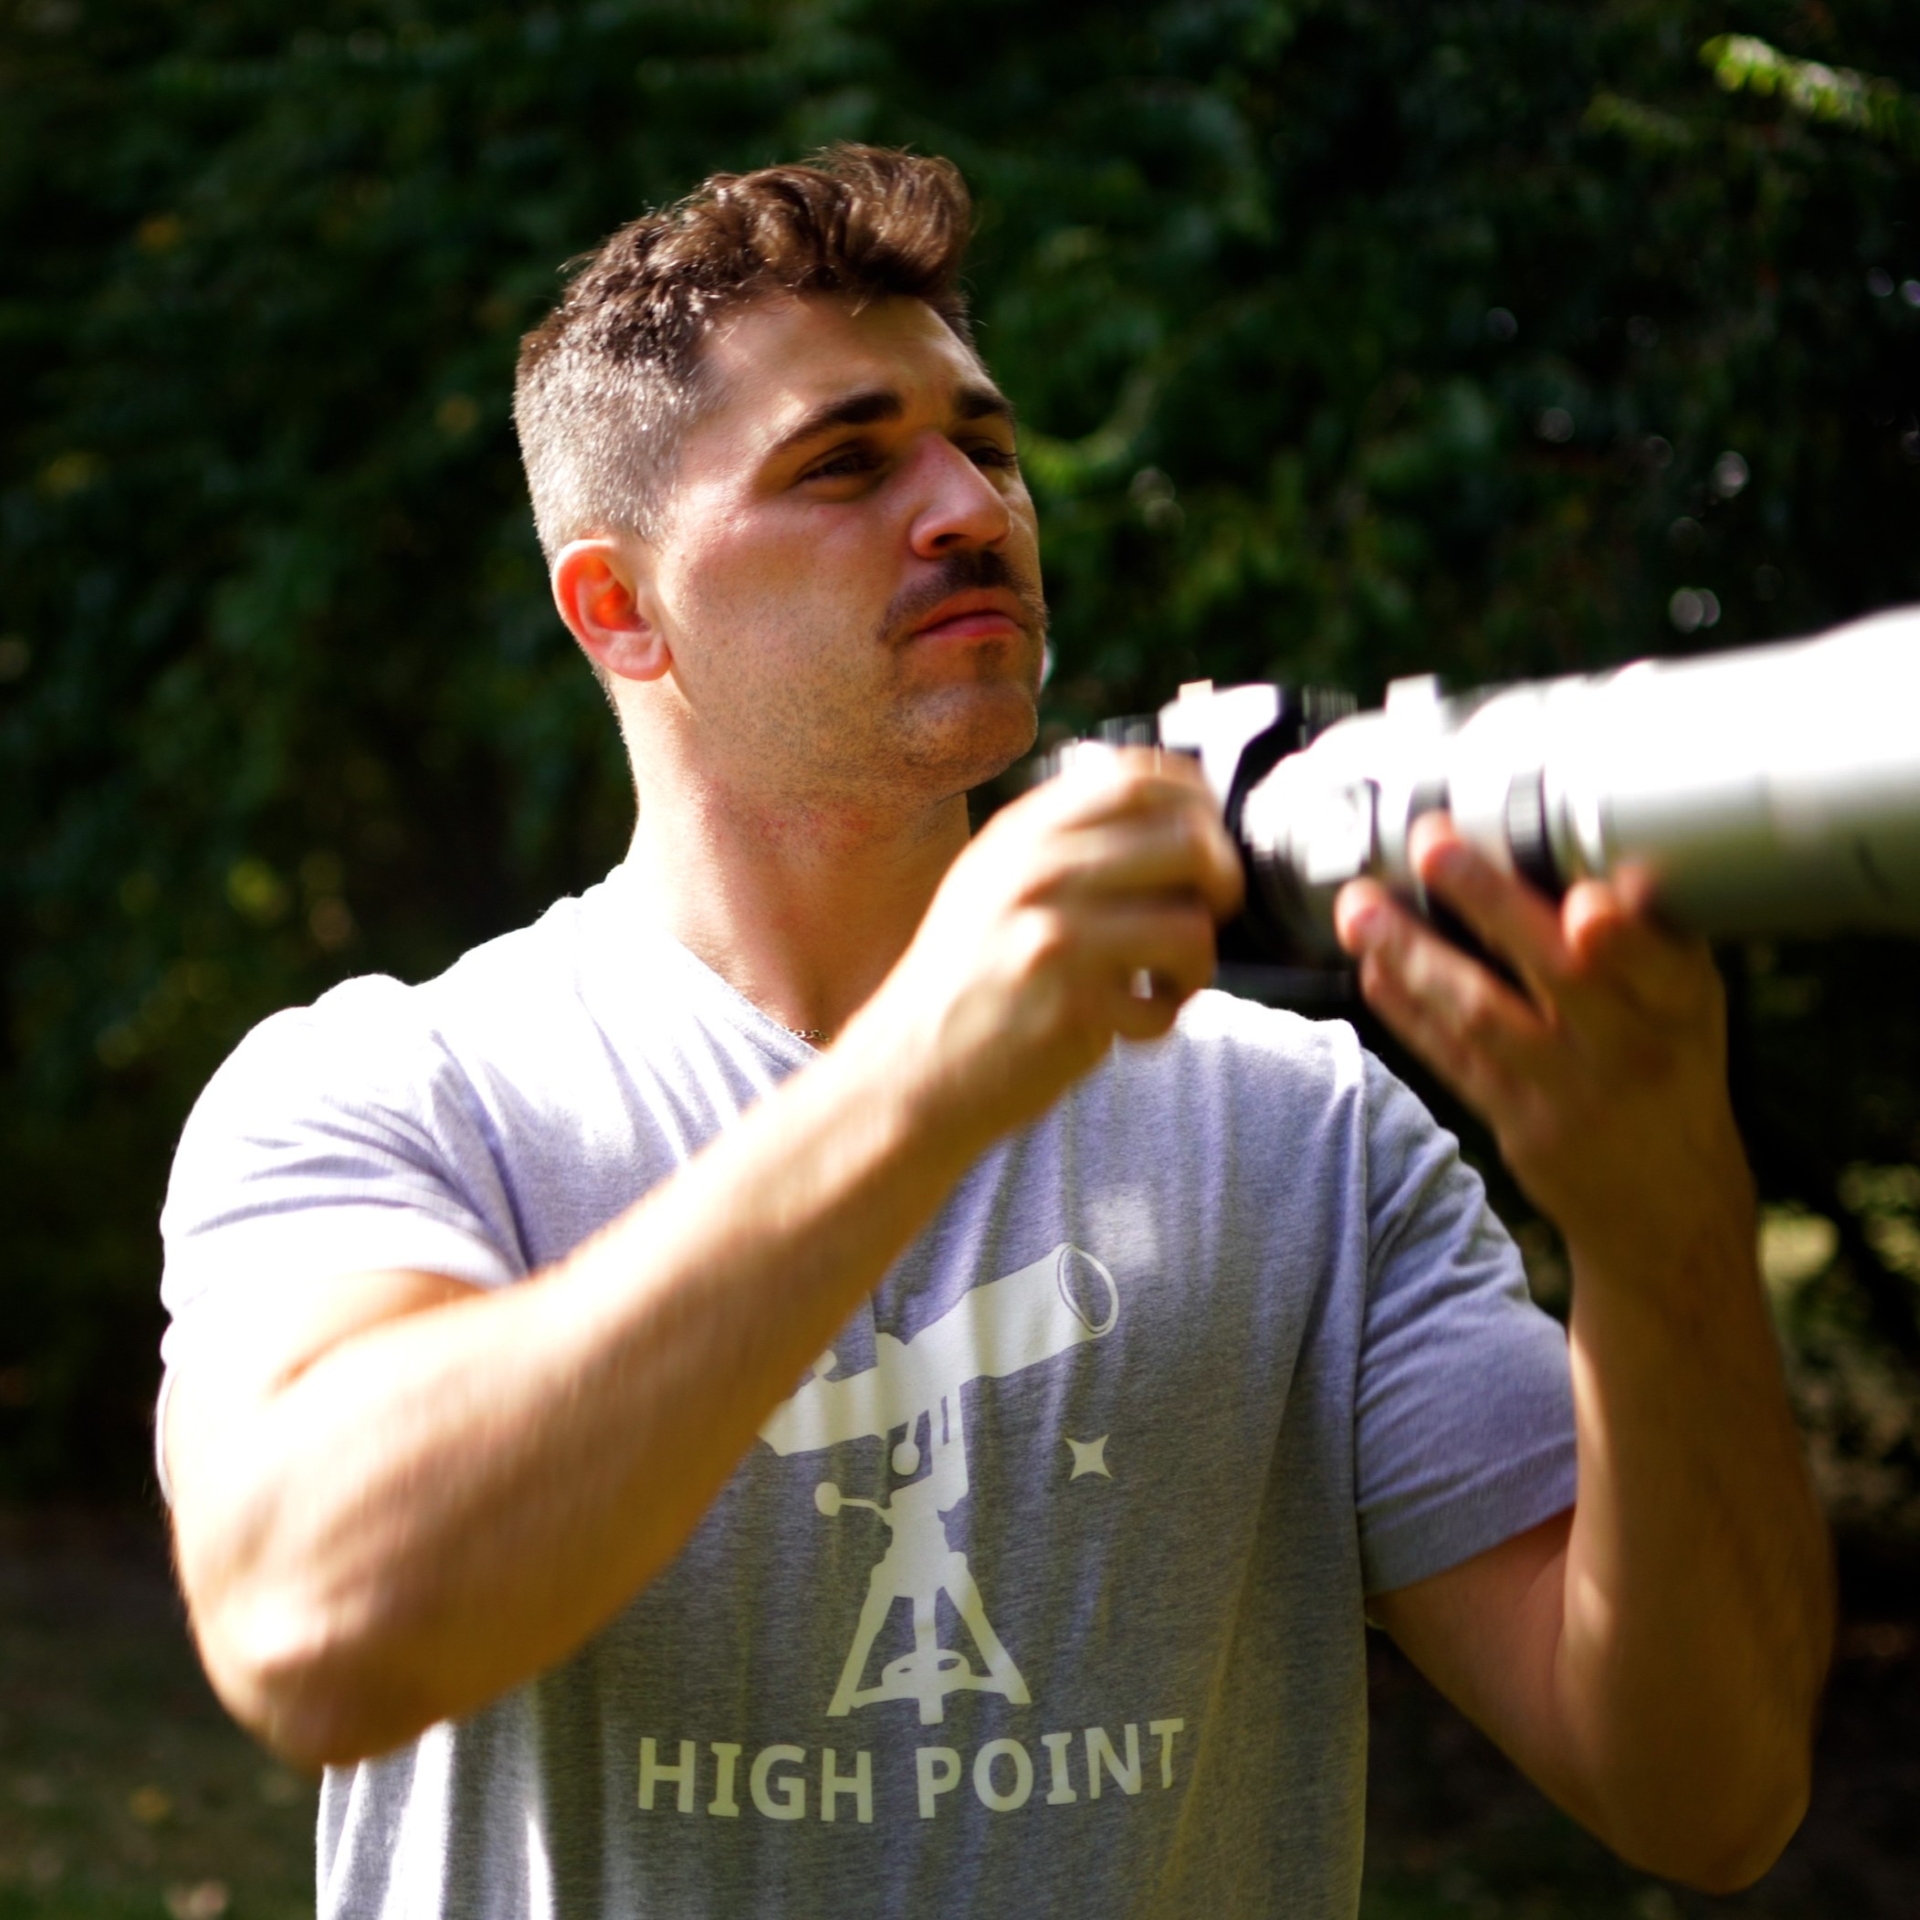
Setting up the base is very simple and it takes anywhere from 20-30 minutes. The optical tube itself comes assembled with a handle as does the base. When the base is assembled it doesn't need to be disassembled in any way! This makes it easy to bring in and out for a quick view.
 Click to Enlarge Image
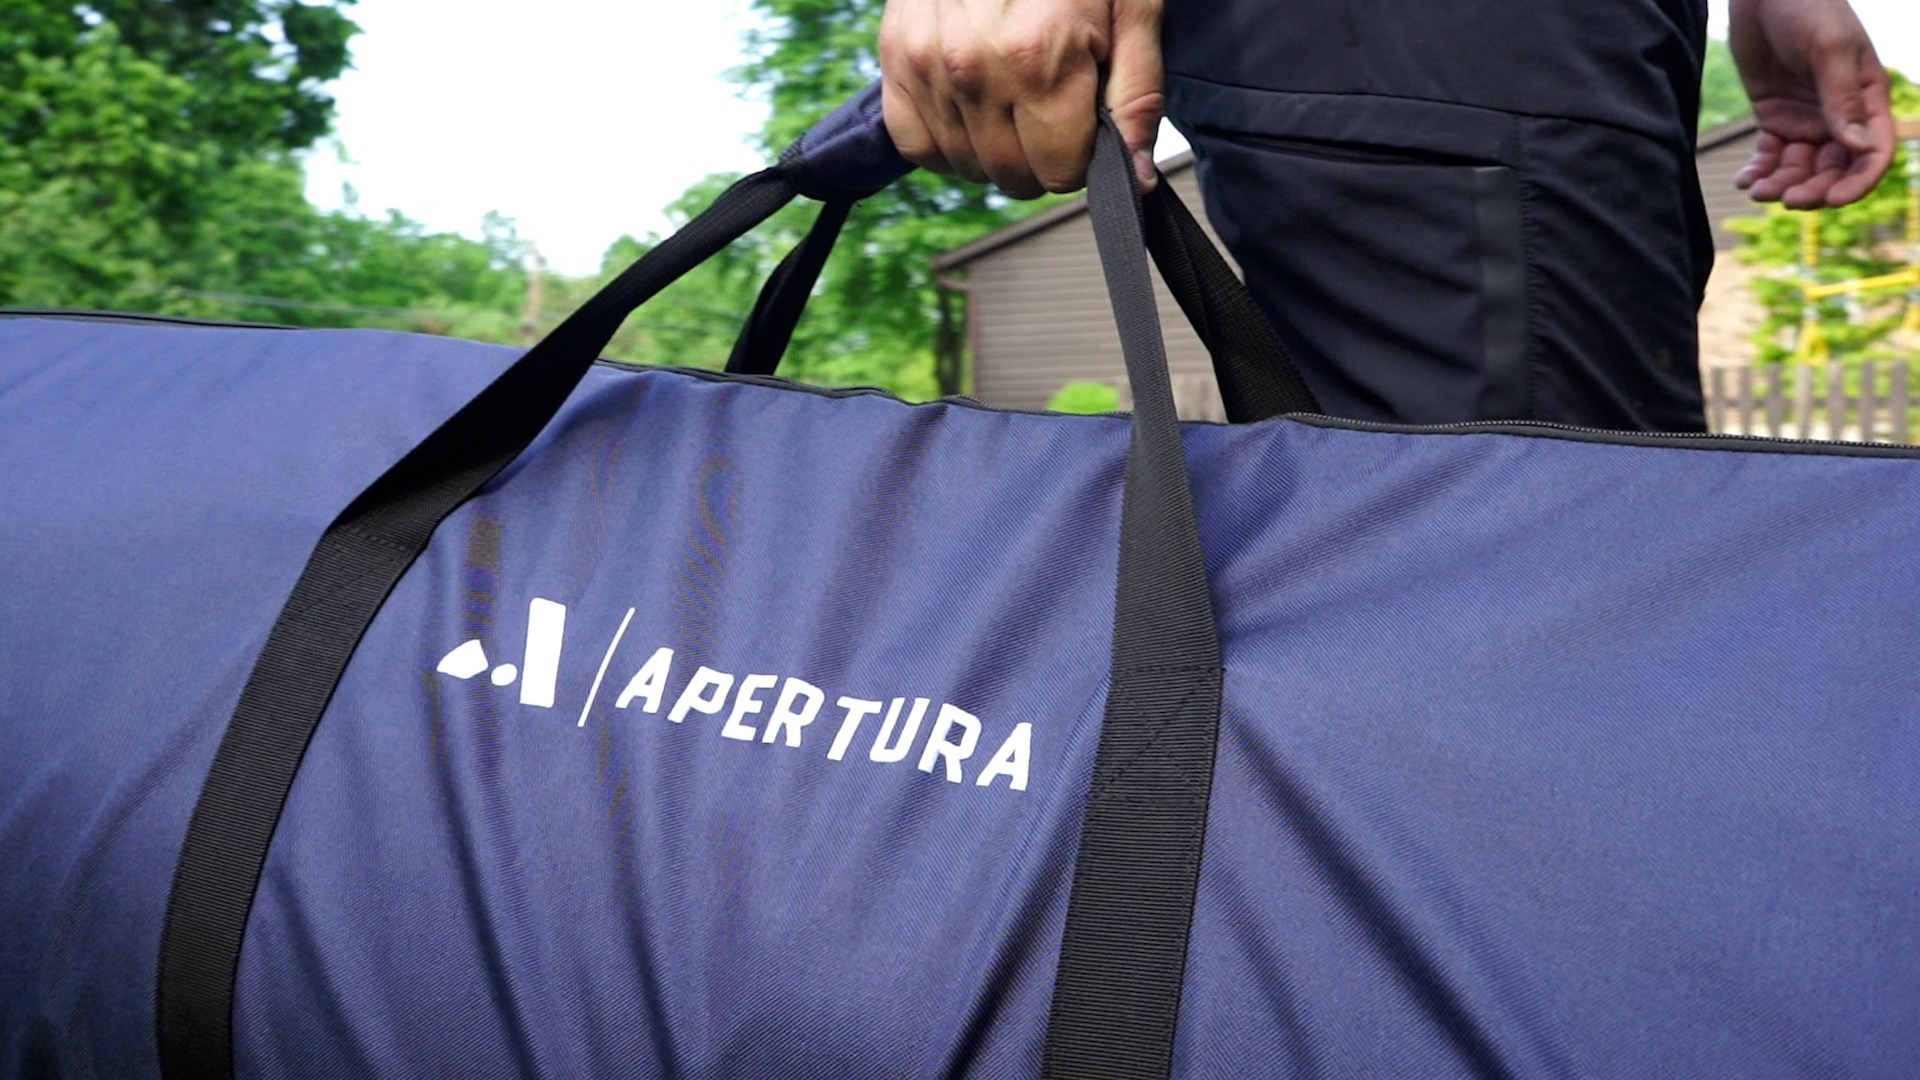
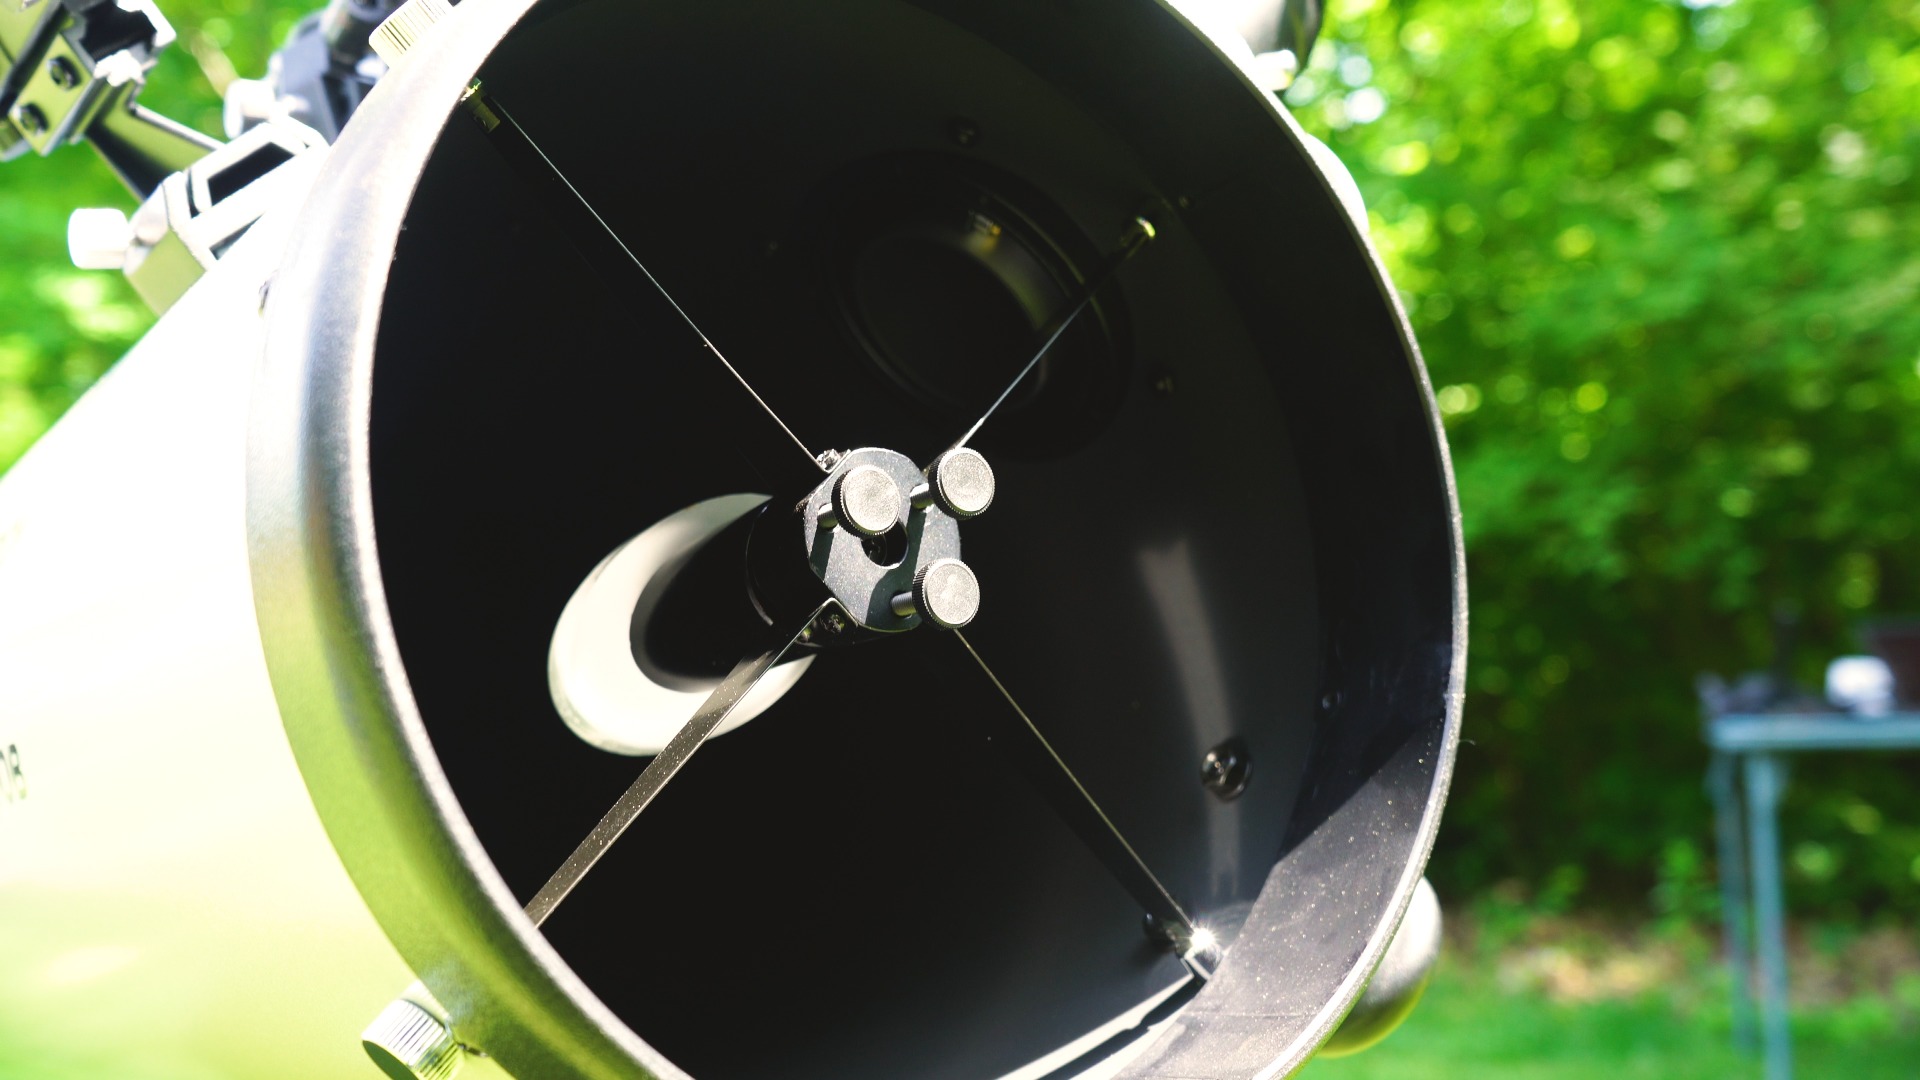
I was able to keep my scope enclosed in the Apertura Carrying Case which is going to protect the scope during travels or setup. The entire process takes three minutes tops! Collimation is also an important part of the setup process as well and precise collimation will ensure that you can achieve pinpoint stars and great lunar/planetary detail. Collimation is the alignment of your primary and secondary mirrors. It’s really simple with the right tools! The Apertura Laser Collimator paired with the Apertura Collimation Knobs make it achievable in minutes.
 Click to Enlarge Image
 Click to Enlarge Image
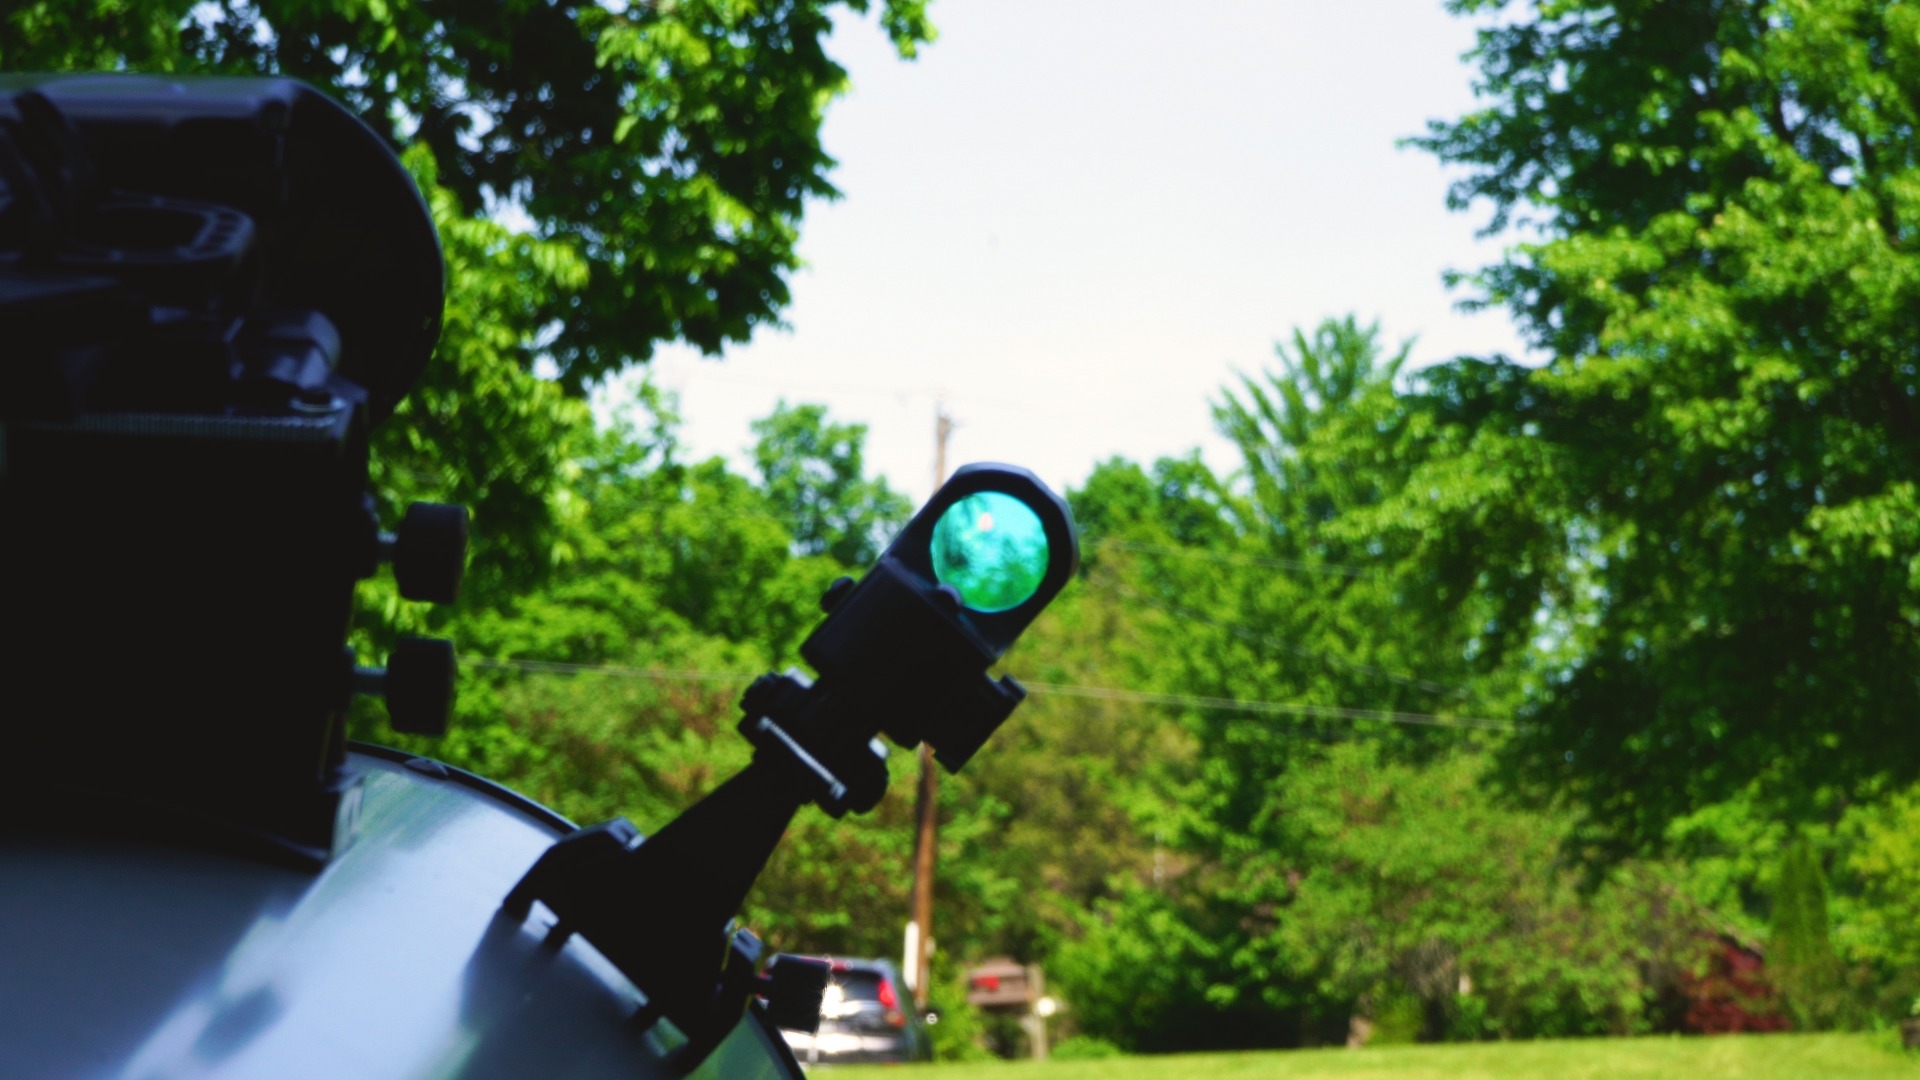
How to Align your Red Dot Finder
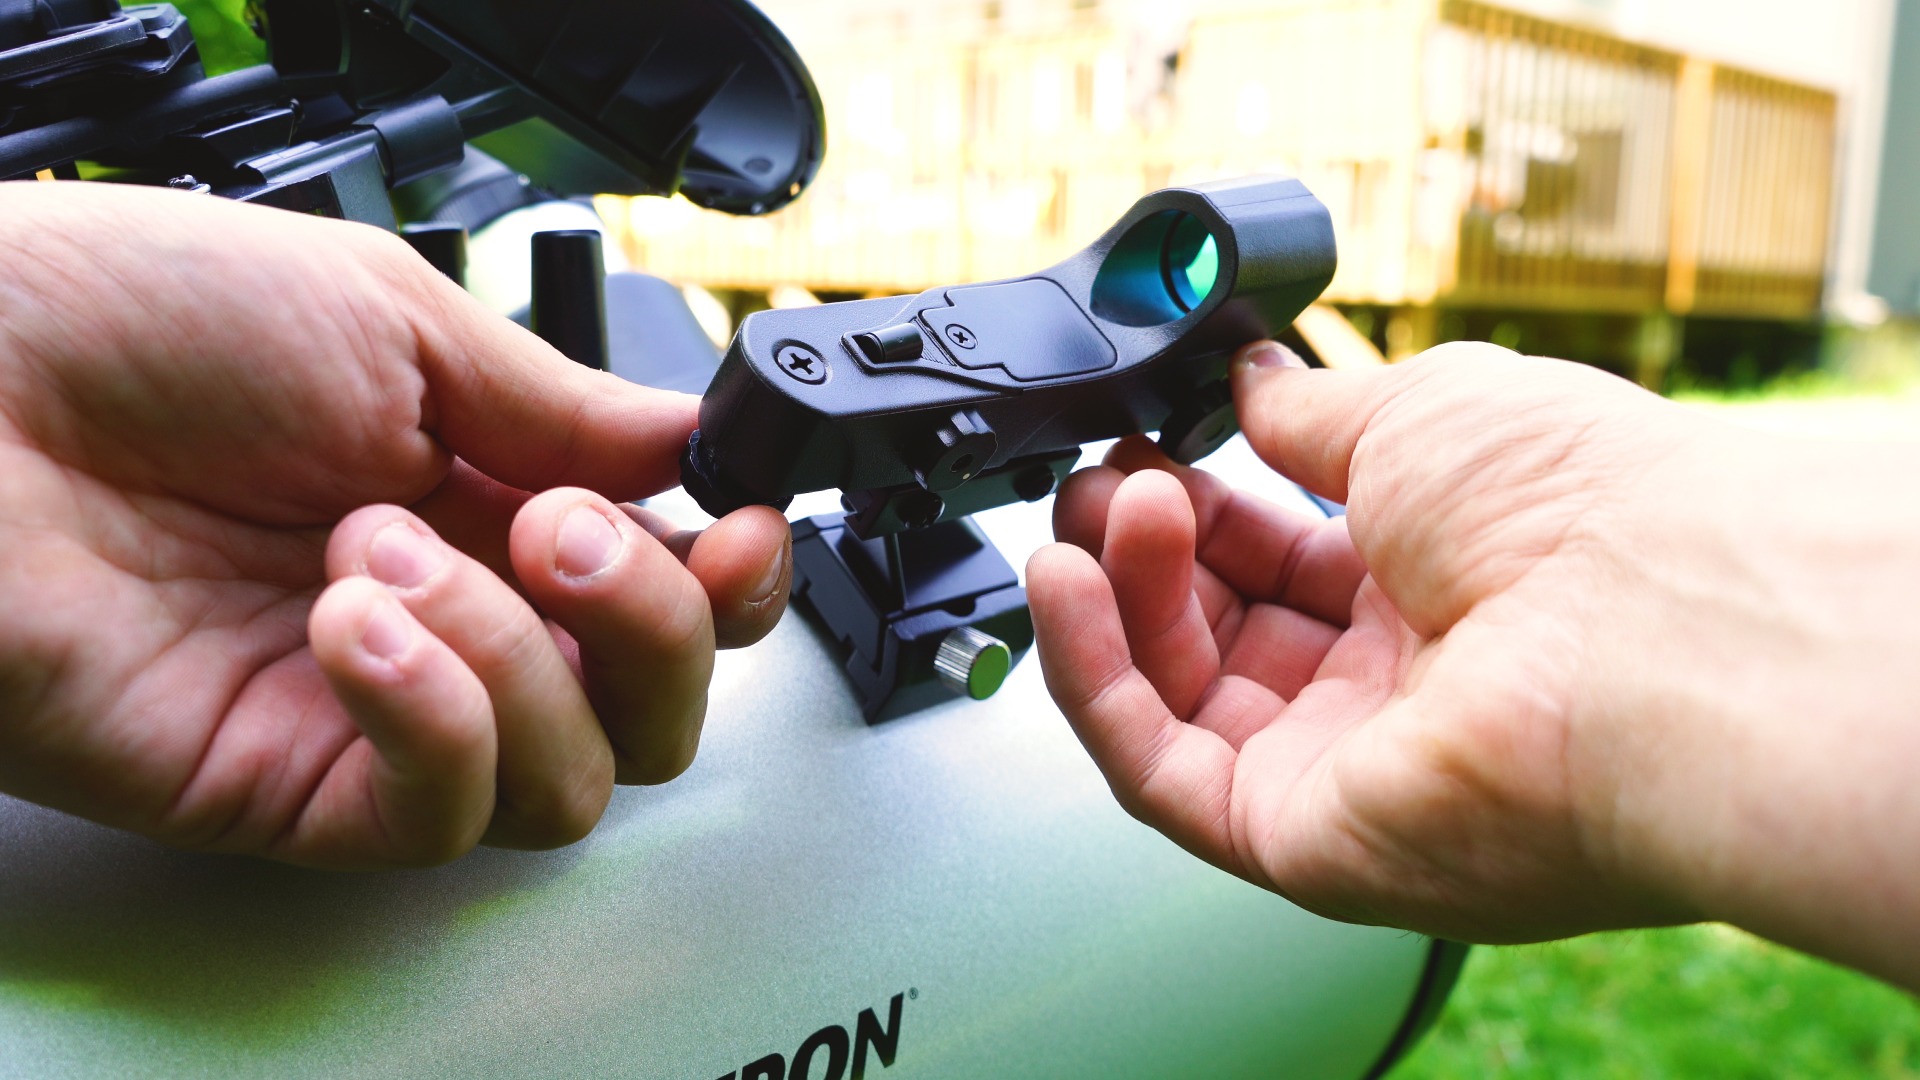
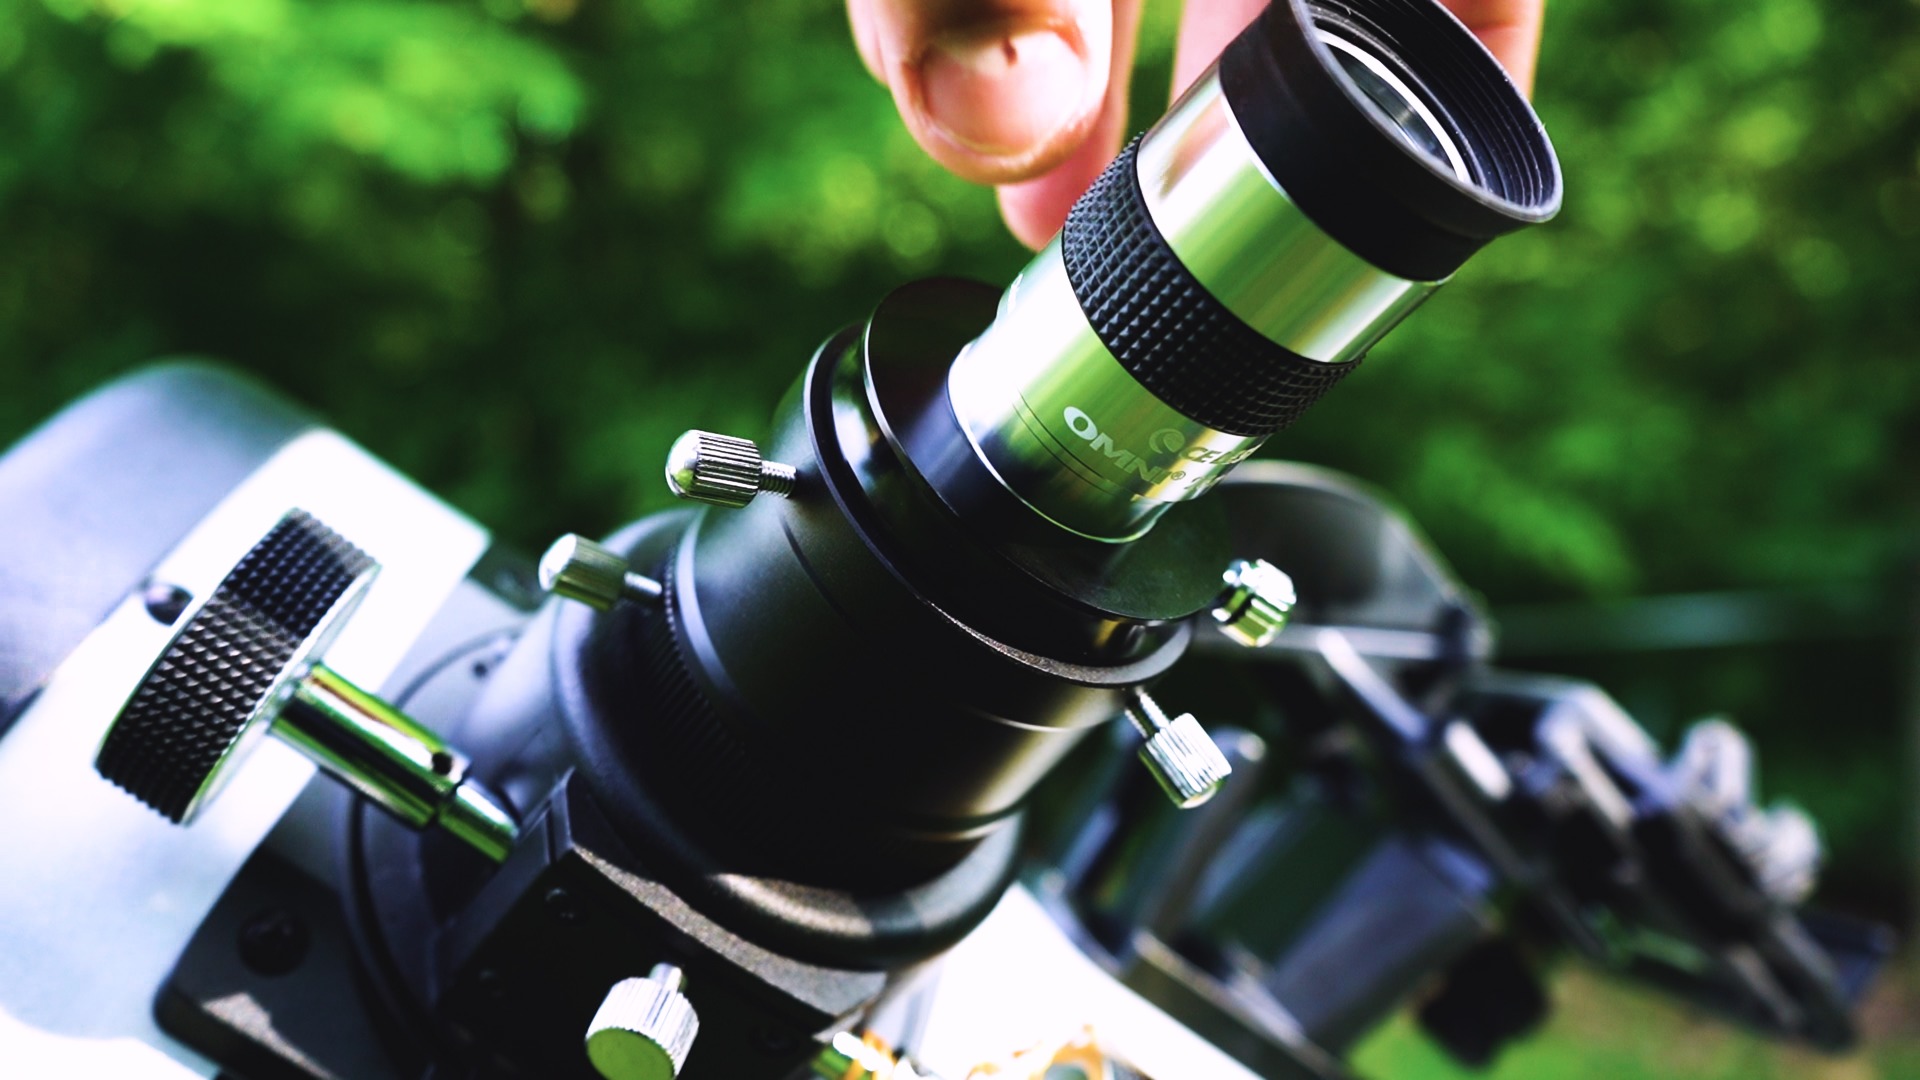
The next important step after setting up your base and scope is aligning your red dot finder with your scope. You want to do this alignment during the day and doing this precisely ensures that what you point to with your red dot finder, can be seen centered in your eyepiece. Point your scope towards the horizon so that you can view either a car, telephone pole, or stop sign through your eyepiece.
 Click to Enlarge Image
 Click to Enlarge Image
Once centered and focused, power on your red dot finder and use the knobs on the bottom and side of the finder to center the laser over the object that you see through your eyepiece. This isn't required when using the StarSense App as the App does the locating for you but if you plan on using these scopes without the app, a well aligned red dot finder will make all the difference.
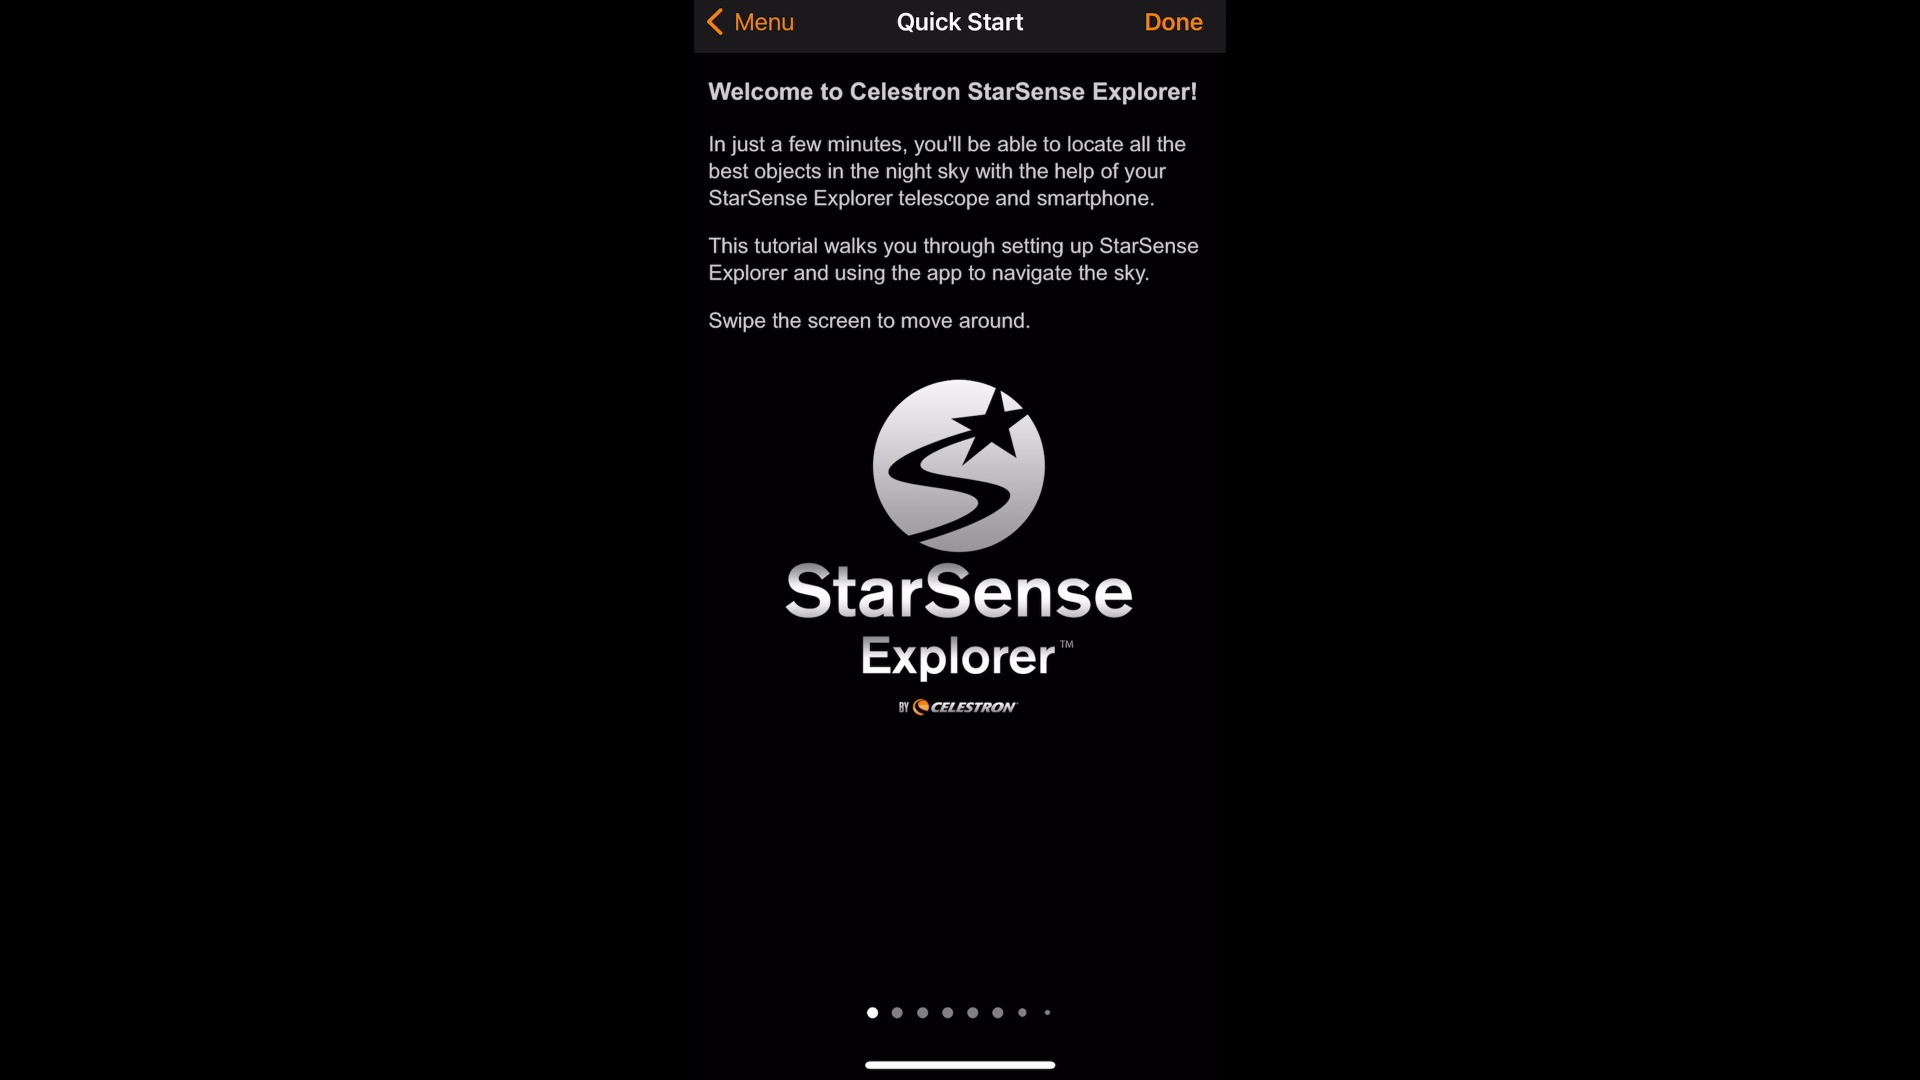
The StarSense Application
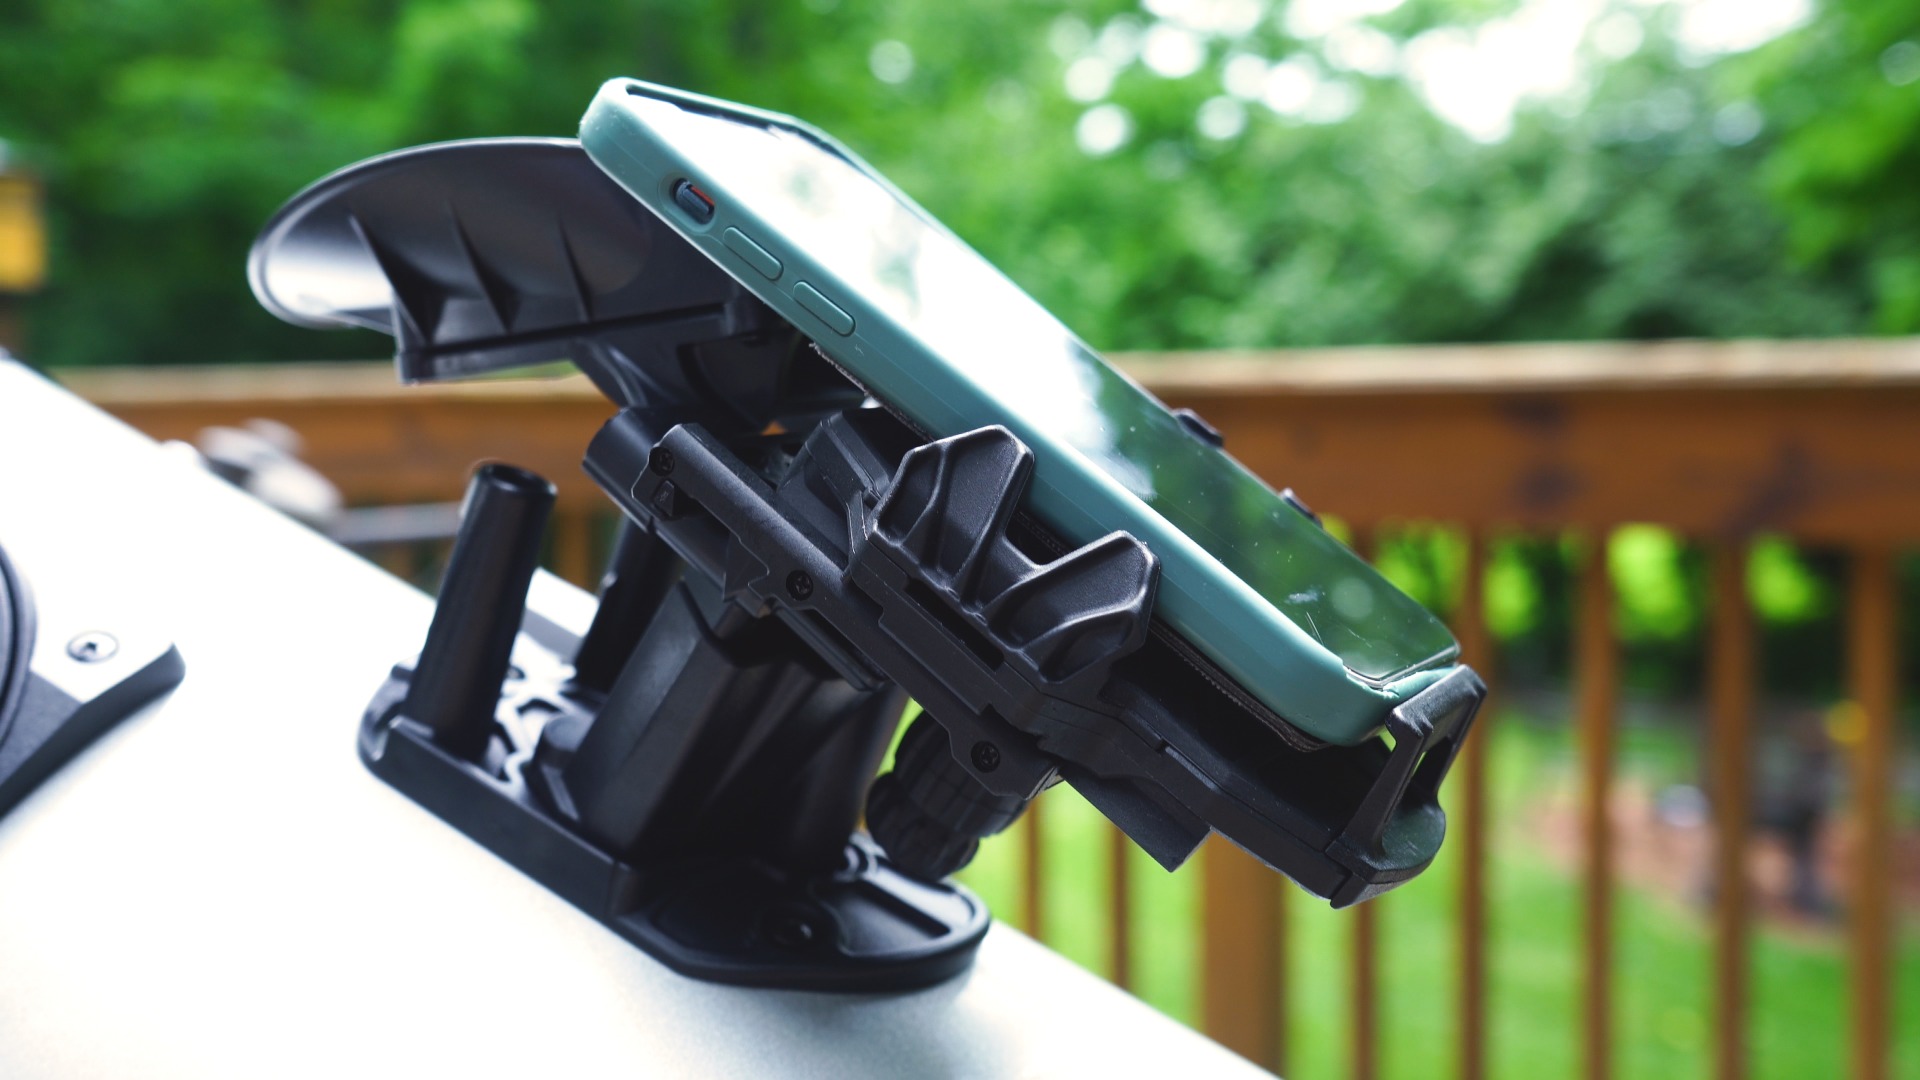
Celestron separates itself by integrating the StarSense Explorer App with several different types of telescopes making the hunt for deep sky objects arguably faster than many GoTo systems on the market. The StarSense App will first take you through a “Quick Setup” process that demonstrates how to install your phone to the phone dock and align it properly for use. This should also be done during the day but can be done at night as well. The phone dock has a mirror which reflects the stars into the camera of your Iphone.
 Click to Enlarge Image
 Click to Enlarge Image
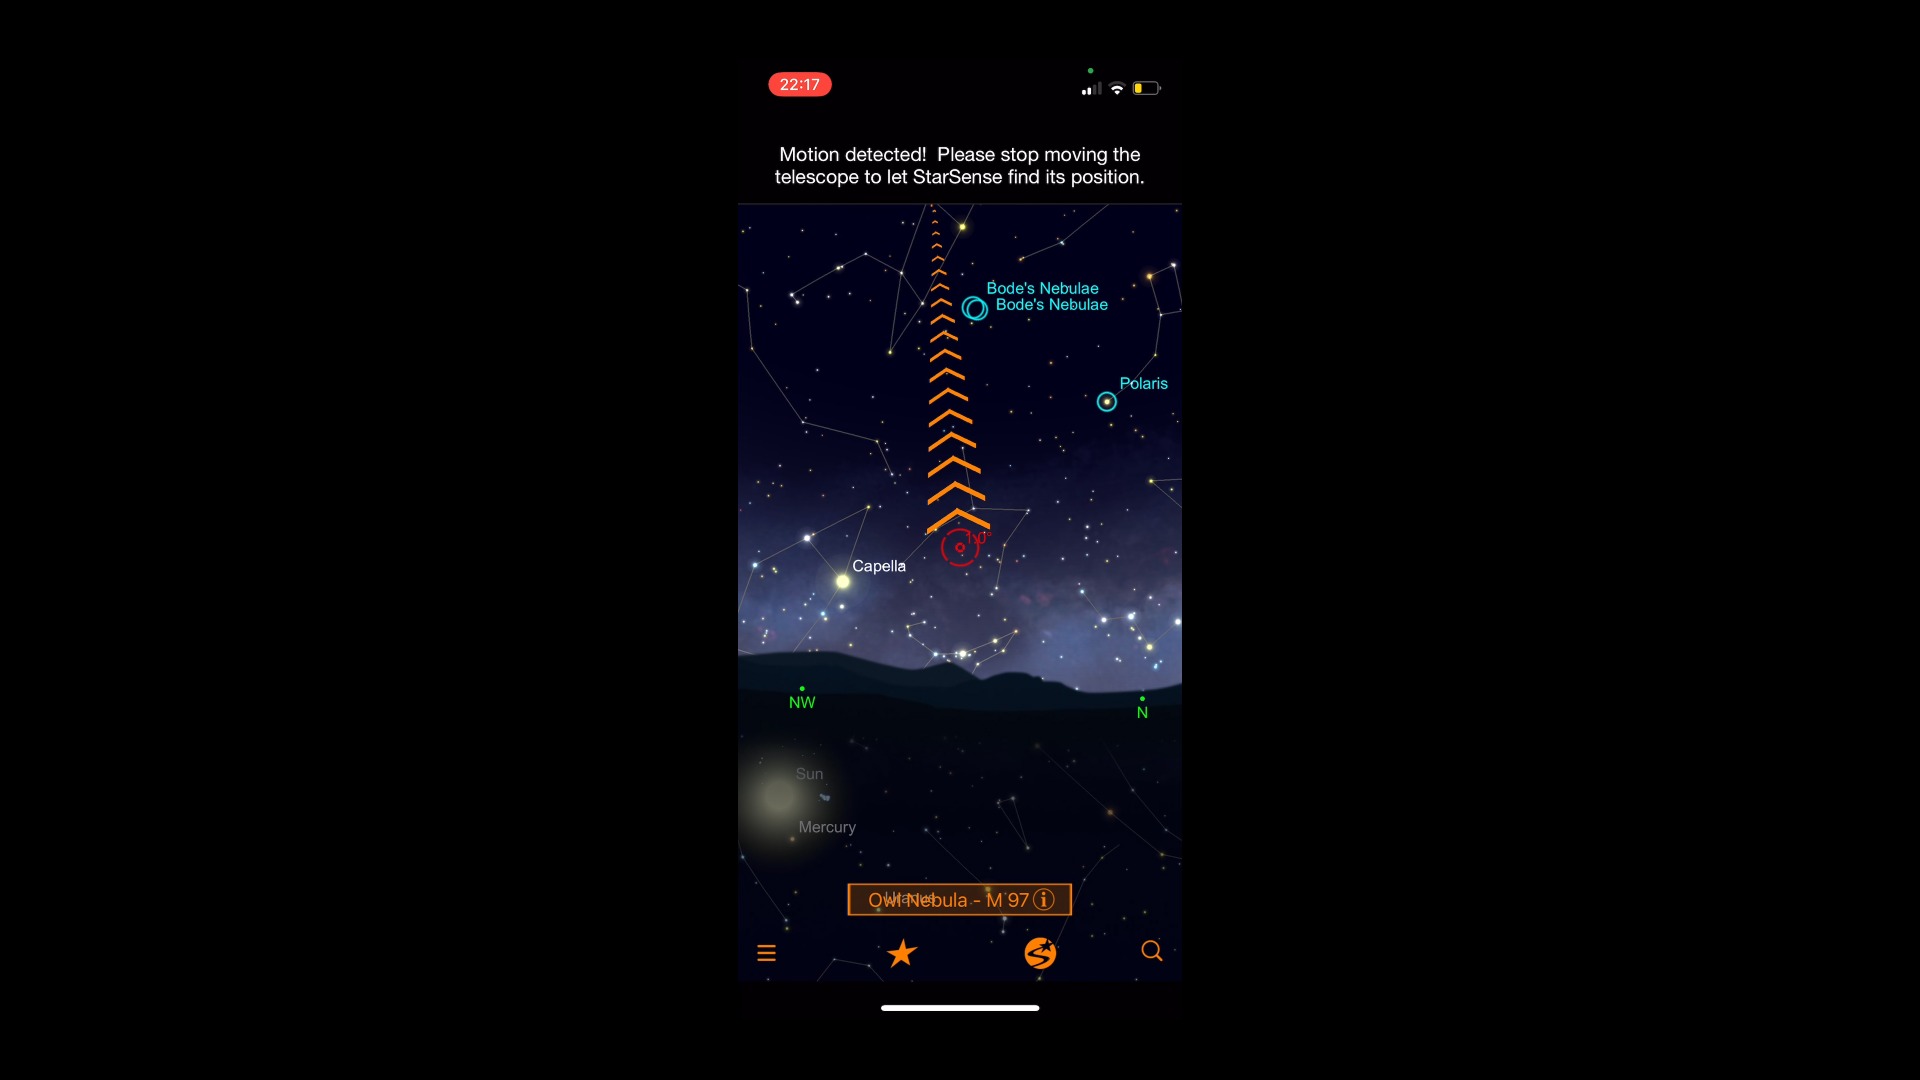
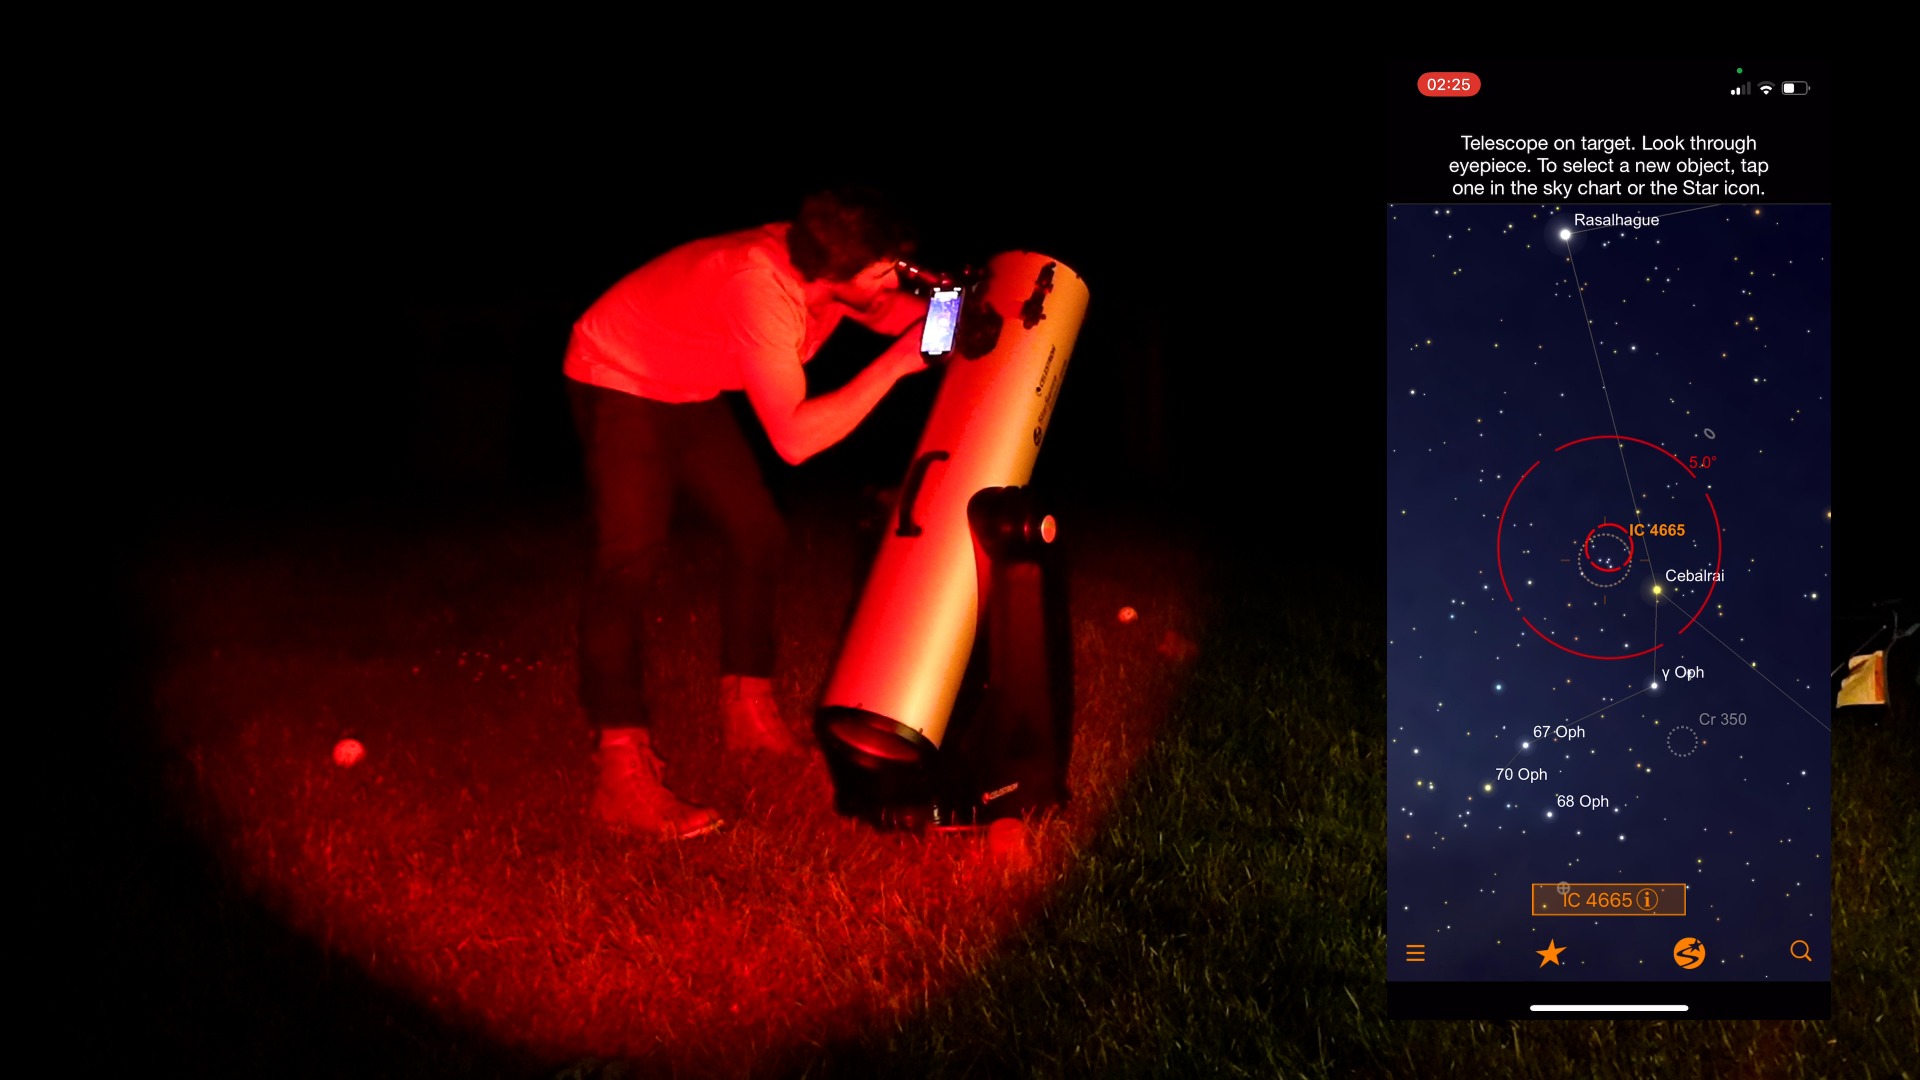
The app uses your phone camera to take a long exposure of the night sky and then determines your pointing position by the orientation of the stars alone! This is called platesolving. Now that your application knows exactly when you’re pointing, you can choose nearly any deep sky object to view and the app will guide you to your object in live time with arrows. It’s truly remarkable.
The Application has several other features such as information about the object you're viewing, observing tips, night vision mode, custom search, and more. Vast amount of knowledge about the heavens above us is now accessible while viewing them through your telescope.
15 Objects - 15 Minutes
I spent the first hour of the night looking through an inexpensive planetarium app called "Stellarium" at objects that would be directly overhead by the time I took the 8” Dob out to the back yard. I didn't want to waste any time trying to search for objects that could potentially lie behind houses or trees. I had 15 minutes to try and locate 15 deep sky objects. With a standard dobsonian and no push-to application, finding 15 deep sky objects in 15 minutes would be a feat in itself. I would consider myself well versed with a manual dobsonian as well as with the objects in the night sky… I’m not even sure a classic GoTo system would be able to achieve this (I haven't tried).
 Click to Enlarge Image
 Click to Enlarge Image
It was a perfect 68 degrees when I brought the assembled base and OTA out into the field. Setup time took no longer than 3 minutes and that included getting my smart phone connected and aligned. I had my list of 15 objects ready to go when I started my 15 minute timer. The 2nd object I found was Messier 13 - The Great Hercules Globular Cluster. The brighter stars were resolvable and the entire cluster stuck out very well against the washed out, light polluted sky. I was using the 25mm eyepiece during the entire session. This is recommended for deep sky objects as it’s going to provide you with the widest and brightest views. DSO’s are huge even though they are far away... Sometimes several full moons in diameter... A 10mm eyepiece though would have revealed even more stars within Messier 13.
The Next object that really caught my eye was my 10th target of the night and is called the Blinking Planetary Nebula. It took me a while to find it even though it was perfectly centered in my eyepiece. It resembled a star at first but after several seconds of looking around the eyepiece, it started to take on a vibrant bluish-green hue almost as if I were looking at Uranus or Neptune. It was a tad larger than the surrounding stars and would be a treat to view in a 8mm or even a 5mm eyepiece.. one with much more magnification (Lower the eyepiece focal length, the more magnification you get). This to me was the pinnacle of the night. It was such a cool sight.
The last target of the night was the Coat Hanger Cluster. This was a gorgeous open cluster composed of several hot, bright stars whose colors were apparent through the 25m eyepiece. I was, in fact, able to view all 15 objects in a matter of adjust under 15 minutes.
The Faintest of them All
I now set out to find the dimmest deep sky objects capable of viewing with the Celestron 8” Dobsonian. An 8” mirror is what astronomers consider a “deep sky telescope”. With access to this much aperture, the fainter objects are within reach and the brighter objects are simply a treat to gaze upon. I wasn't really sure what to expect under my bortel 7 skies. I started with Messier 13 again and sought out dimmer and dimmer objects as the night progressed. The second object I came across was the Ring Nebula - Messier 57. I spotted this several times before in the past as it’s always a treat to view. The ring nebula stood out rather well for being a magnitude 8.8 planetary nebula. It has rather high surface brightness and resembles.. A turquoise ring.
The faintest object on my list was Messier 56, a small globular cluster around magnitude 8.9. This object was found by Charles Messier in the 1700’s with a simple 4” refractor but the skies were pristine. Under dark skies this object would be no challenge at all but under bortle 7 skies this target would be the hardest to spot. I tried my luck with the Owl Nebula but was not actually able to spot it which was surprising. This is what one may expect under urban skies.
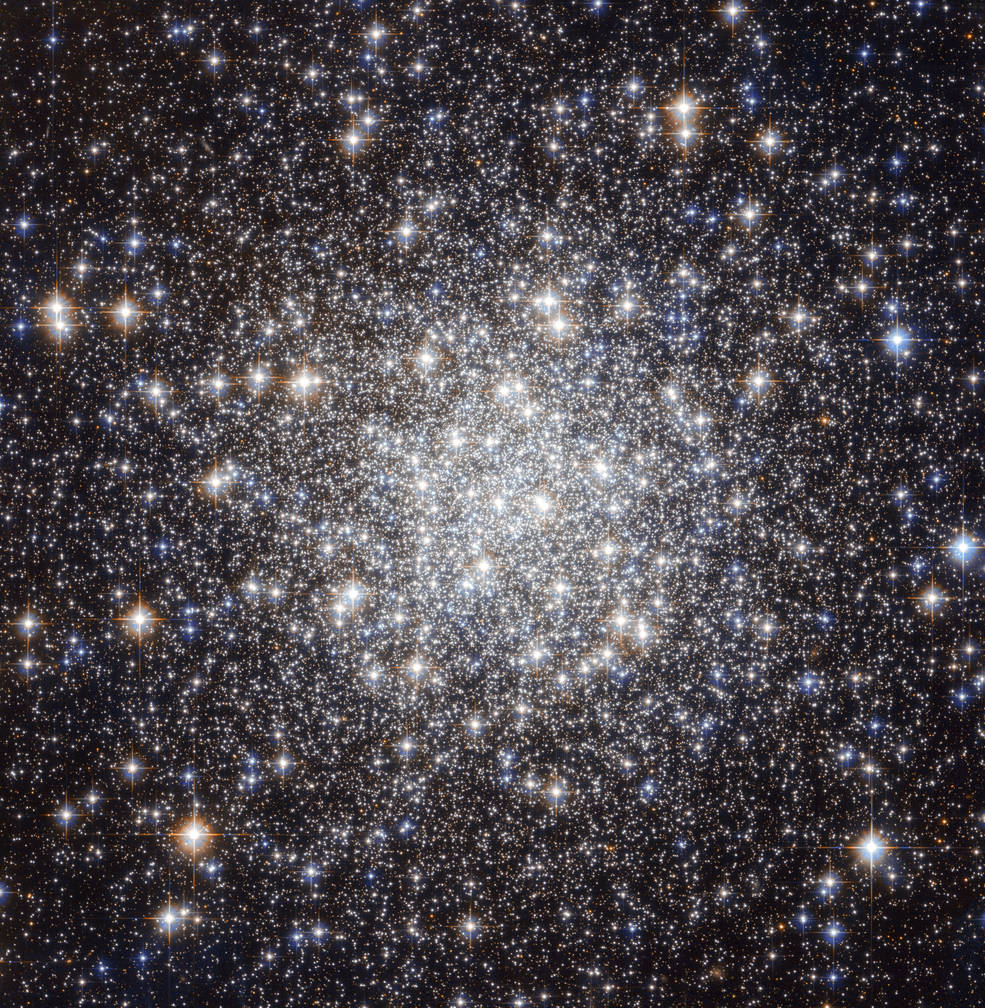
Image Credit: NASA
Conclusions
Celestron has created a scope for the visual astronomer of any skill level . Any 8” dobsonian is considered a lifetime scope. One that is small enough to travel with but also large enough to view some seriously faint objects under dark skies. Coupled with the StarSense app, finding objects with a scope of this caliber is easier than easy. This should appeal to the beginner, the novice, the layman. To anyone who has never owned a telescope before and doesn't want to invest in a fully goto, computerized system that may cost several hundred dollars more.. The StarSense Dob offers itself to you blatantly. A scope that has the potential to find objects faster than a goto system. A scope that provides the novice with a solution to searching the night sky with ease by using the StarSense app. Finding your targets with any other manual scope is the hard (but also satisfying) part of visual astronomy. With the StarSense series of scope, you now have the option. I had an incredible experience with this scope and I urge those who are looking for their first or fourth telescope to consider any included within the StarSense Explorer line.
Don't forget to check out our Celestron StarSense Explorer Dobsonians Review video!
This Article was Last Updated on 07/18/2023