All coupons, tax, shipping, store credit and gift cards will be applied during checkout.
Please use another browser such as Chrome, Edge, Firefox, or Safari for the best experience
Table of Contents
x
Contents
Photographing the Planets
×
![]()
Learn to Photograph The Planets!
Words alone cannot describe what it feels like to see a planet through a telescope for the first time. So, it's no surprise that after such an astonishing encounter, many reach for their smartphones and cameras with hopes of sharing this experience. But without the right tools, it's not always easy to snap a clear photo of our planetary kin. If you want to learn how to capture a stunning photo of Jupiter, Saturn, or Mars, you've come to the right place!
To help you gather the right tools and the master the processing methods, we've put together knowledge center with everything you need to know about planetary photography. Follow along to begin your journey or use button below to jump the relevant sections!
Looking For Gear Recommendations?
How you photograph the planets is up to you. What matters most is finding the right equipment for your needs! If you need help, don't worry, we've got you covered! Whether you just launching off, or looking to perfect your skillset, we'll guide you towards the gear you need! Check out the catalog below and start building your planetary photography rig today!
Check Out the Basics
What is a Planet and what do they look like through a telescope? Can you see the moons of Jupiter? If you are looking for answers to these question and more, we've got the resources for you! Our astronomy hub is constantly growing with content that will keep your curiosity quenched! From imaging and processing guides to viewing schedules and so much more. On the nights you can't spend imaging, stay in and explore the wonders of the solar system from the comfort of your home!
Built for Beginners: The Celestron StarSense Explorer Series
If you want to capture stunning images of the Moon, get lost in the beauty of deep sky objects, and view the planets, then look no further than the Celestron StarSense Explorer series. These scopes are ready to go right out of the box, and finding the Moon or other deep sky objects will be a breeze with the innovative StarSense Explorer App. Simply attach your smartphone and GO! The Celestron Starsense Explorer series offers more than a simple visual system, so any of these scopes will be a great option for those looking to embark on an astrophotography journey, starting with our closest neighbor, the Moon! Pair any of the options with a Apertura 2x T-thread Barlow and the corresponding M42 DSLR Camera T-ring, and that's it! You'll be ready to image the Moon and so much more!
Enthusiast: Brighter Optics, Bigger Aperture, Classic Style!
If you want to image the Moon through a telescope with a large aperture and the most light gathering power per dollar spent, then nothing will compare to a traditional Dobsonian. Renowned for their Newtonian optical design and rocker-box mount, Dobsonians deliver! If you’re ready to embrace tradition and capture stellar radiance in style, this is the category for you!
Below, you’ll find the complete Apertura AD series. These timeless scopes offer a modern touch to the traditional Dobsonian design with incredibly smooth altitude and azimuth (up/down, left/right) movements, a cooled parabolic primary mirror, and diffraction limited optics. When paired with an Apertura 2x T-thread Barlow and a DSLR T-ring, you'll turn any of these light buckets into a massive telephoto lens! With any of the AD series scopes, you’ll get unbelievably close to the lunar surface and capture clear, high-contrast images of even the smallest crater! But with a myriad of accessories options, imaging is just one of the many things you’ll love about the AD series scopes.
Feature Rich: Rewarding results, inspiring design, unforgettable optics!
Are you looking for an industry-leading telescope packed full of features that will keep you engaged for decades? Then you are in luck! Below, you’ll find a selection of unforgettable scopes, from the Celestron Nexstar SE and Advanced VX series, handpicked by our gear experts.
These feature-rich scopes provide the best of the above categories with their user-friendly design, fully “GoTo” mounts, and powerful optics. With their thorough and thoughtful design, these scopes deliver breathtaking images of the Moon, but you won’t want to stop there! Each of the scopes in this category offers endless imaging potential with fully automated GoTo mounts that can not only locate and track numerous celestial objects but can also be effortlessly operated with a hand controller or smartphone app, allowing you the freedom to focus on the results. These scopes also feature a simplistic 3-piece design, meaning they can be easily broken down and packed up, giving you the freedom to explore the cosmos from wherever you want!
Capturing the cosmos with these scopes is incredibly straight forward. Just attach an
Accessories
Capturing the an image of the Moon doesn't require a lot of gear, but if you plan to use a telescope, you'll want to make sure you have the tools for the job. Review this straightforward guide to learn everything you need to know about Connecting a Camera to Your Telescope!
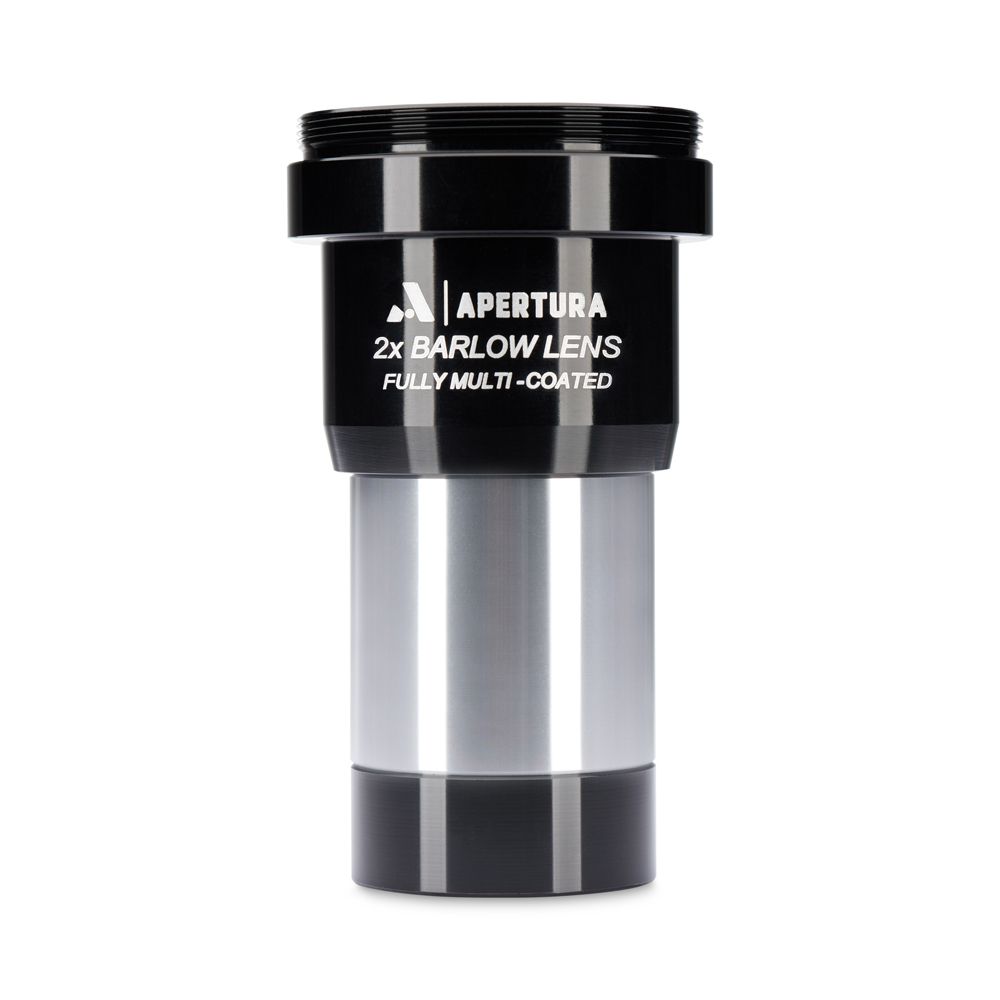
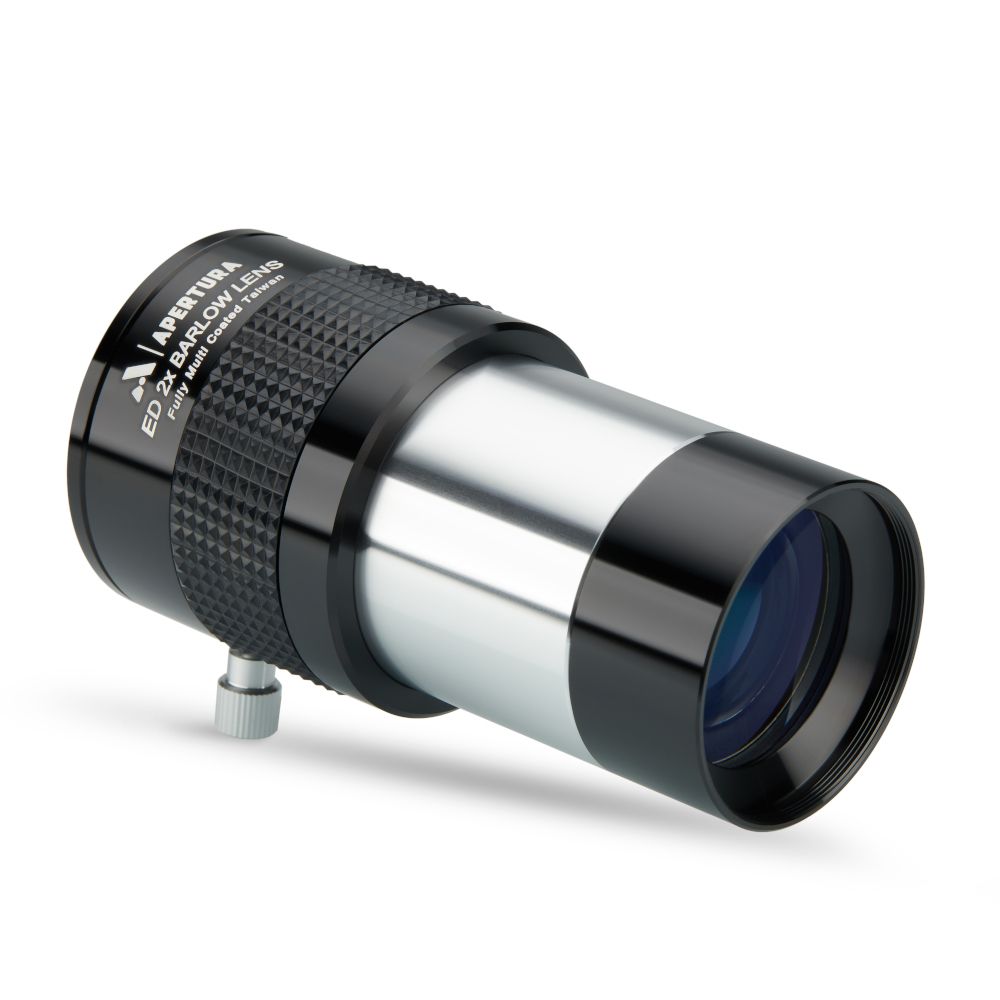
Barlow Lens
If you are imaging our cosmic companion with a short focal length telescope, or want to capture close ups of the lunar surface, try using an Apertura 2x Barlow with T-2 Threads - 1.25" or a Apertura 2x ED Barlow - 2"! This will increase the magnification of your view and make the appear Moon twice as large! If your using a DSLR or mirrorless camera, make sure you pick up and T-adapter, as this will allow you to thread a compatible Barlow (with T-2 threads) directly to the camera!
Adapters for SCTs
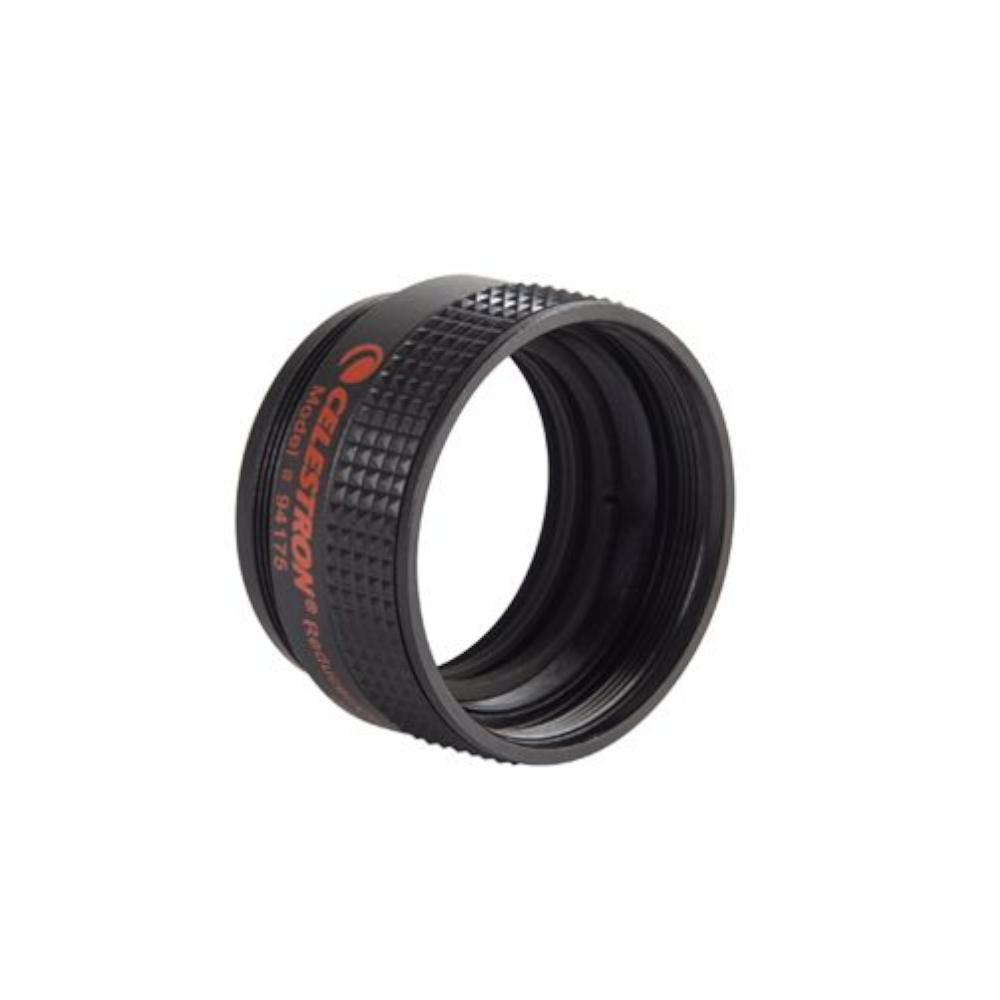
If you're using an SCT like the Celestron NexStar 8SE to image the Moon, you may need a focal reducer like the Celestron SCT Focal Reducer. This nifty optical accessory will reduce the focal length of your scope, allowing you more room to frame the Moon how you see fit!
If you plan to incorporate a focal reducer in your imaging train, we highly recommend picking up the versatile Apertura Ultimate SCT T-Adapter. This additional accessory will expand your imaging abilities by allowing you to attach a DSLR or mirrorless camera and a focal reducer to your SCT!
Smartphone adapters
With their innovative cameras and unapparelled ease of use, its no surprise that smartphones can capture stunning images of the Moon! By attaching a smartphone adapter to your telescope, such as the Apertura Smartphone Astrophotography Adapter or Celestron NexYZ Smartphone Adapter, you can easily convert your smartphone into a astro-imaging dream machine! You'll be able to capture the features of the lunar surface, record videos to share with your friends, and so much more!


T-Ring Adapters
If you want to connect your DSLR or mirrorless camera to your telescope, you'll need to use a T-Ring adapter in place of the lens. These simple adapters attach to your camera's lens mount, and allow you to thread a Barlow or nose piece adapter to you camera, which can be inserted into your telescopes focuser just like an eyepiece. Once attached, you'll be able to use you telescope as massive lens perfect for imaging the rich details of our closest cosmic companion!
If you want a detailed overview of T-Rings, like the Apertura Canon Ultimate T-Ring or Apertura Nikon Ultimate T-Ring check out our full guide on Connecting a Camera to Your Telescope!


Finding the Perfect Conditions for Astrophotography
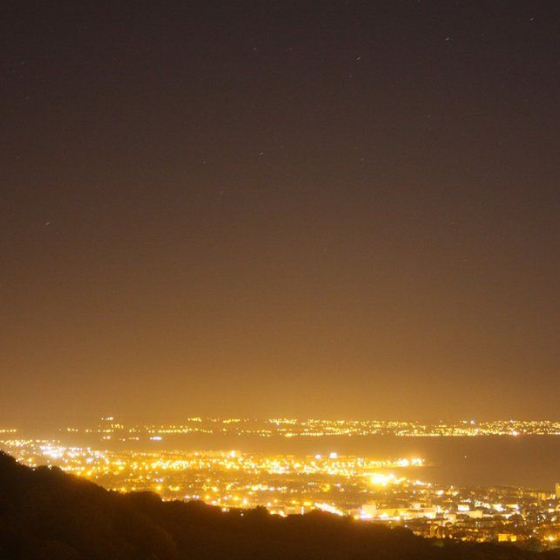
We all know clear skies are required in order to conduct astrophotography, but are there other external factors that you should account for prior to your next imaging session? The answer is yes: the Bortle class you plan to image under, the phase of the Moon, and local seeing conditions play a huge role in the quality of the images captured.
Consider Your Bortle Class:
While a non-issue during lunar or planetary imaging, light pollution wreaks havoc on the ability to conduct other types of astrophotography. Glow from businesses, homes, and street lamps shroud light from celestial objects, making it difficult to discern detail within the captured images. The Bortle Scale gives insight into the night sky's brightness of a certain location due to light pollution. This measurement features nine (9) levels of brightness, with 9 being the brightest and 1 being the dimmest. It is important to determine the Bortle class you plan to image under, so you can get a sense of the level of brightness you're going to be dealing with. If travel is possible, it’s always best to image under skies with the lowest possible Bortle class, as the less light pollution you have to image through, the better your astrophotos will become. If travel is not an option, specialized filters can be added to your imaging train to help cut through light pollution by isolating certain wavelengths produced by emission nebulae.
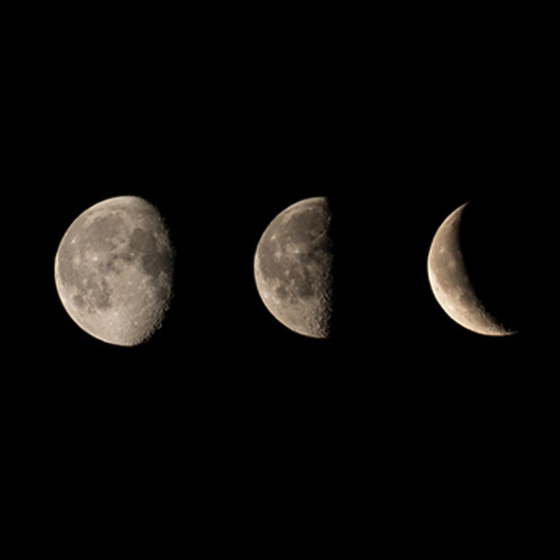
Mind the Moon:
While artificial light pollution is an ongoing issue, natural light pollution is also something to bear in mind. The more illuminated the Moon becomes throughout the month, the brighter our atmosphere becomes as well. This is why it’s recommended to image during the new moon phase and to avoid targets that are near the Moon if it is present within our night sky. Scheduling astrophotography sessions around the phases of the Moon is a common practice amongst astrophotographers, as it helps uphold optimal image quality!
Assess Local Seeing Conditions:
There is a reason professional astrophysicists and astronomers send telescopes out into space—that reason being Earth’s atmosphere. Referred to as seeing conditions, the overall clarity of the night sky based on humidity, high clouds, the wind, and plenty more, play a crucial role in the quality of our astro-images. In poor seeing conditions, the object within the field of view can appear blurred and out of focus, making for lack luster photos. While blurring due to the atmosphere may not be as apparent during wide field imaging, if you’re imaging small objects such as the planets, the craters on the Moon, or distant galaxies, it is important to consider the current seeing conditions for the sharpest possible images.
How to Capture and Process a Basic Image of Jupiter!
Navigating the countless ways to capture an image of our cosmic companions doesn't need to be complicated. Follow along with the basic imaging guide below to learn how to use your gear to capture the planetary photograph you've been dreaming of!
Still waiting for your gear to arrive?
Fill out the box below to gain access to a Dropbox folder where you can download a complimentary package of lunar data for any of the capture methods in our processing tutorial! You’ll find numerous options for each image type, giving you the freedom to experiment with different styles and create a unique image. By the time you process your own data, you’ll have already mastered the post-processing workflow!
In the Drop Box folder, you'll find all the data you need to follow along with the guides below. Each folder will be labeled by the corresponding processing method, and you'll be able to download the full folder by navigating to the dropdown menu in the top right corner.
Capture Methods
 Capture
For this style of lunar photograph, you'll follow a straightforward process to capture a single image of the Moon. Don’t let the simplicity fool you, these photos often look great!
 Stacking
By stacking multiple frames you can create a stunning image of the Moon! This is a great method for those looking to learn the ins and outs of of advanced image processing.
 Sharpening
Get the best of both sides of the Moon with the High Dynamic Range method! By combining elements from multiple photos you can craft a composite image that balances the bright and dark areas of the lunar surface.
Planning Your Shot
When it comes to imaging the Planets, planning is necessary. Depending on your equipment, you'll need to know how to locate the planet you are imaging. You can use a celestial simulator like Star Walk or Stellarium to streamline this step. If you want to maximize the details of your planetary photos, review your local seeing and weather conditions. By imaging under clear conditions you'll be able to capture more fine details and significantly enhance your photos! Clear Dark Sky is a great resources for planning your planetary and astro-photos!
Overview of Settings
After you've got all gear needed to capture an image of Jupiter, take a moment to learn about the various components and how it all works together!
Here’s what you need to know about your gear to successfully photograph Jupiter:

Aperture
In traditional photography cameras, the aperture setting controls the width of a small folding membrane the back of the lens. For planetary photography, you won't use an aperture, however, the concept of aperture is still important. Unlike photography lenses, the aperture of a telescope is the front most opening telescope itself, also known as the diameter of the telescope. Knowing the length of your telescopes aperture is vital, as it one of the values that determine the scopes focal ratio, and you'll need the focal ratio to pair your optics with the correct focal extender or Barlow.

Exposure
Exposure is simply the length of time it take to capture each individual frame. In DSLRs, this is setting is referred to as shutter speed, and it represents the actual speed of the cameras shutter, measured in seconds and milliseconds. For planetary cameras, it is also measured in milliseconds, however, instead of a mechanical shutter, the sensor has a electronic shutter, allowing it to capture frames significantly faster. Like the previous setting, this is found in the camera controls window in SharpCap.

Gain
Gain is the amount of amplification the camera applies to incoming signal. In other words, it controls how bright the image will appear. However, this amplification will apply to both signal and noise, so simply increasing the gain will create bright and noisy images. Since Jupiter is 2nd brightest object in the night sky, you don't need to set the gain very high. If you're using an imaging software like SharpCap, you can easily adjust this setting with the gain slider.

File Type
If you're using a planetary capture software like SharpCap, you'll likely want to record video, rather than capture individual frame. You'll have a few file types to choose from, but if you want to preserve as much of the data as possible, you'll want to use the default SER file type. If you are using a DSLR, you may be limited in the file type, however, you can always use a media encoder to transpose the file type. Alternatively, you can capture a sequence of images at the fastest speed possible.
What's next?
After setting up, capturing your images, and breaking down, all that’s left is processing the data. Upload the image files to your computer and start editing! If you need help, we got you covered, check out our full guide by accessing our "How to Photograph the Moon" article.
Planetary Imaging FAQ: What You Need to Know
Intro
What is astrophotography?
Broadly speaking, any image of a celestial object in the night sky could be considered an astrophotograph—from the Milky Way, the Moon, other planets in our solar system, to galaxies, star clusters, nebulae and more! While the process and equipment used for capturing all these objects can differ, all these fall within the same exciting and ever expanding amateur astrophotography hobby.
What goes into making an astrophotograph? How do we capture these images?
This process varies depending on what we’re trying to image, but on a basic level, an object is tracked across the sky while data is collected by the camera, and then this data is all combined into a single image through a process known as stacking. This process allows us to capture fine, faint details that only reveal themselves with enough time spent imaging/recording a target!
Planetary Imaging Terms To Know
Aperture
Aperture is the diameter of a telescope's primary mirror or lens listed in millimeters or inches. The bigger the aperture of a telescope, the more light it will gather, allowing the observer to see more detail on celestial objects and ascertain finer details that a telescope of lesser aperture may not see.
Dobsonian Telescope
The Dobsonian telescope consists of a Newtonian reflector optical tube assembly mounted on a very simple alt-azimuth box-style mount with a lazy susan base. This base was invented by John Dobson to encourage people to make their own telescopes from start to finish. Up until that time, telescopes required a heavy equatorial mount that produced a financial or weight barrier for some otherwise enthusiastic budding astronomers. John Dobson and his base changed all that, and even today, Dobsonian telescopes still provide the most light-gathering dollar for dollar.
EdgeHD Telescope
EdgeHD is Celestron's top of the line flat field aplanatic Schmidt-Cassegrain telescope series. You can buy a variety of apertures, from 8 to 14 inches, as an OTA or as part of a telescope/mount package. EdgeHD telescopes are great for visual use but they really shine for astrophotography. With a wide field of view that is three times flatter than a standard SCT, you will see beautiful, pinpoint stars across the entire field, even if you have a full frame (35 mm) CMOS or CCD camera sensor to satisfy.
Eyepiece
An eyepiece is a group of lenses housed in a small package that is closest to the eye when used with a telescope, microscope, or spotting scope. The eyepiece provides a particular magnification when paired with a telescope, therefore most amateur astronomers use a variety of eyepieces to change magnification for different types of objects. The eyepiece nomenclature is expressed in its focal length in millimeters. To figure out the magnification, simply divide the focal length of the eyepiece into the focal length of the telescope. The result is the magnification provided in your particular telescope or one with the same focal length.
Finder Scope
A finder scope fits on top of the main telescope and is used to help you find and center objects in your eyepiece. A finder can be as simple as a red dot finder or it can be a high quality small telescope in its own right.
Focal Length
The focal length is the distance, usually measured in millimeters, between the primary mirror or lens and the point at which the image comes to focus. Generally, classic refractors have a longer focal length, Newtonian reflectors tend to have a focal length that is shorter, and Schmidt-Cassegrain fall somewhere in the middle.
Focal Ratio
The focal ratio is calculated by dividing the aperture (mm) of the primary mirror or lens into the focal length. Example: 2500 mm divided by 254 mm (10") equals an f/ratio of 9.84, which is usually rounded off, in this case to f/10. The focal ratio signifies how quickly a telescope gathers light and tells us something about the telescope's field of view, how long exposures will take during astrophotography sessions, and how much magnification the eyepiece will produce for that telescope.
Highest Useful Magnification
The term Highest Useful Magnification is used by telescope manufacturers to describe the most magnification you can typically be expected to use on a normal night and still bring an image to sharp focus. A basic rule of thumb for maximum magnification is 40X-50X per inch of aperture, with max magnifications generally topping out at 500X or so regardless of the aperture. You will find that maximums vary depending on the night. Observing conditions change constantly and will cause a once sharp view to become blurry or allow a blurry view to clear up in seconds. It is the nature of telescope observing on a planet with an atmosphere.
Imaging Newtonian
An Imaging Newtonian is a fast reflector telescope that is normally optimized for astrophotography or astro-imaging. Most Imaging Newtonian telescopes have an f/5 focal ratio or less, and some are not meant for visual use at all but rather, were designed to be dedicated imaging telescopes. It is common to find fast imaging Newtonian reflectors for sale as optical tube assemblies only, allowing the astro-imager to use his choice of equatorial mount.
OTA
The acronym OTA stands for Optical Tube Assembly. An OTA is simply the telescope portion of a telescope/mount/tripod package. Some telescope users prefer to buy the OTA separately so they can create a custom astrophotography set-up or use a mount they already own.
Reflector Telescope
A reflector is a telescope design in which mirrors are used to gather and focus light. Reflector telescopes are commonly called Newtonian Reflectors, or simply a Newtonian in deference to their inventor, Sir Isaac Newton.
Refractor Telescope
A refractor is a telescope design that uses lenses to gather and focus light. While there are some exceptions to the rule, achromatic refractors use two lenses in their design, and while they are economical, achromats are only capable of focusing two out of three wavelengths of light. An APO telescope, or apochromatic refractor, uses 3 lenses to bring all three wavelengths of light to a single focus to produce an image virtually free of extraneous color.
SCT
The acronym SCT stands for Schmidt-Cassegrain Telescope, one of the most popular telescope designs in amateur astronomy today. A Schmidt-Cassegrain, which belongs more broadly to the Catadioptric telescope type, uses a folded optical design incorporating both mirrors and lenses to gather and bring the light to focus. The folded light path allows for a short tube assembly even with relatively large apertures of 8" or more. A shorter tube length makes the SCT far more portable than a classic Newtonian or refractor of the same aperture.